Installing “Clamps”
Mount HDPE Pipe to the Inlet Side
of a DrainBox Inline Controller
The Inlet Side of an Inline Control Structure is Under pressure
Compression Clamps are Used to Prevent Leakage

The compression clamp presses the plastic pipe firmly against the metal stub on the box, creating a water tight seal.
The clamps are sized to fit the diameter of pipe.
One clamp is supplied with each Inline Drainbox. Additional clamps are sold separately.
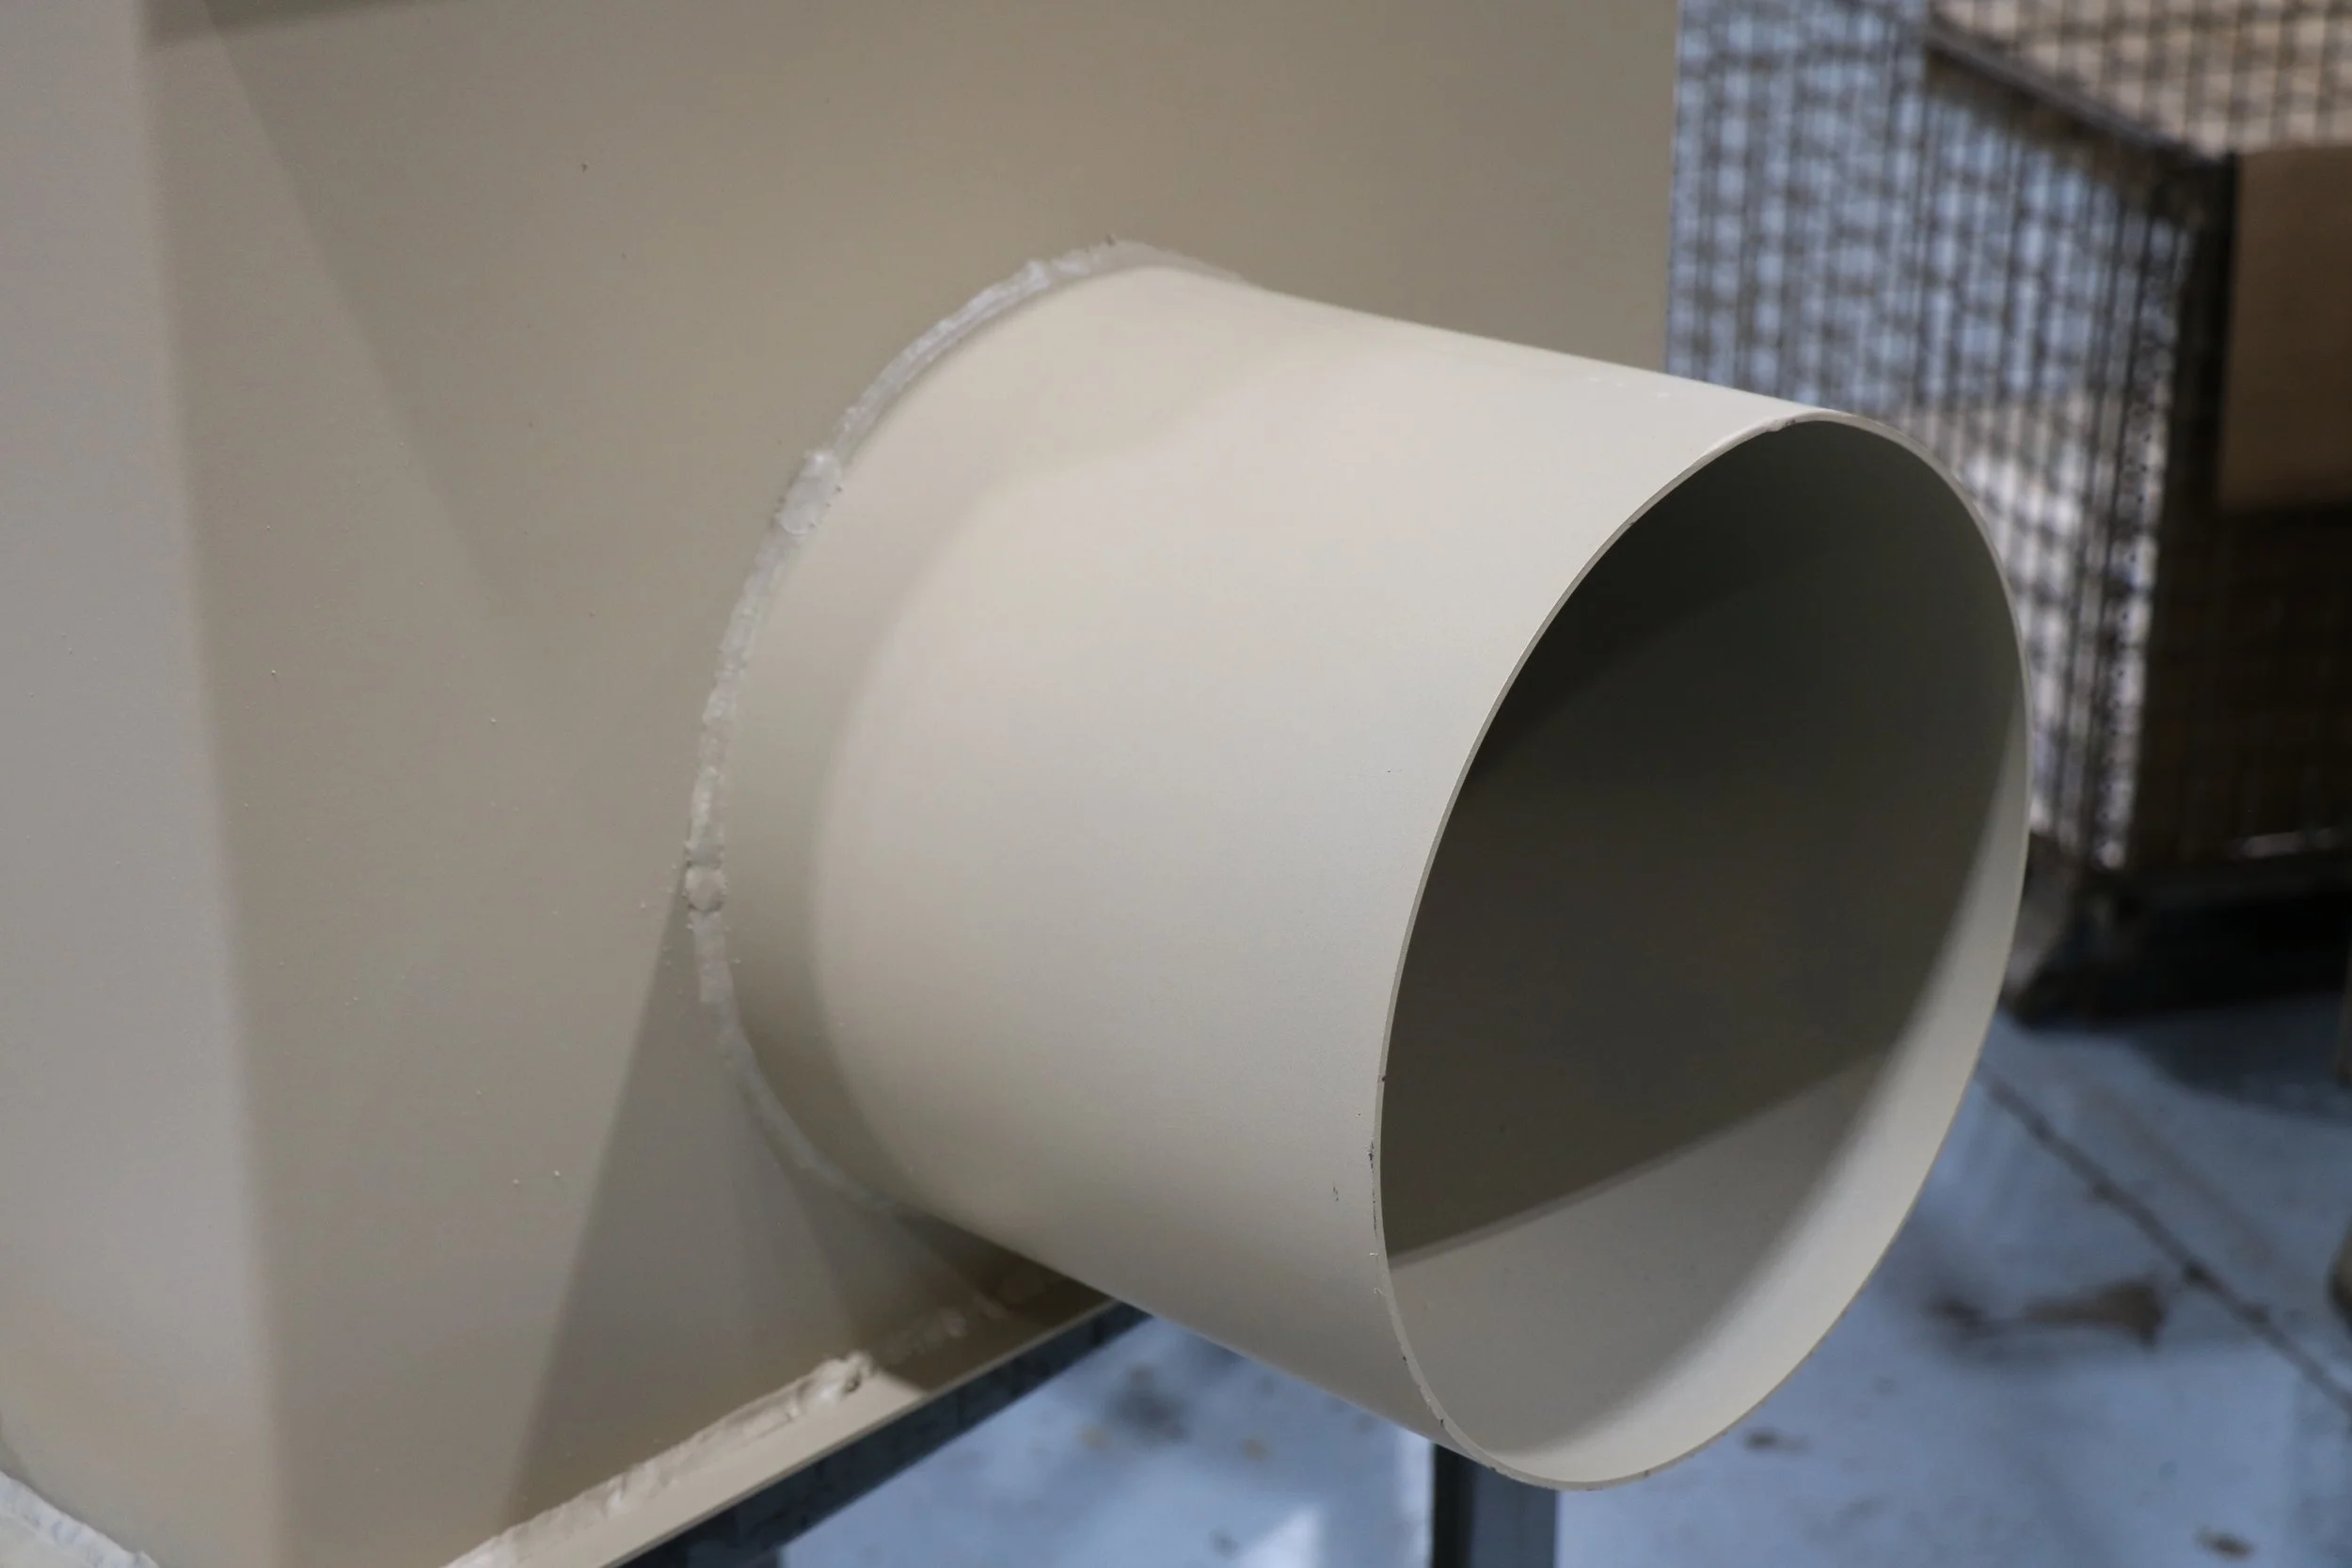
Outlet of the box showing the nipple to accept the HDPE pipe.

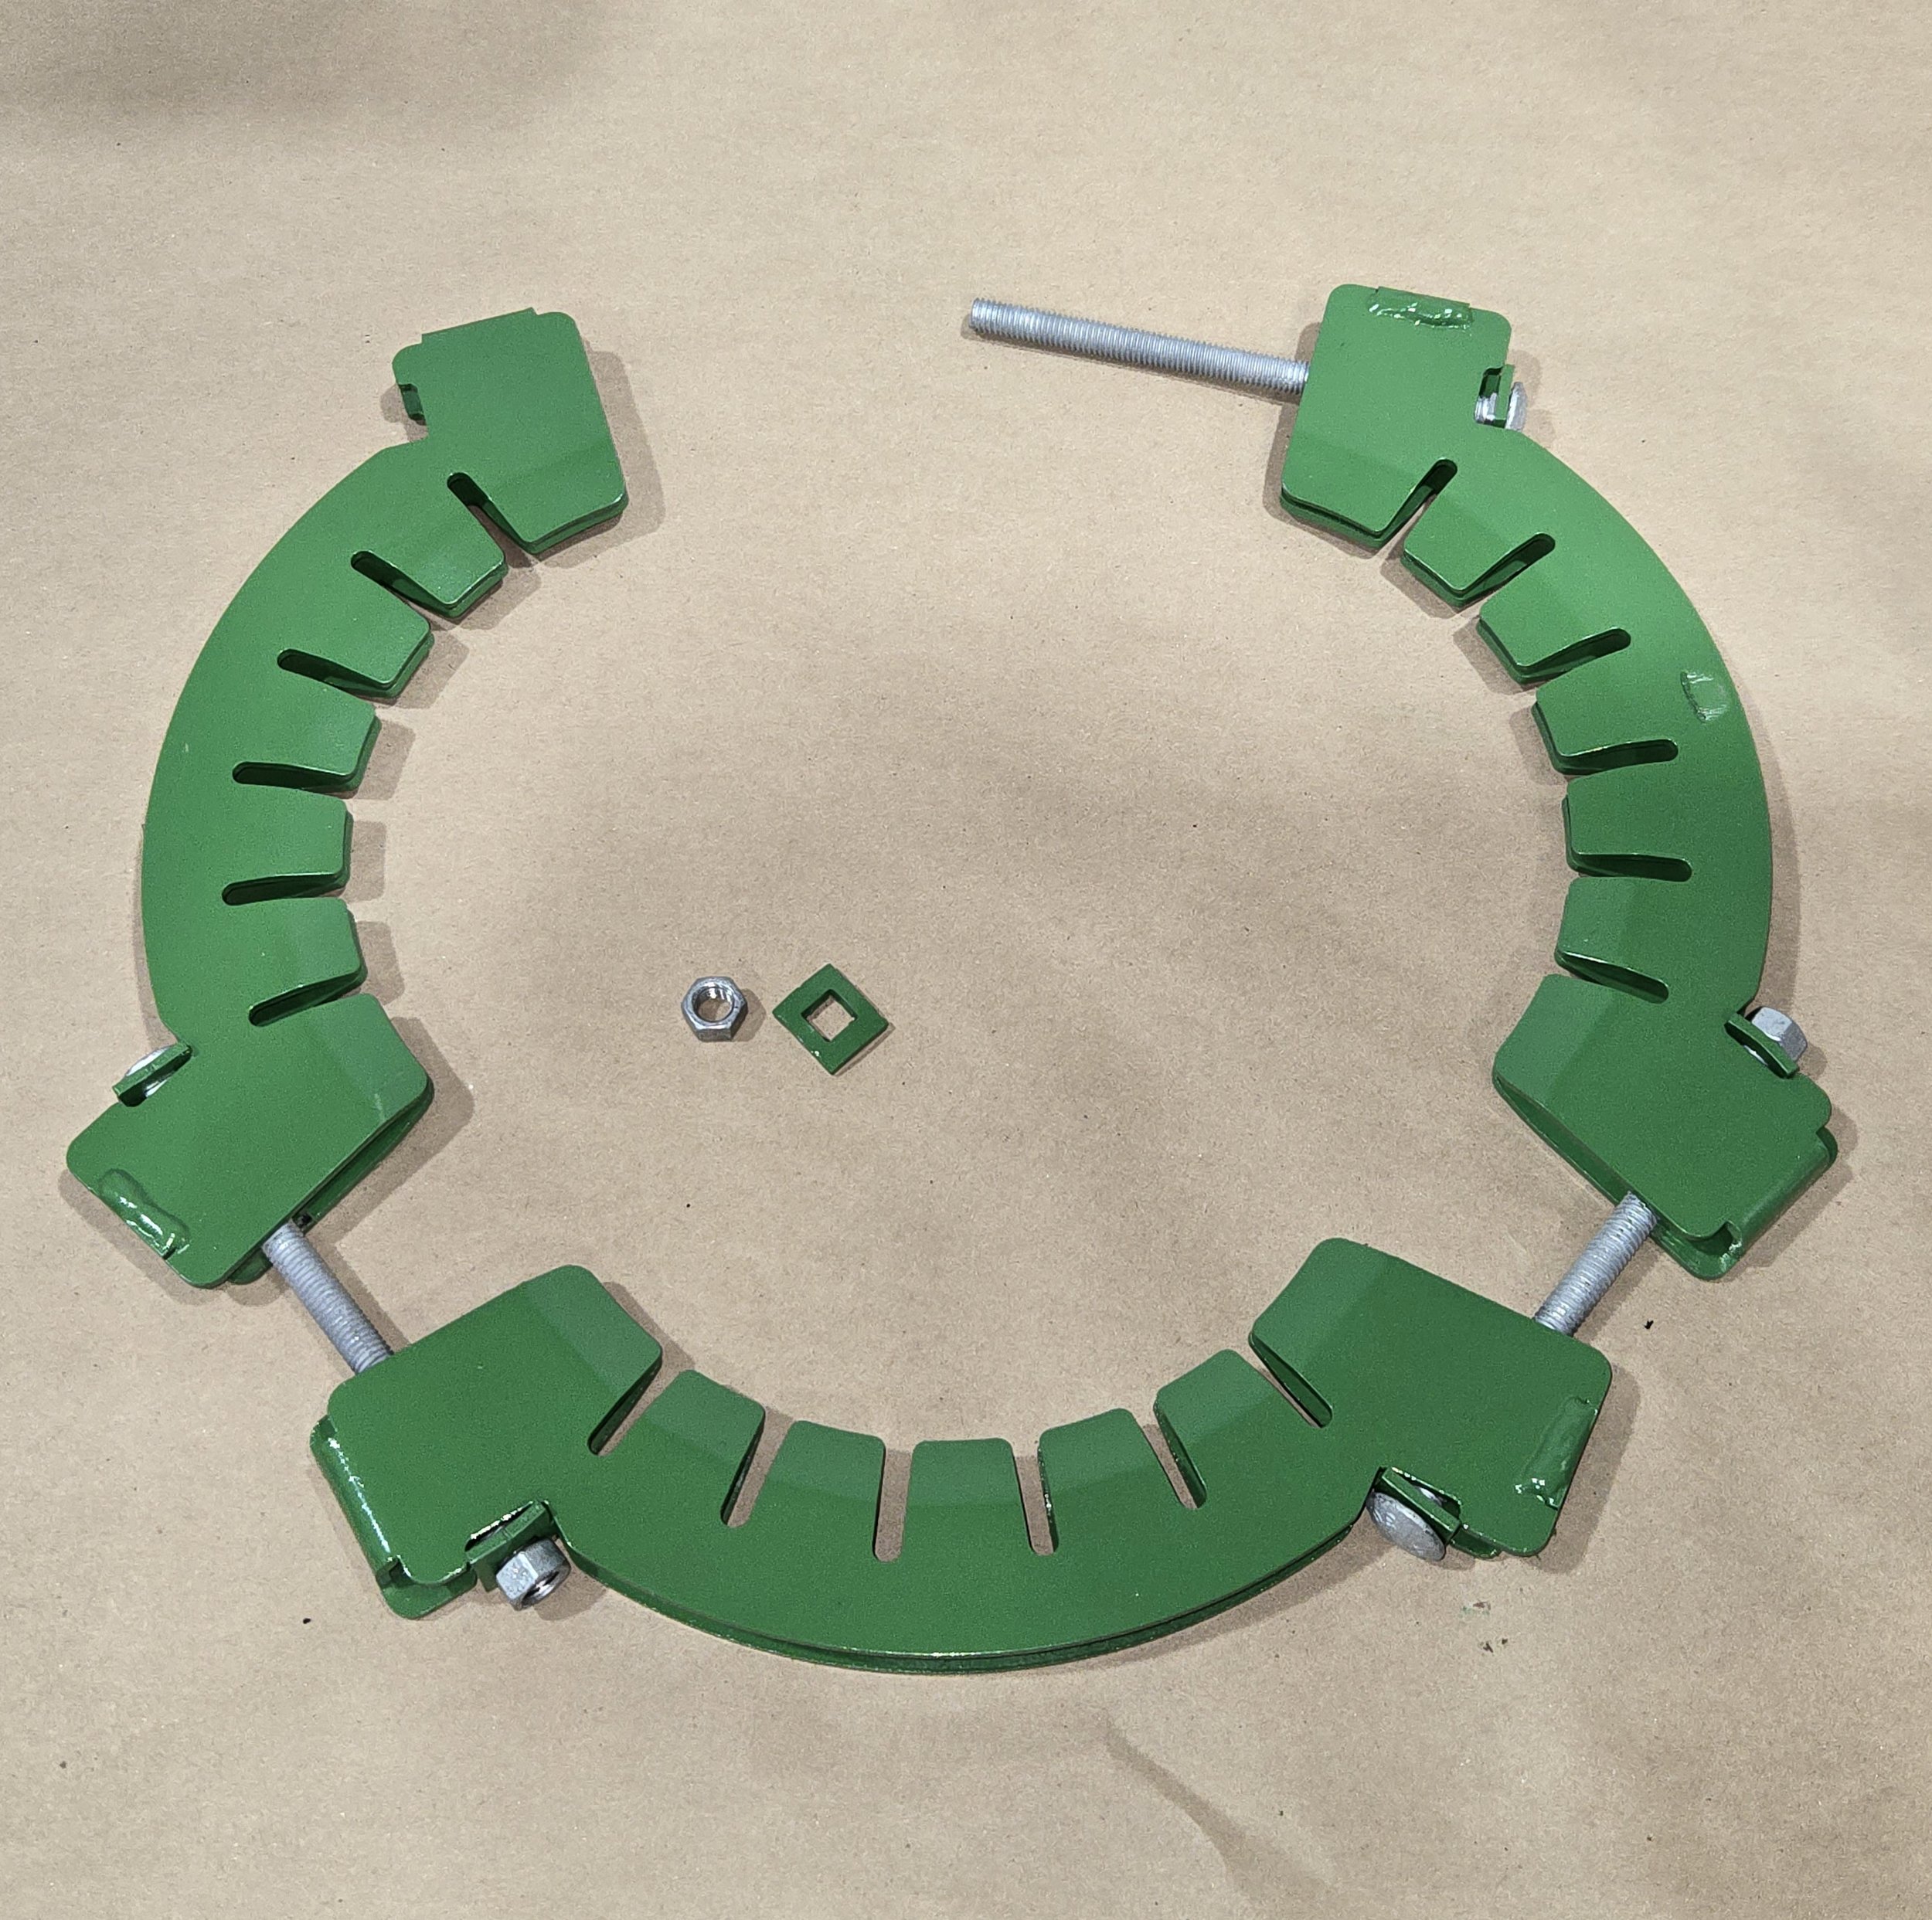
12-inch compression clamp with hardware.
Fitting The Pipe
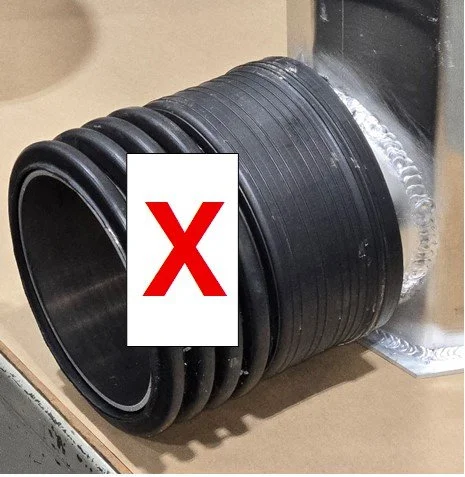
The metal stub is long enough to accommodate the bell mouth of the pipe if necessary.
We strongly recommend cutting the bell mouth off or using the male end of the pipe to achieve maximum strength and rigidity.
Locating the Clamp
Fit the pipe over the metal stub on the DrainBox as it will be positioned once installed.
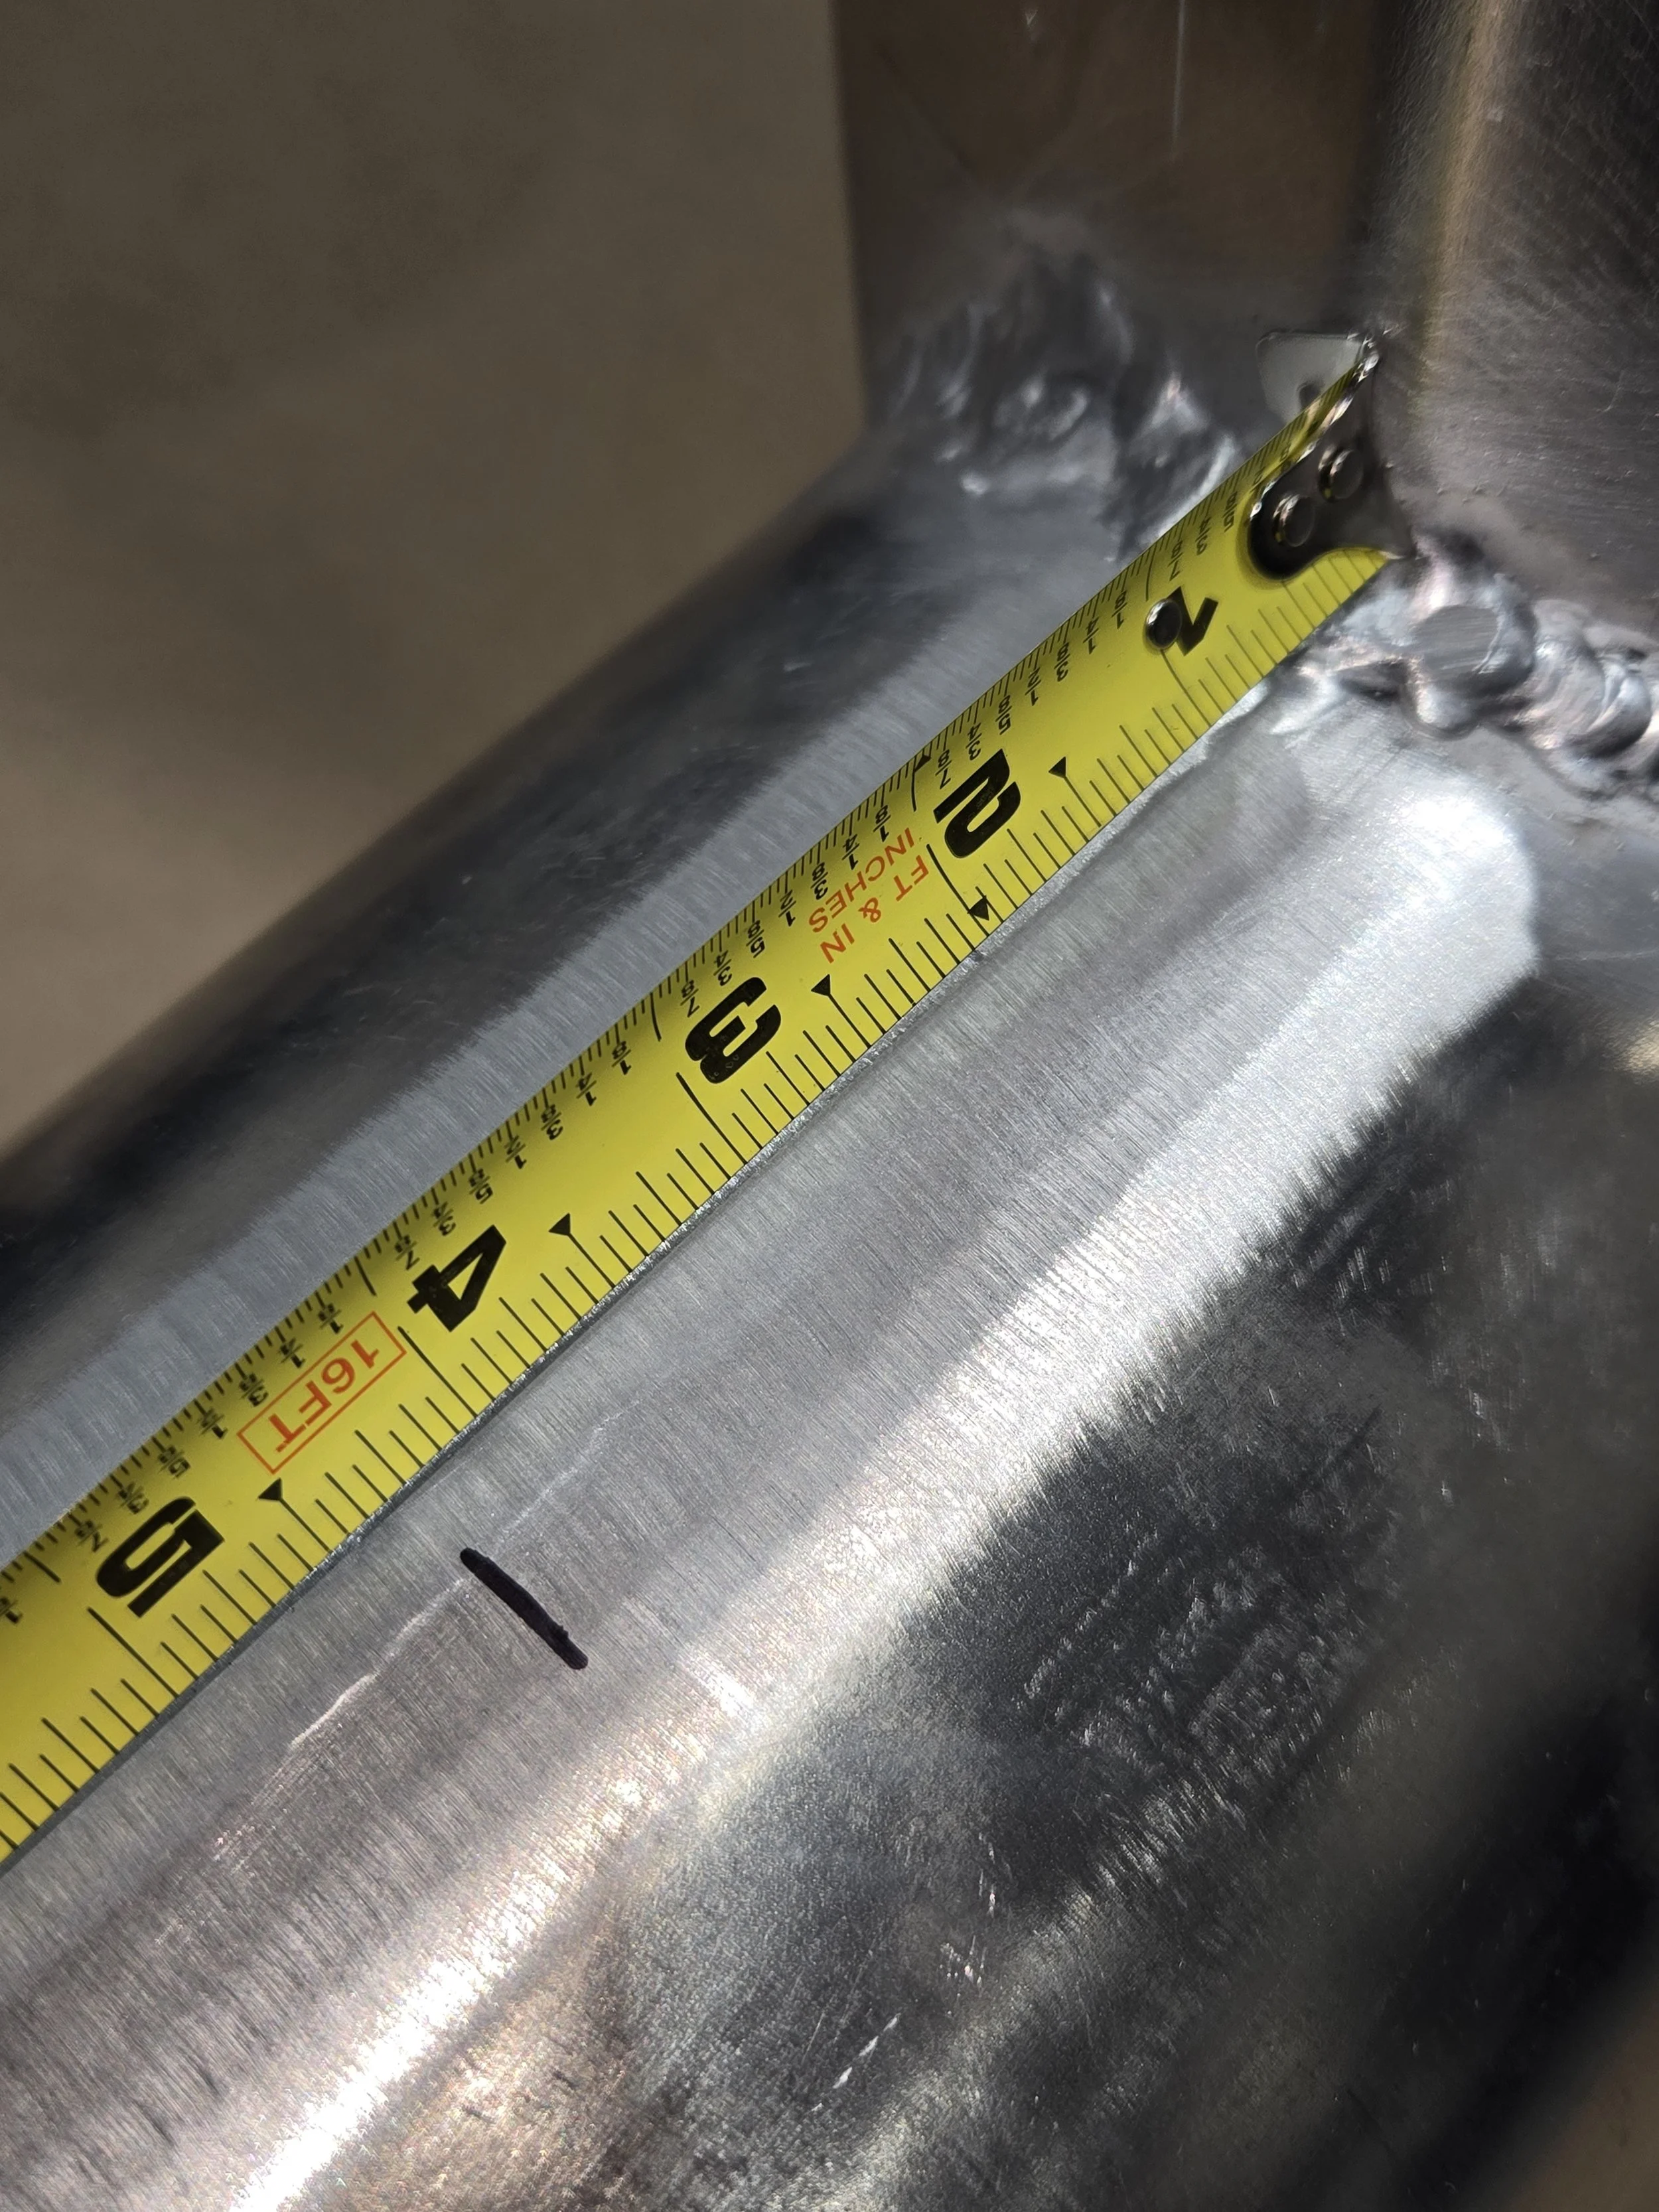
Measure the center of a groove about halfway along the stub (about 4 inches from the edge of the box).

Transfer The Location Measurement
Remove the pipe and transfer the measurement onto the stub with a marker.
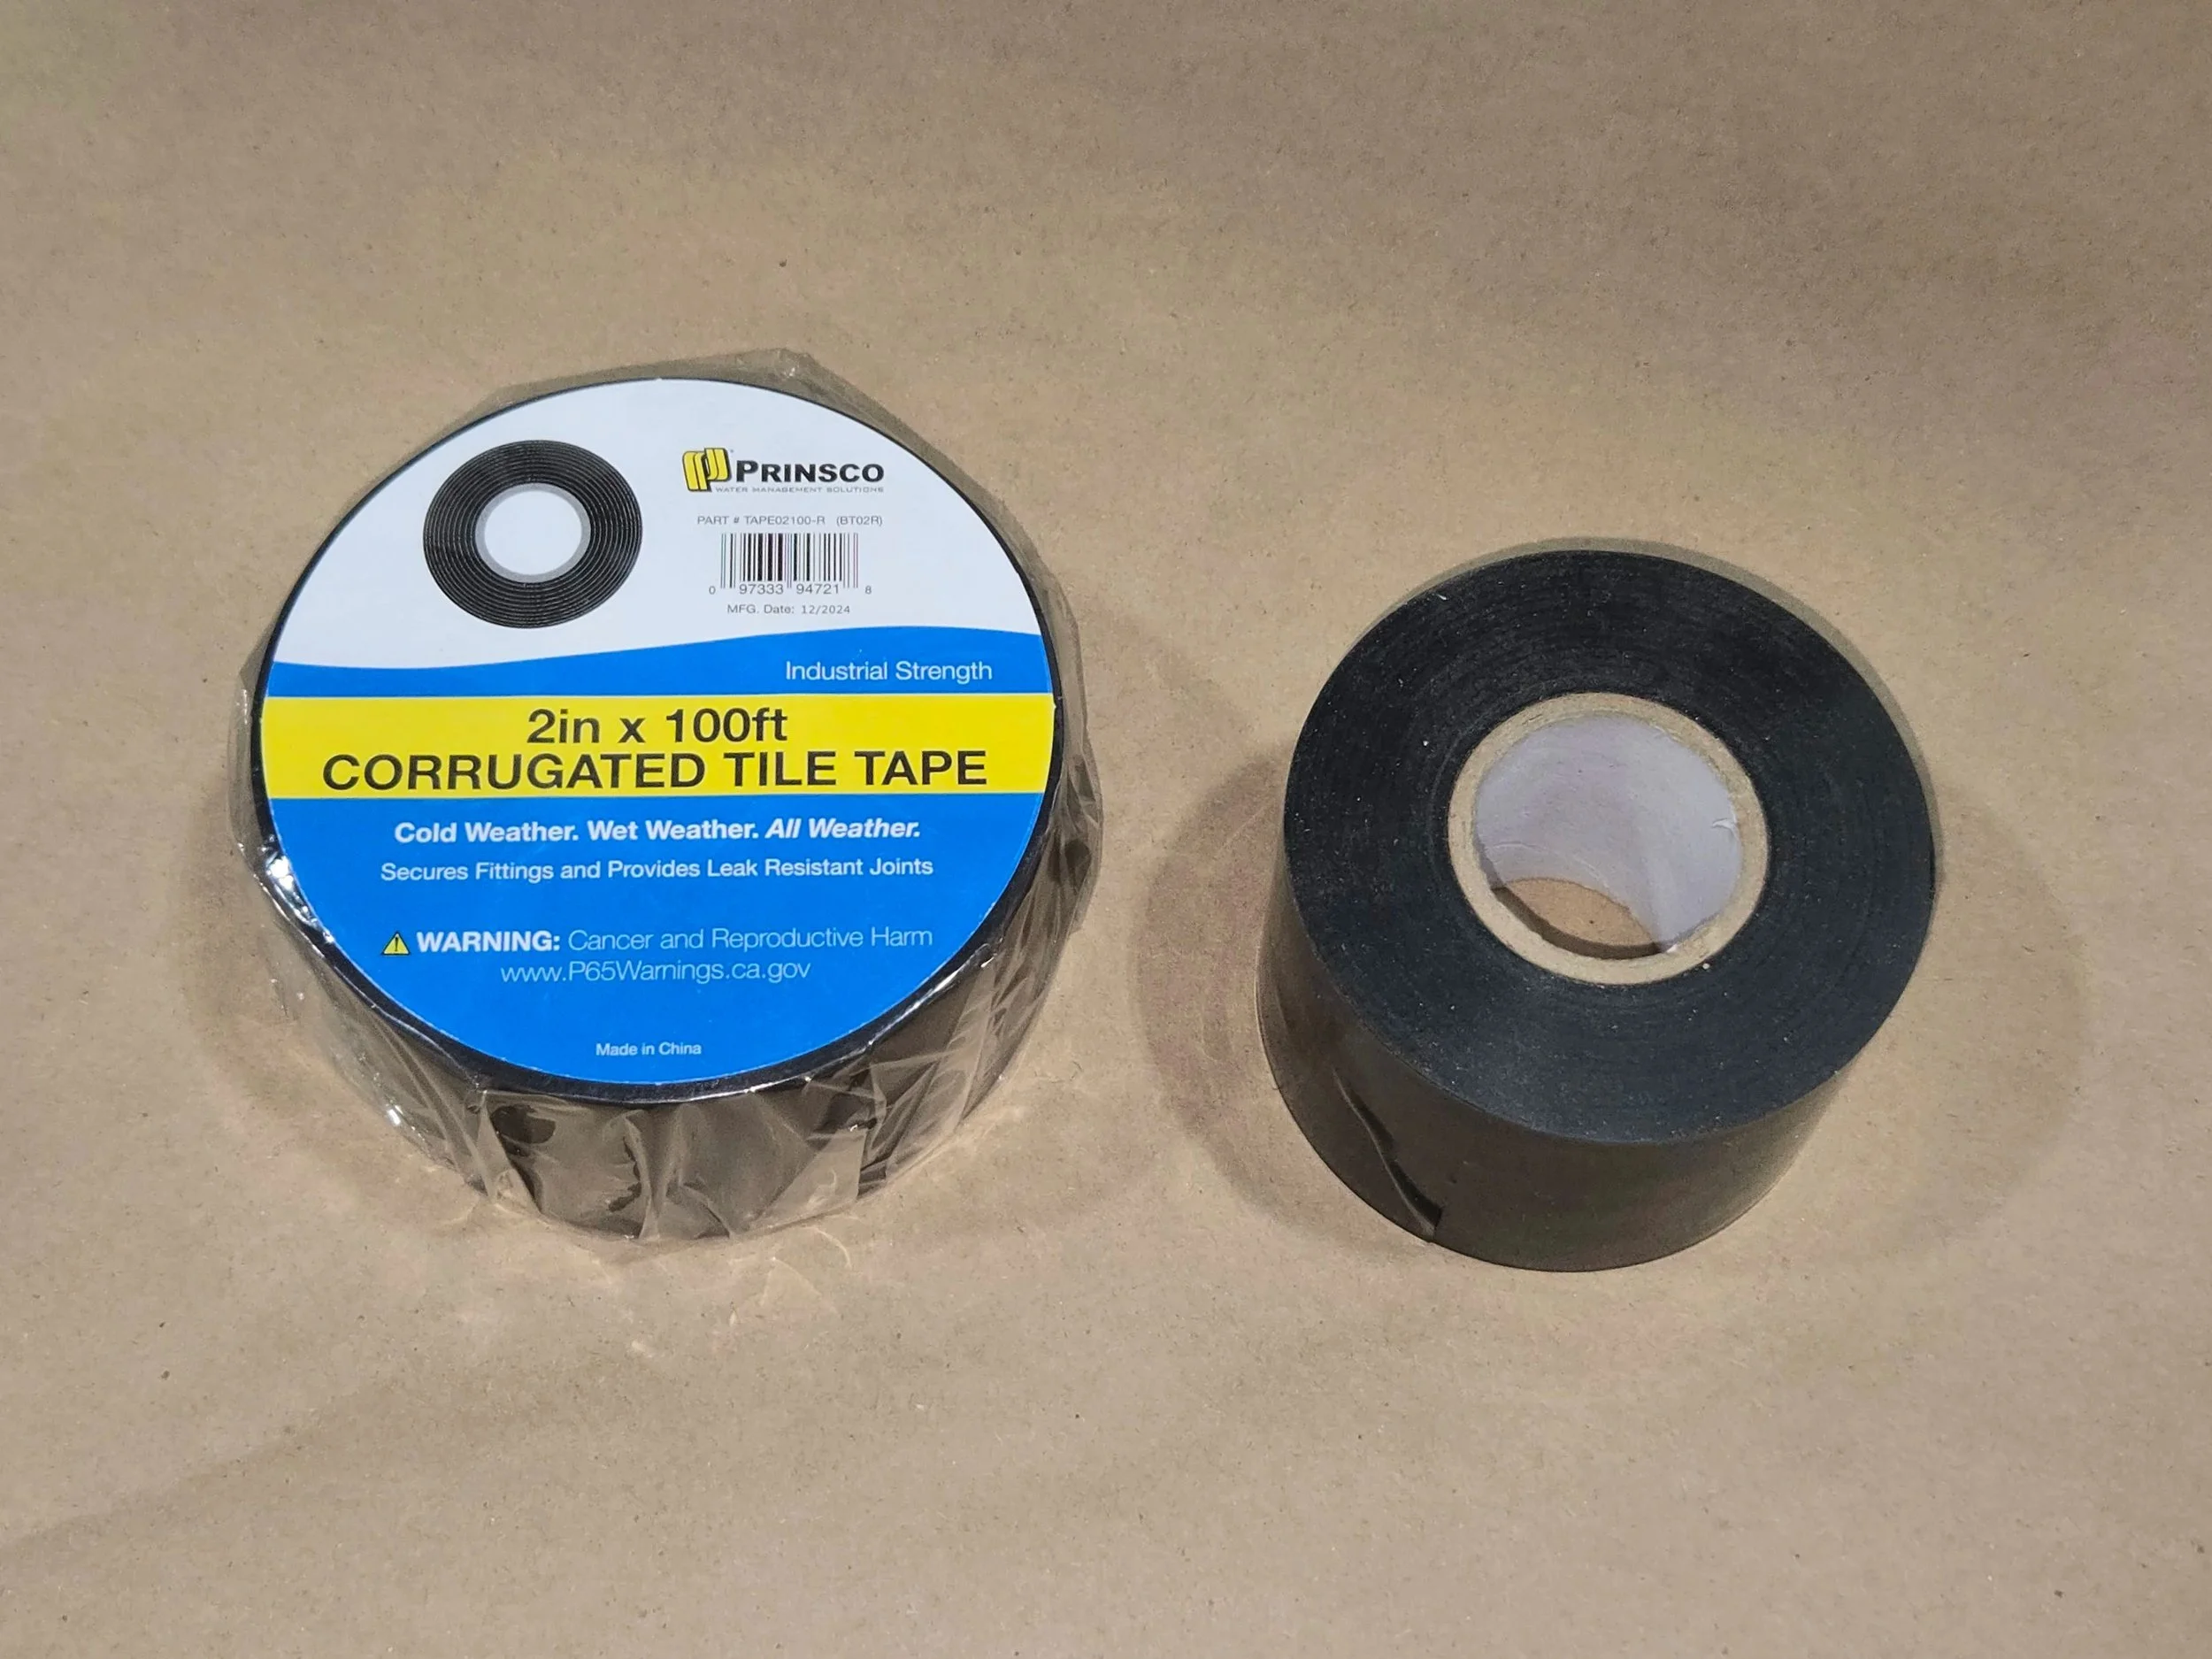
Place Tile Tape on the Stub
Wrap about 15 turns of “Tile Tape” (supplied) around the stub.
Center the tape over the measured mark.
The goal is to have the tape centered under the groove measured above.
Wrap the tape evenly and avoid wrinkles or kinks.
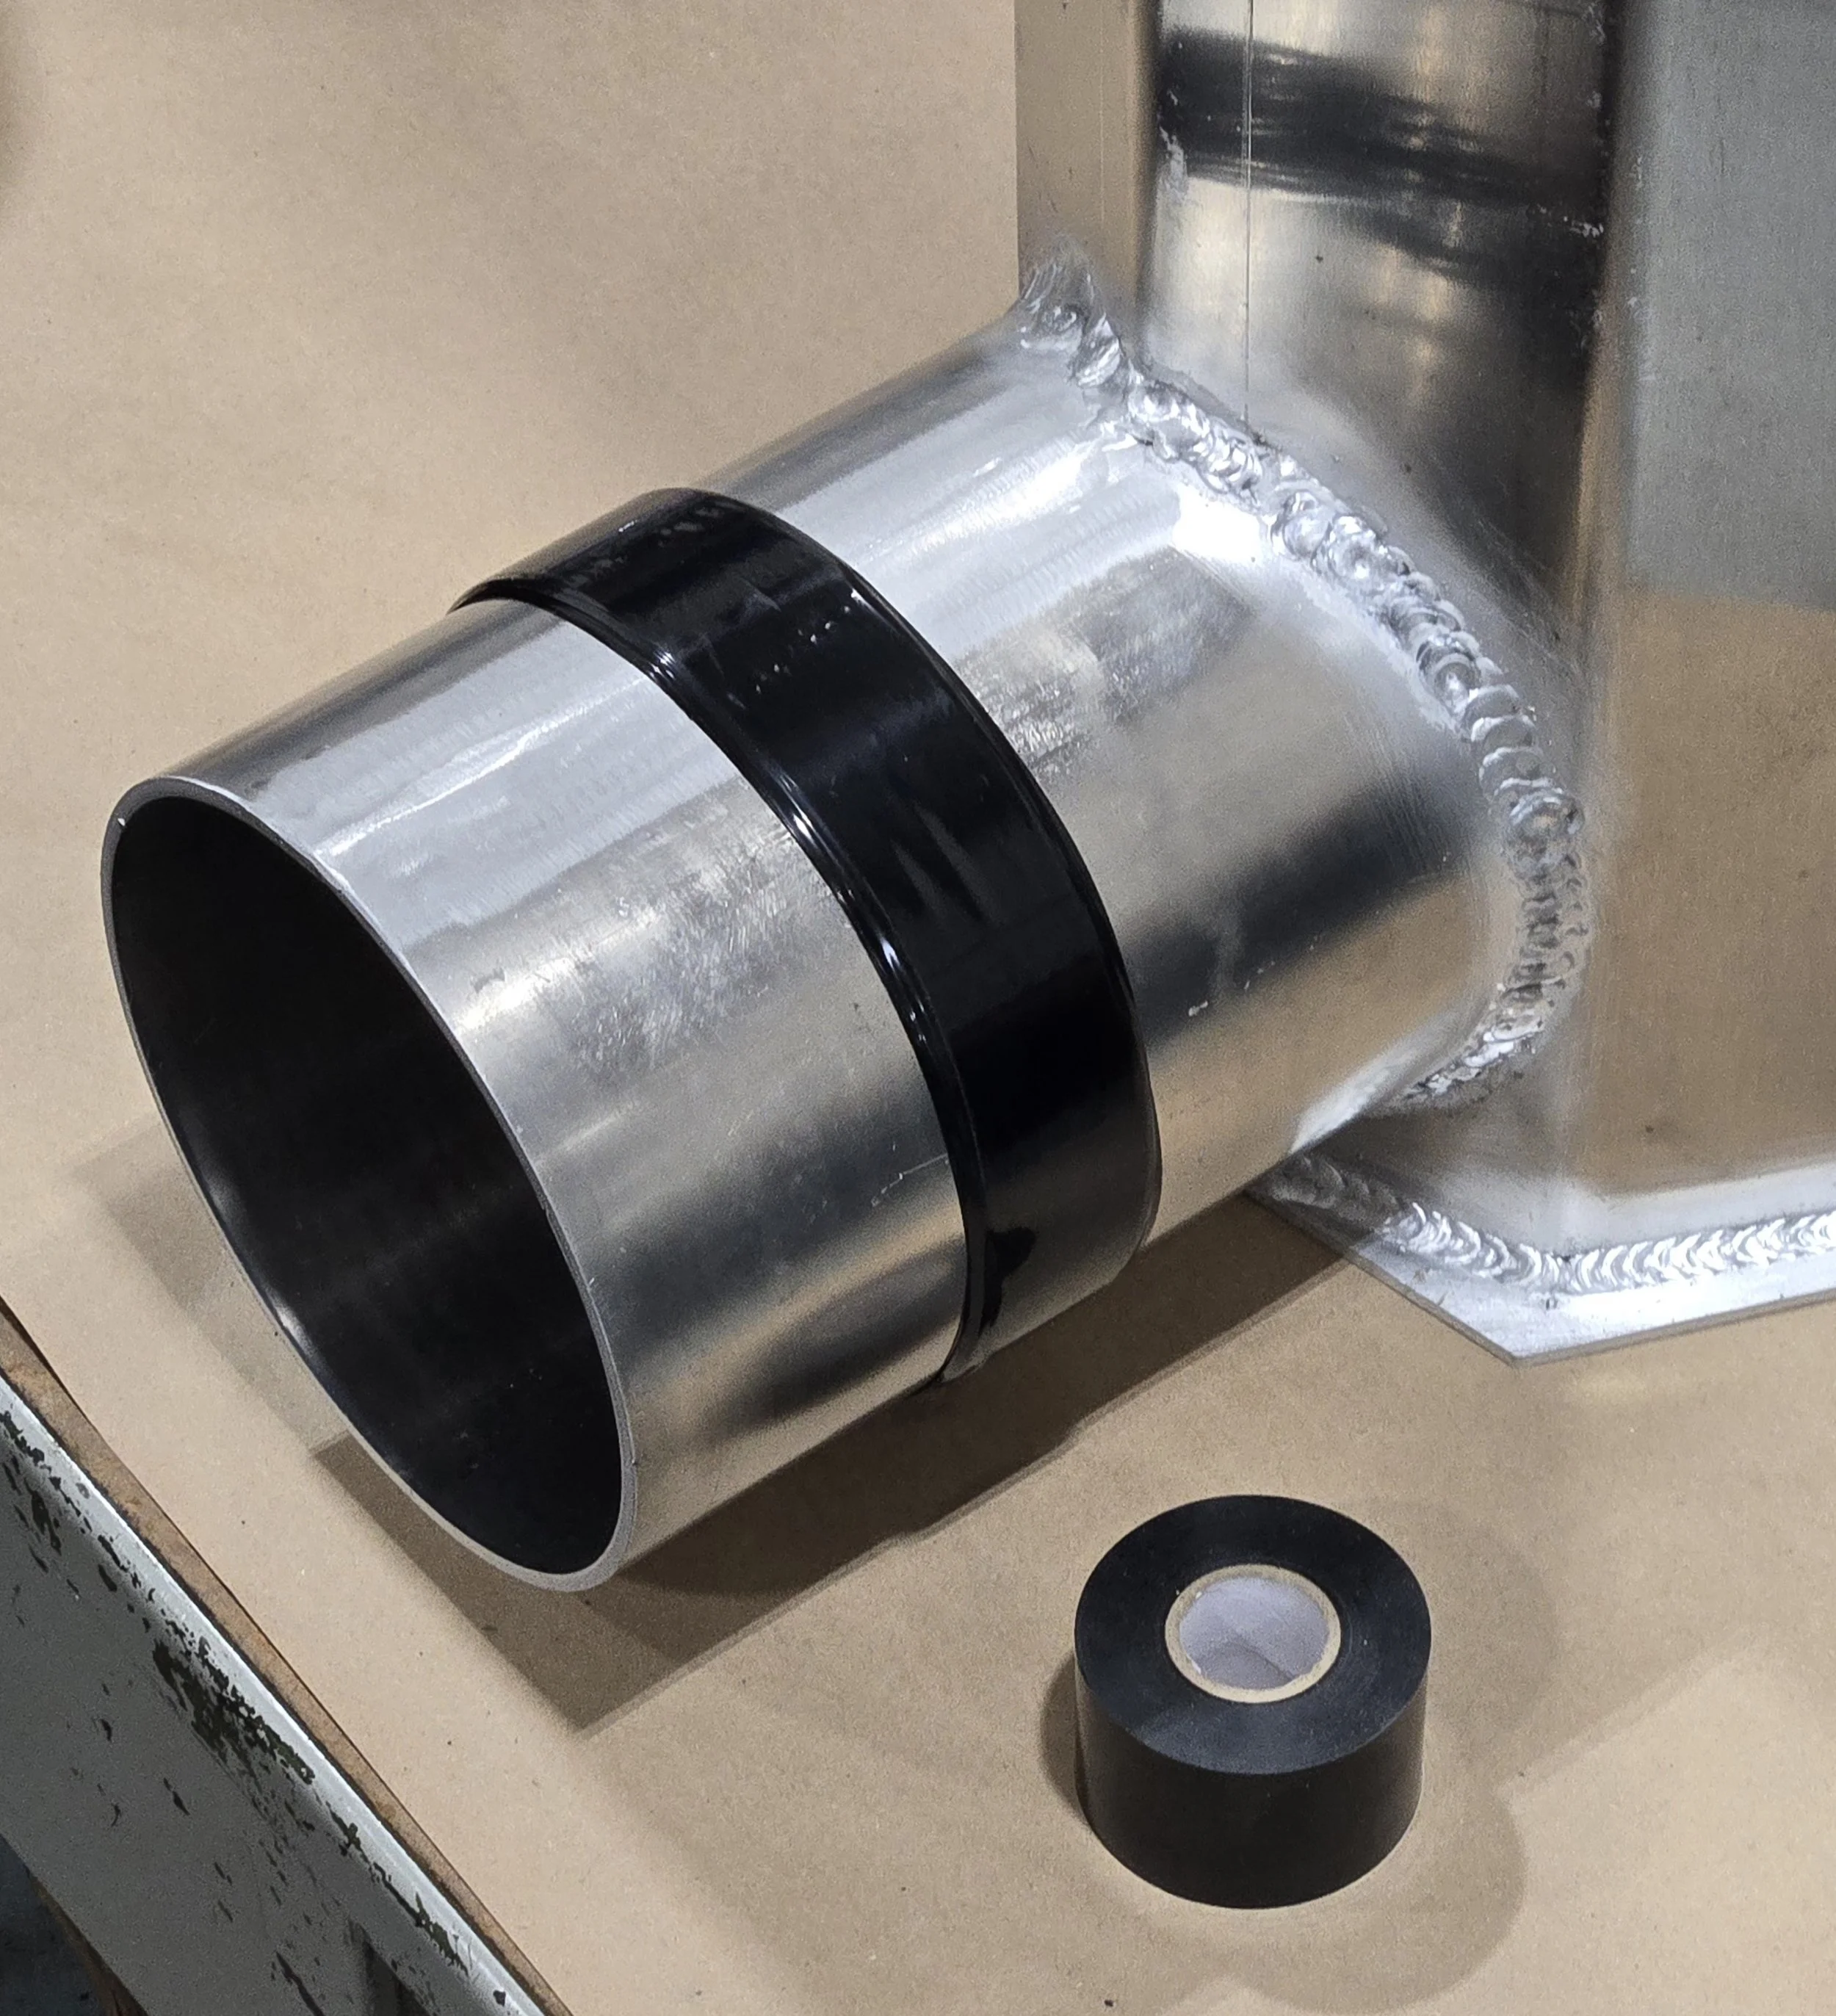
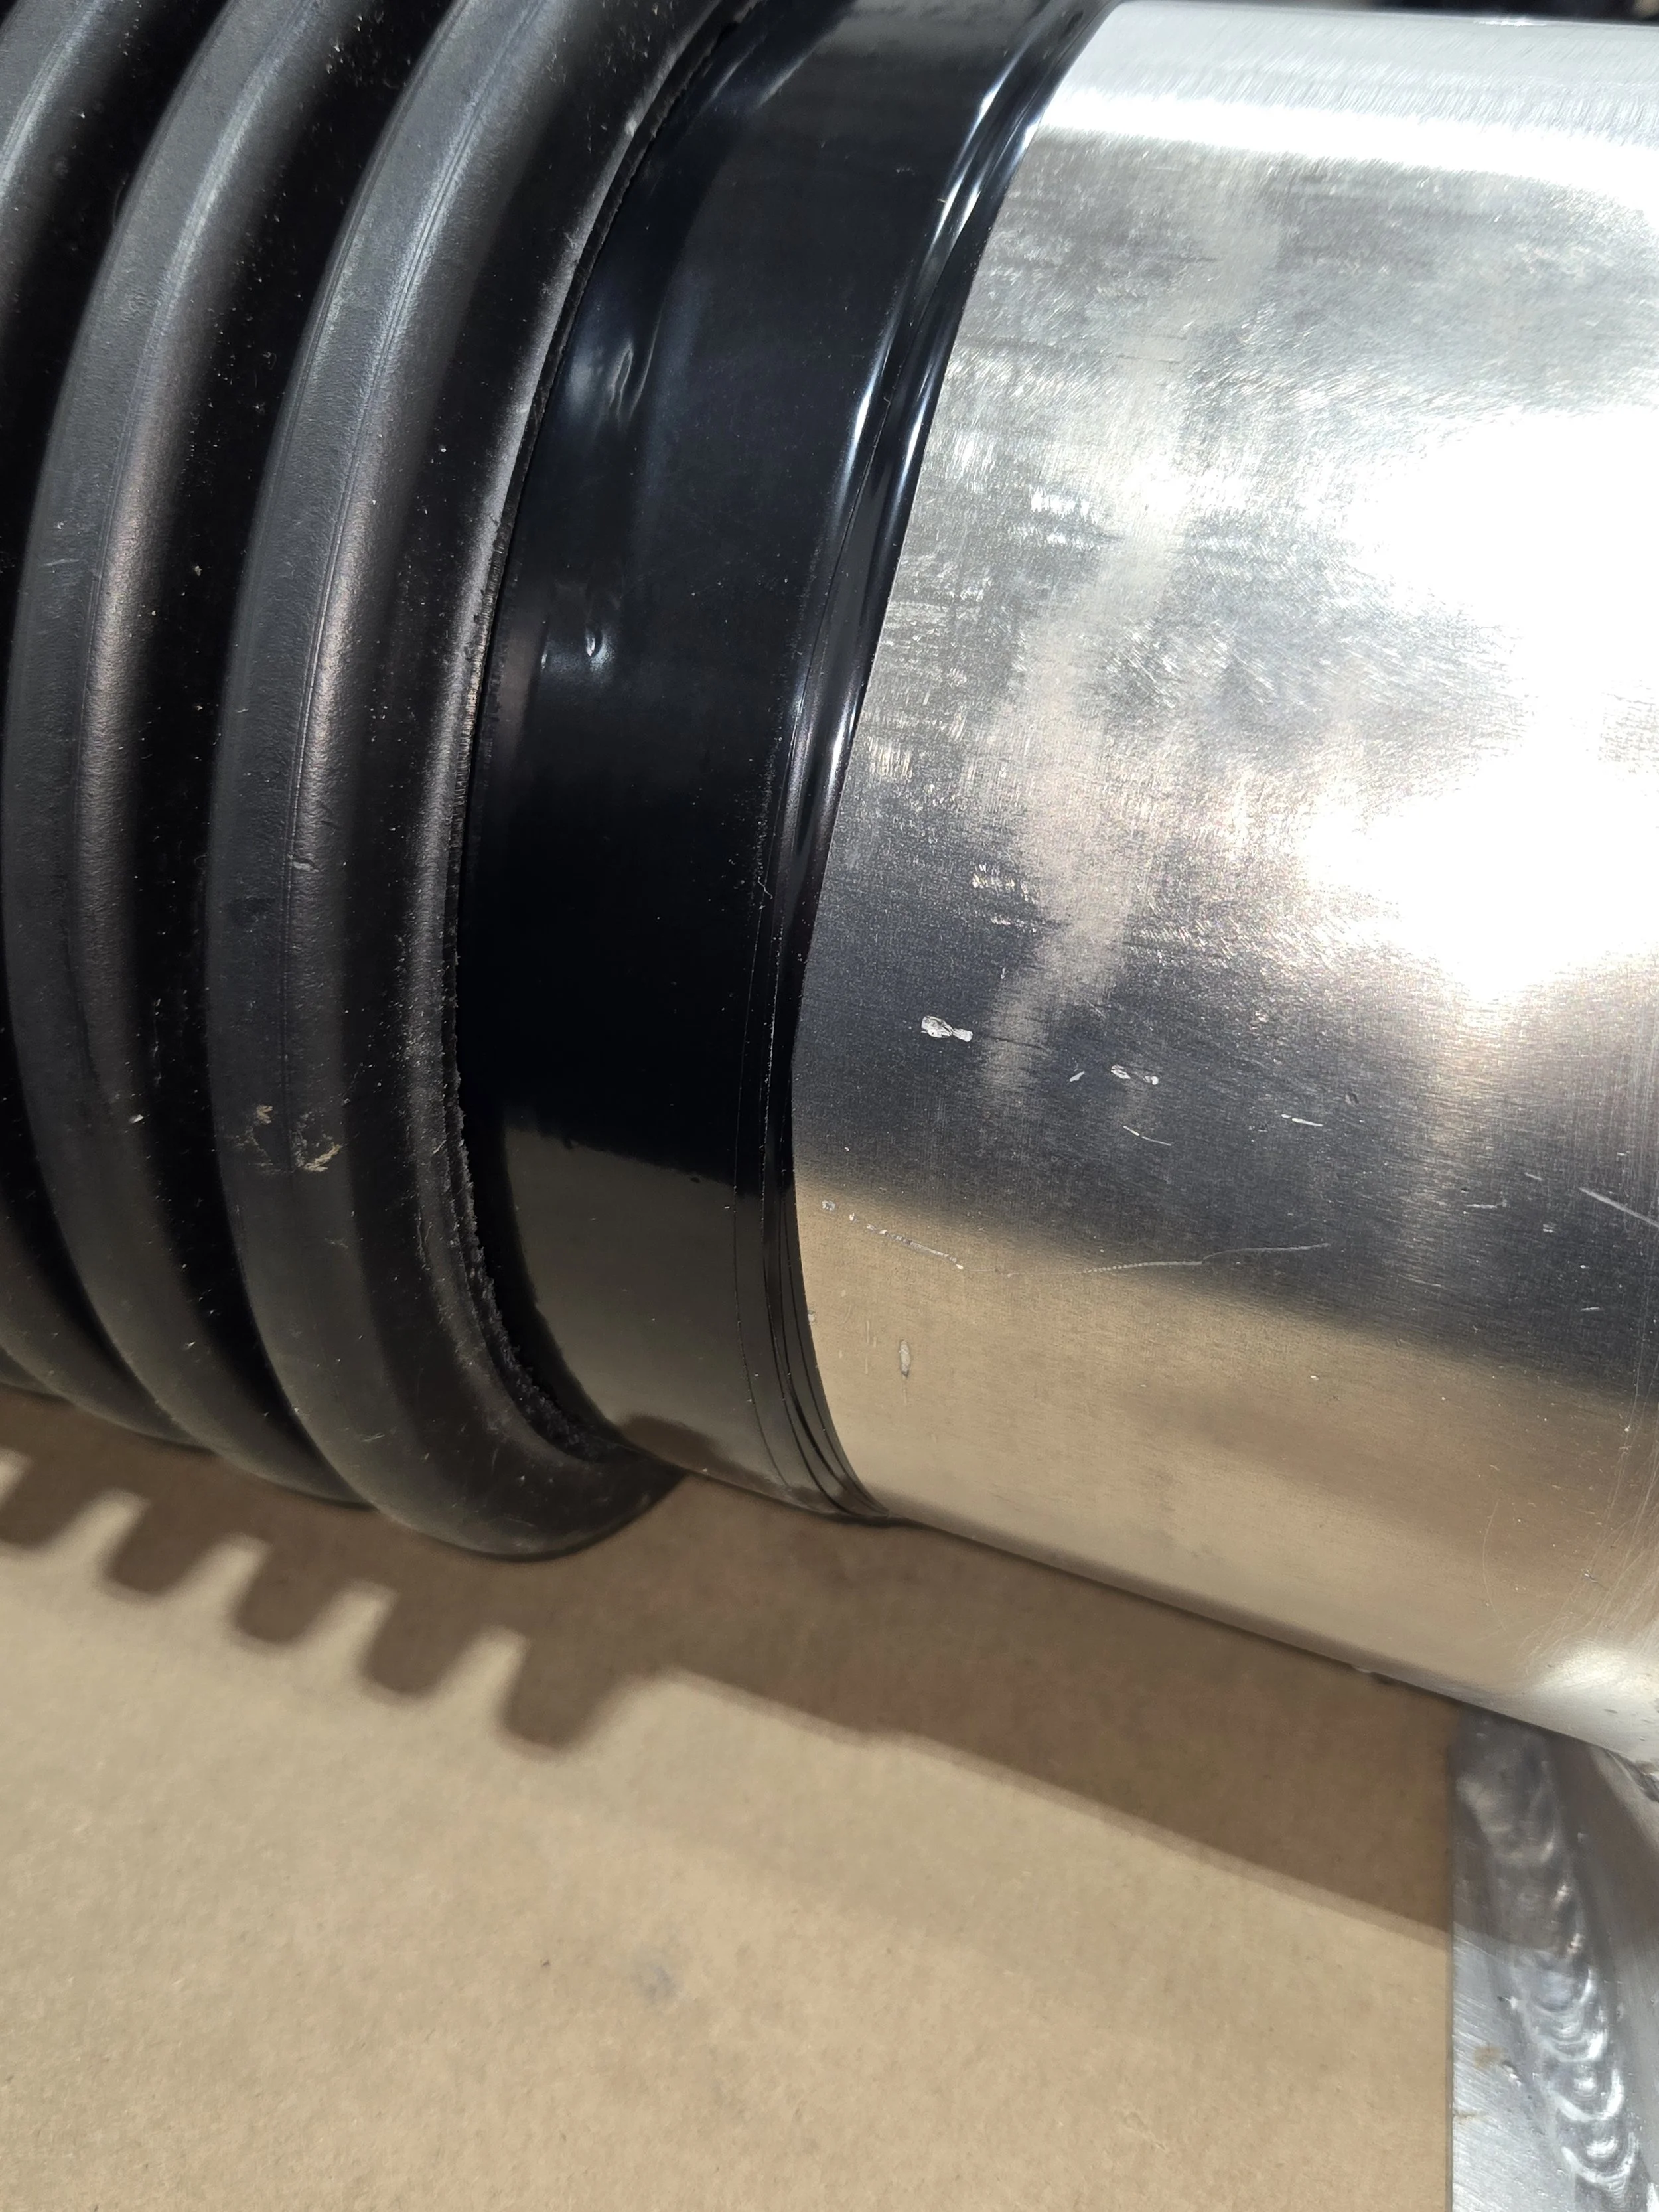
Test Fit the Pipe
Fit the pipe over the tape.
It should slide snuggly over it.
Remove a few wraps if is difficult to fit the pipe over it.
Add a few wraps if the pipe is loose over the tape.
Prepare the Clamp
Loosely assemble the clamp.
Fully engage the nuts but do not run them down.
The hardware is not directional so place the screws so the nuts are facing the same direction. This makes it easier to tighten the clamp.
There is a washer with a square hole for the carriage bolts and a thicker washer with a round hole that goes behind the nut.
These washers are elongated to fit within the grooves on the clamp. It is important to align the washers with the grooves and ensure they seat properly. These washers will keep the bolt from turning as you tighten the clamp.
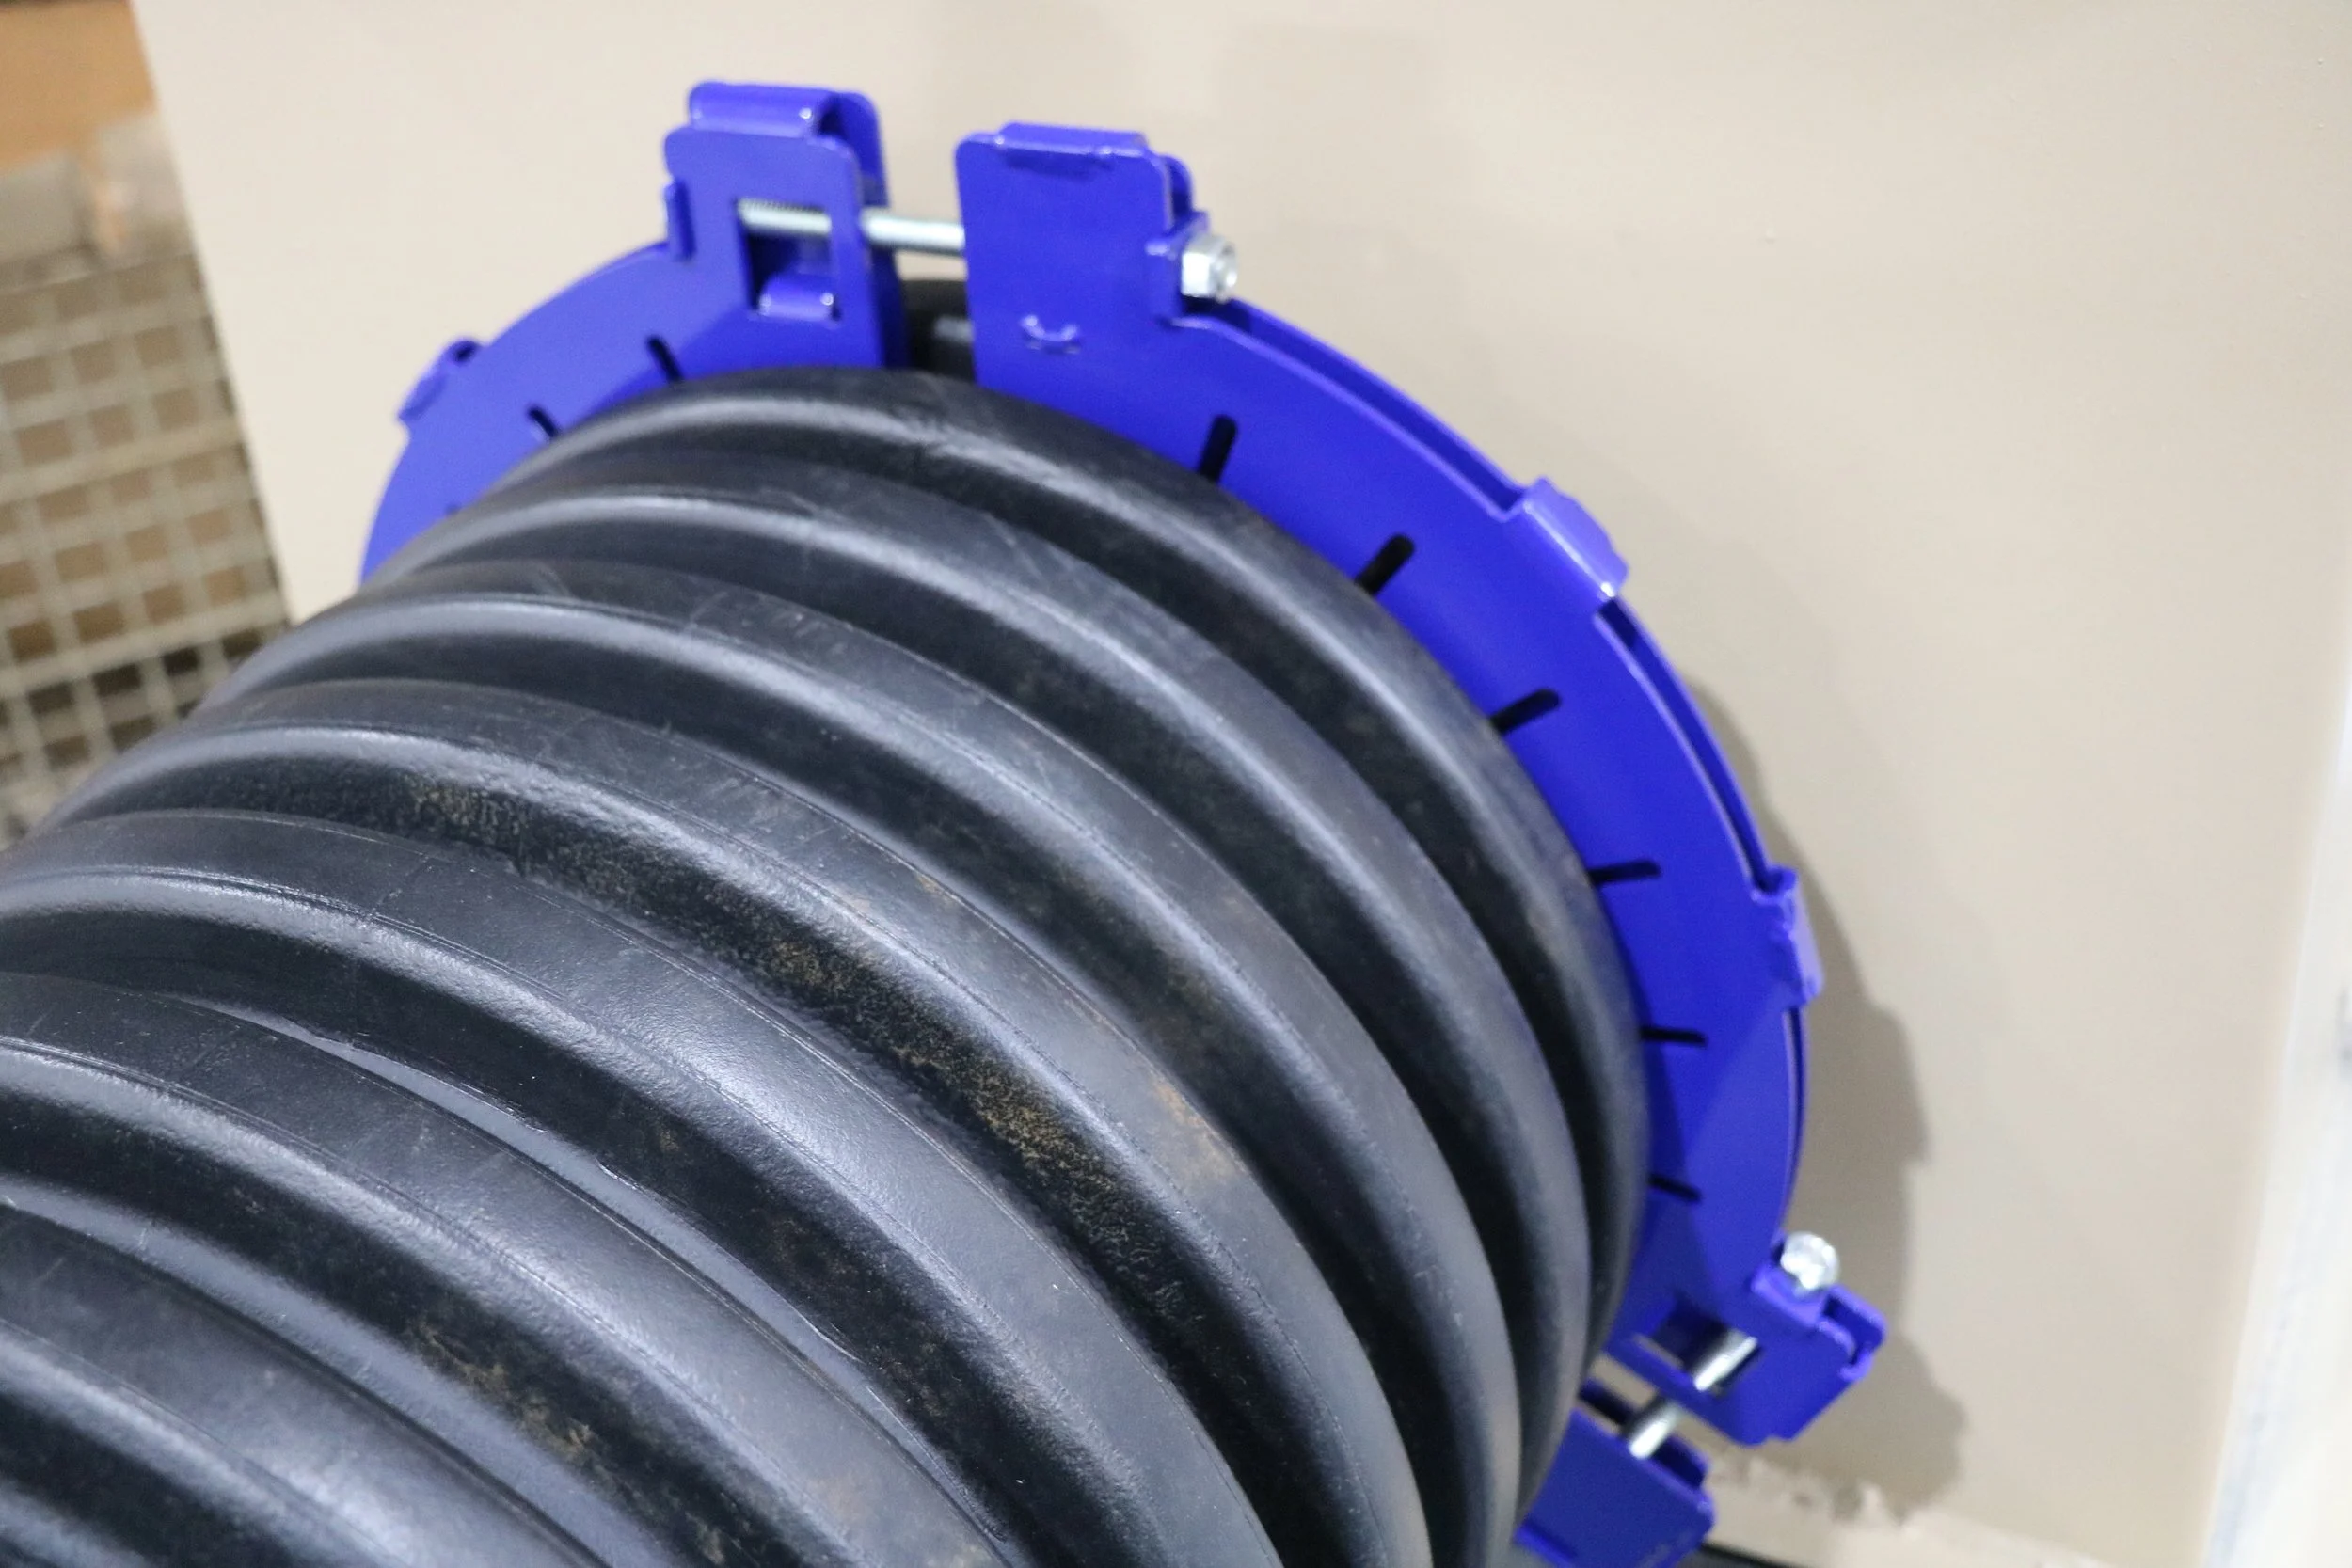
Arrange the clamp segments around the pipe.
Place the clamp in the same groove that was measured!
The clamp will fit between the ribs.
Place the third bolt in the clamp.
Rotate it to provide the easiest access to all of the nuts.
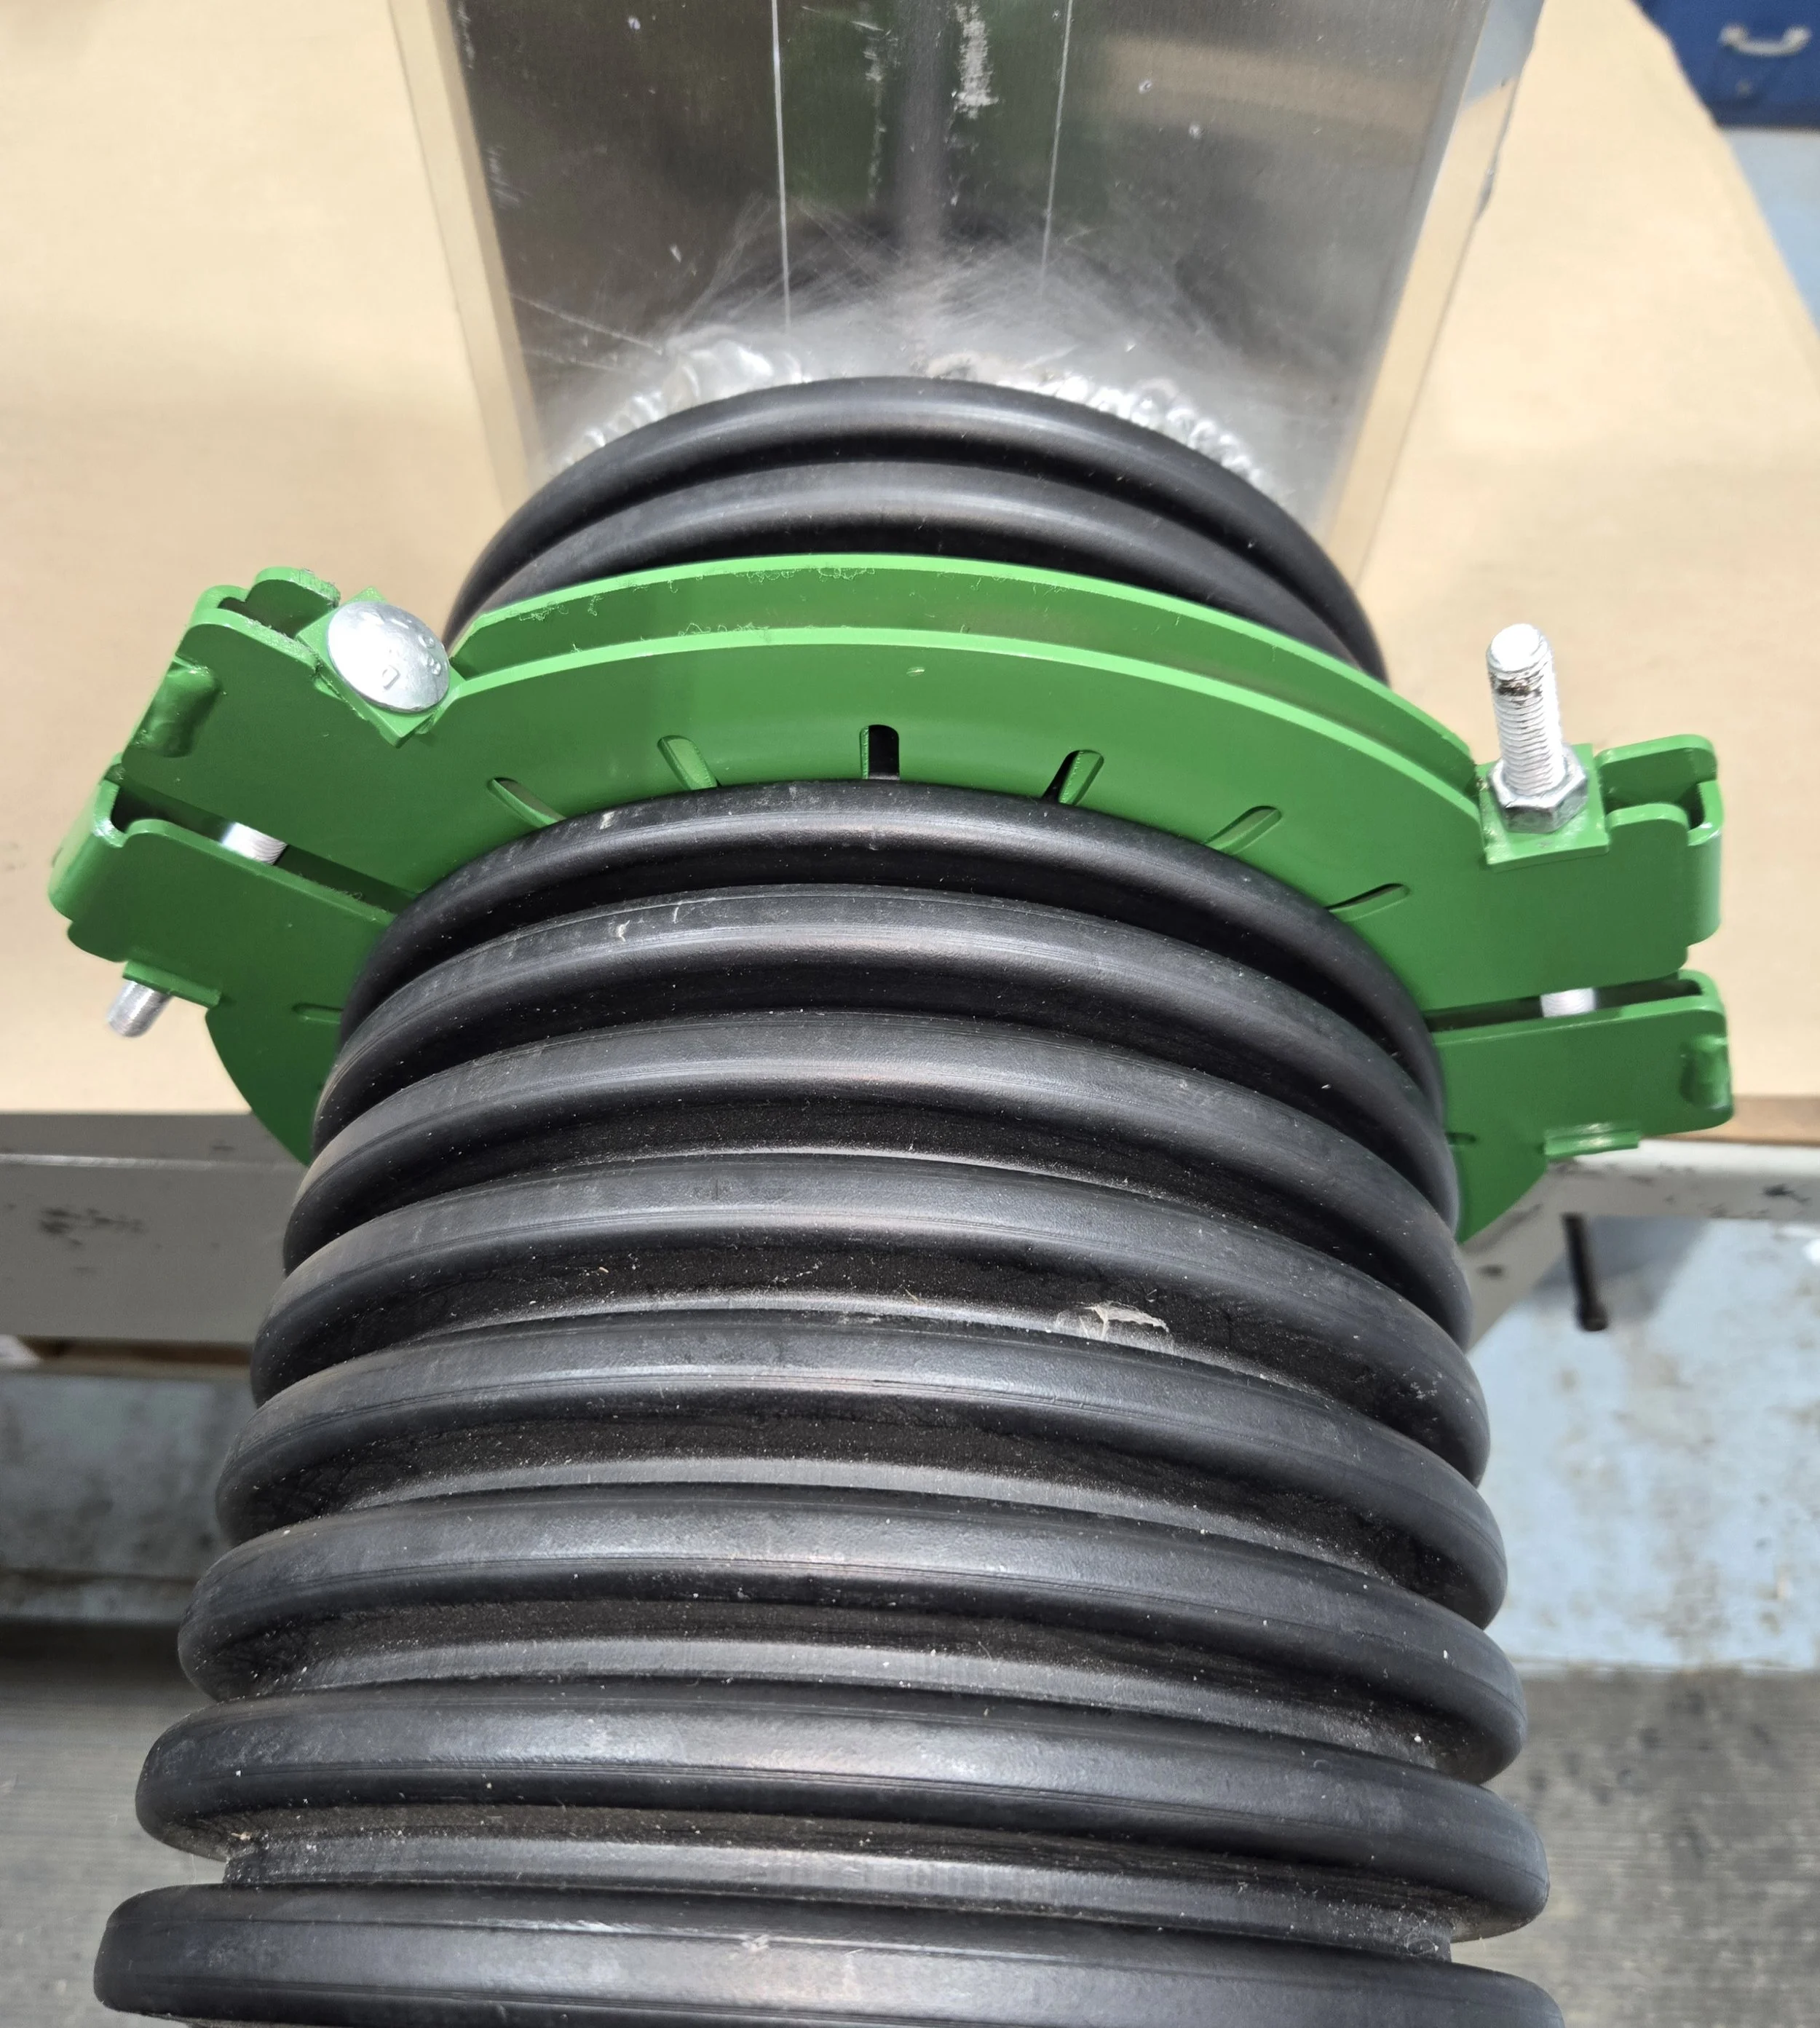
Clamp in the initial position.
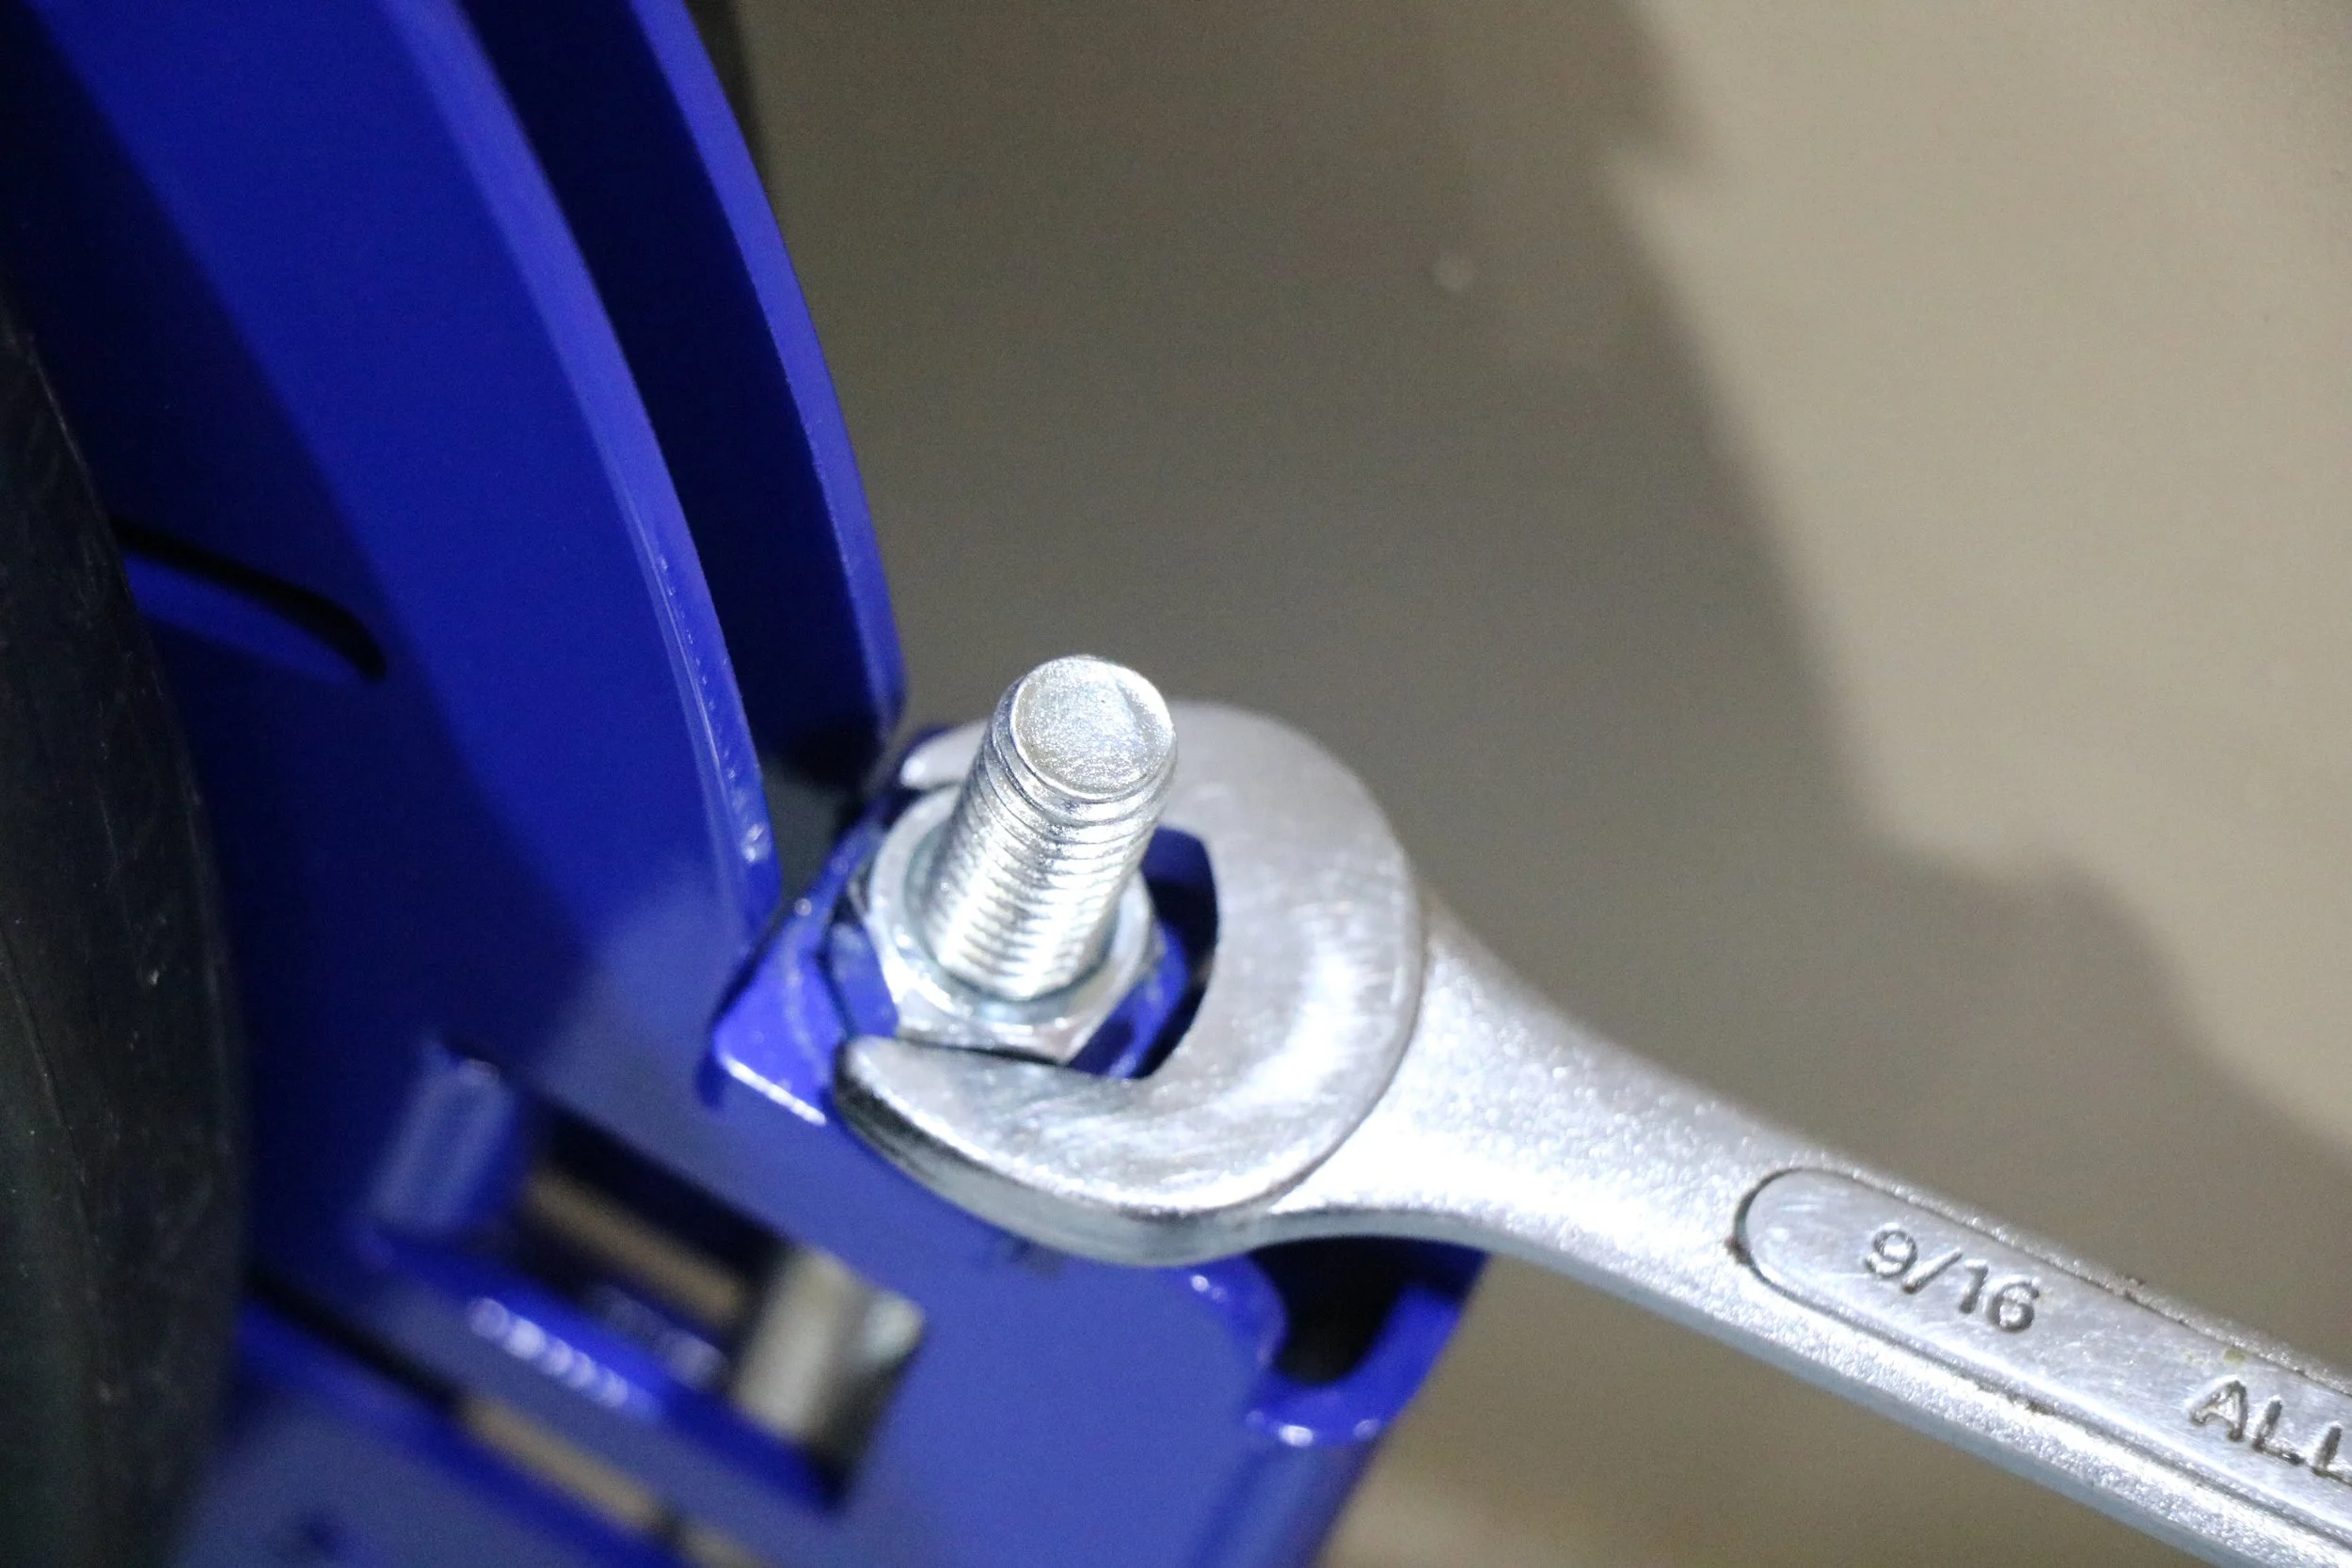
Tighten The Clamp
Installation of the clamps for pipe up to 18-inches in diameter use 9/16-inch nuts.
A deep well 9/16-inch socket can speed the process if available.
It is best to avoid using an impact wrench because it can easily exceed the torque rating of the bolts supplied.
Compression clamps for larger pipes utilize larger hardware and an impact wrench is very useful.
Draw the bolts in EVENLY.
Add a few turns to each nut working back and forth between all of the bolts. This is important to ensure the clamp engages evenly.
You will feel the force increase on the wrench as the clamp begins to compress the plastic pipe. As the clamp is drawn closed, the force on the wrench will increase dramatically. This is the point where the clamp has compressed the plastic tightly against the metal nipple and is beginning to squeeze the plastic to create the seal.


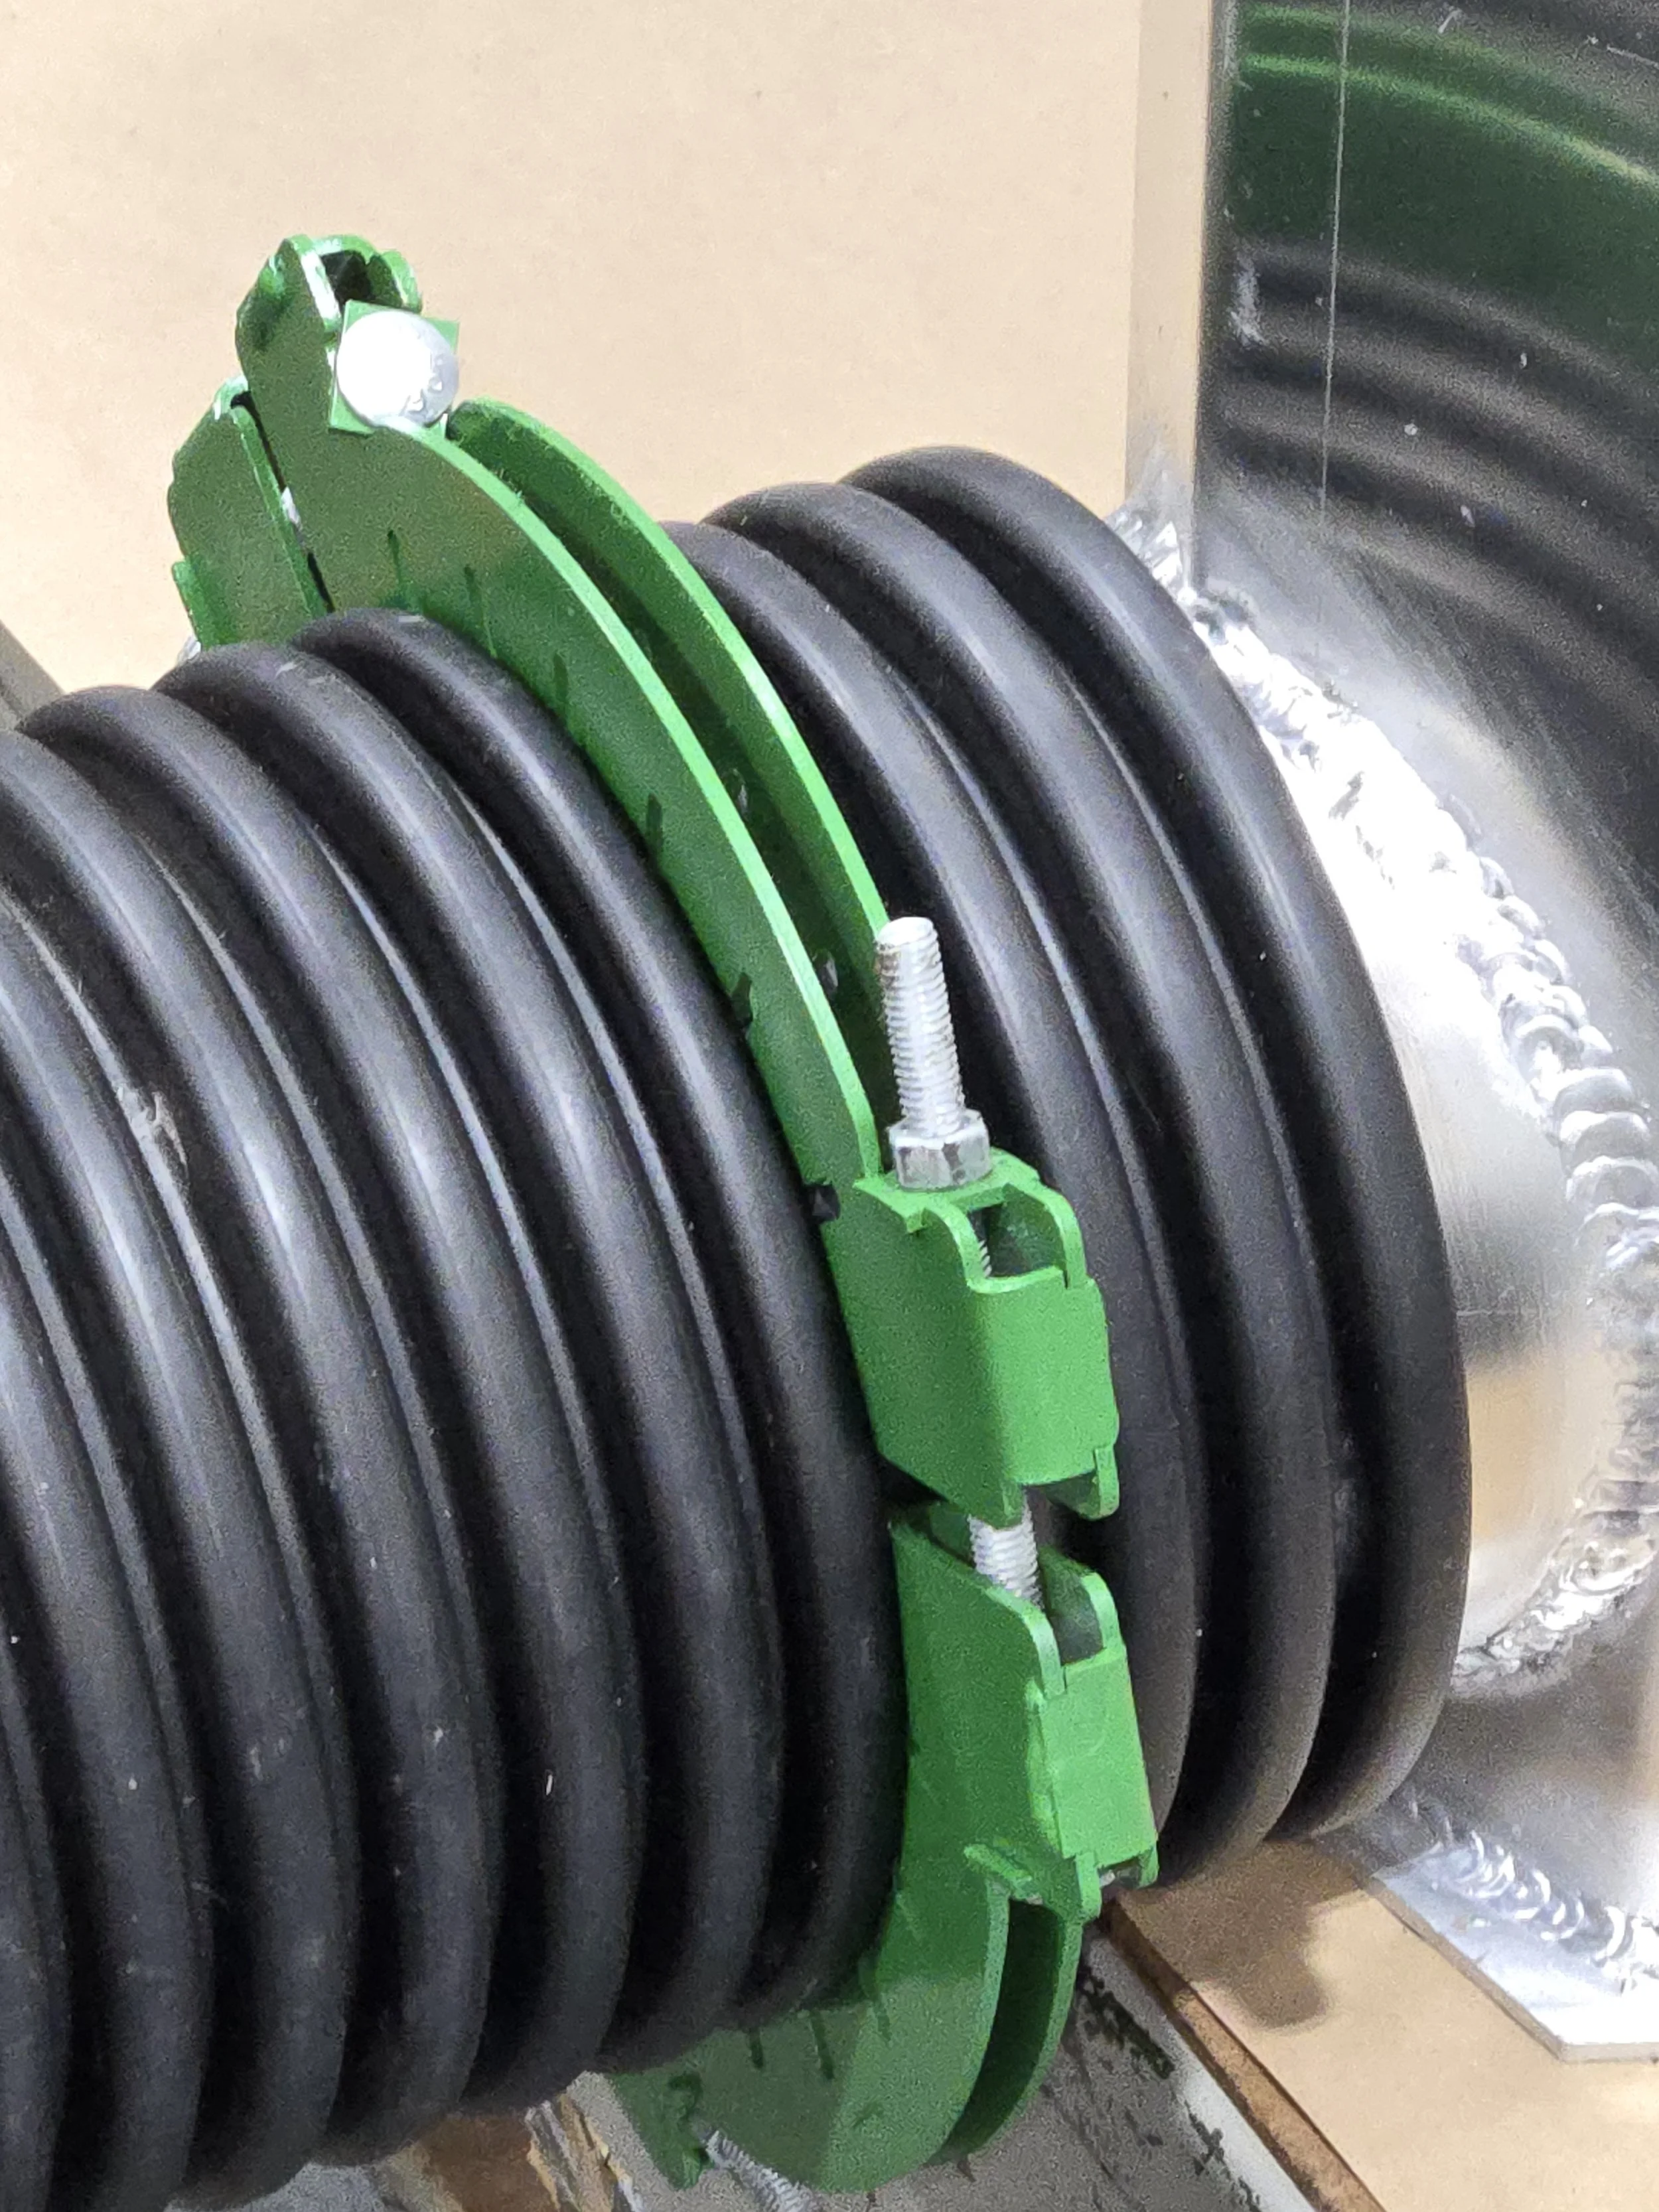
Properly tightened clamp
Snug the nuts a few more turns to complete the seal.
The pipe should now be rigidly attached to the box.
DO NOT tighten the clamps until the gaps between the segments completely close — the bolts will be under extreme load and will eventually break.
Beware of using an an impact wrench because it can apply far more torque than the bolts can withstand.
You should have about a 1/4 to 3/8-inch gap between each of the segments once the clamp is tight.
See the field installation of these clamps HERE
IF There is Doubt About the Placement or Integrity of the Seal
Loosen the clamp and slide the pipe back to examine the tape.
If the seal is good, there will be an even impression in the tape all the way around the stub.
The impression will be slightly indented demonstrating the clamp was properly compressing the pipe.
Extra Optional Steps:
Sealing Large Diameter Pipe
Sealing Pipes on Tall Structures
Leaking can be a problem on tall structures because of the increased head pressure applied to the seal. Water will seep from the inlet and percolate through the soil and around the box to the outlet drain. Eventually, this can undermine the structure.
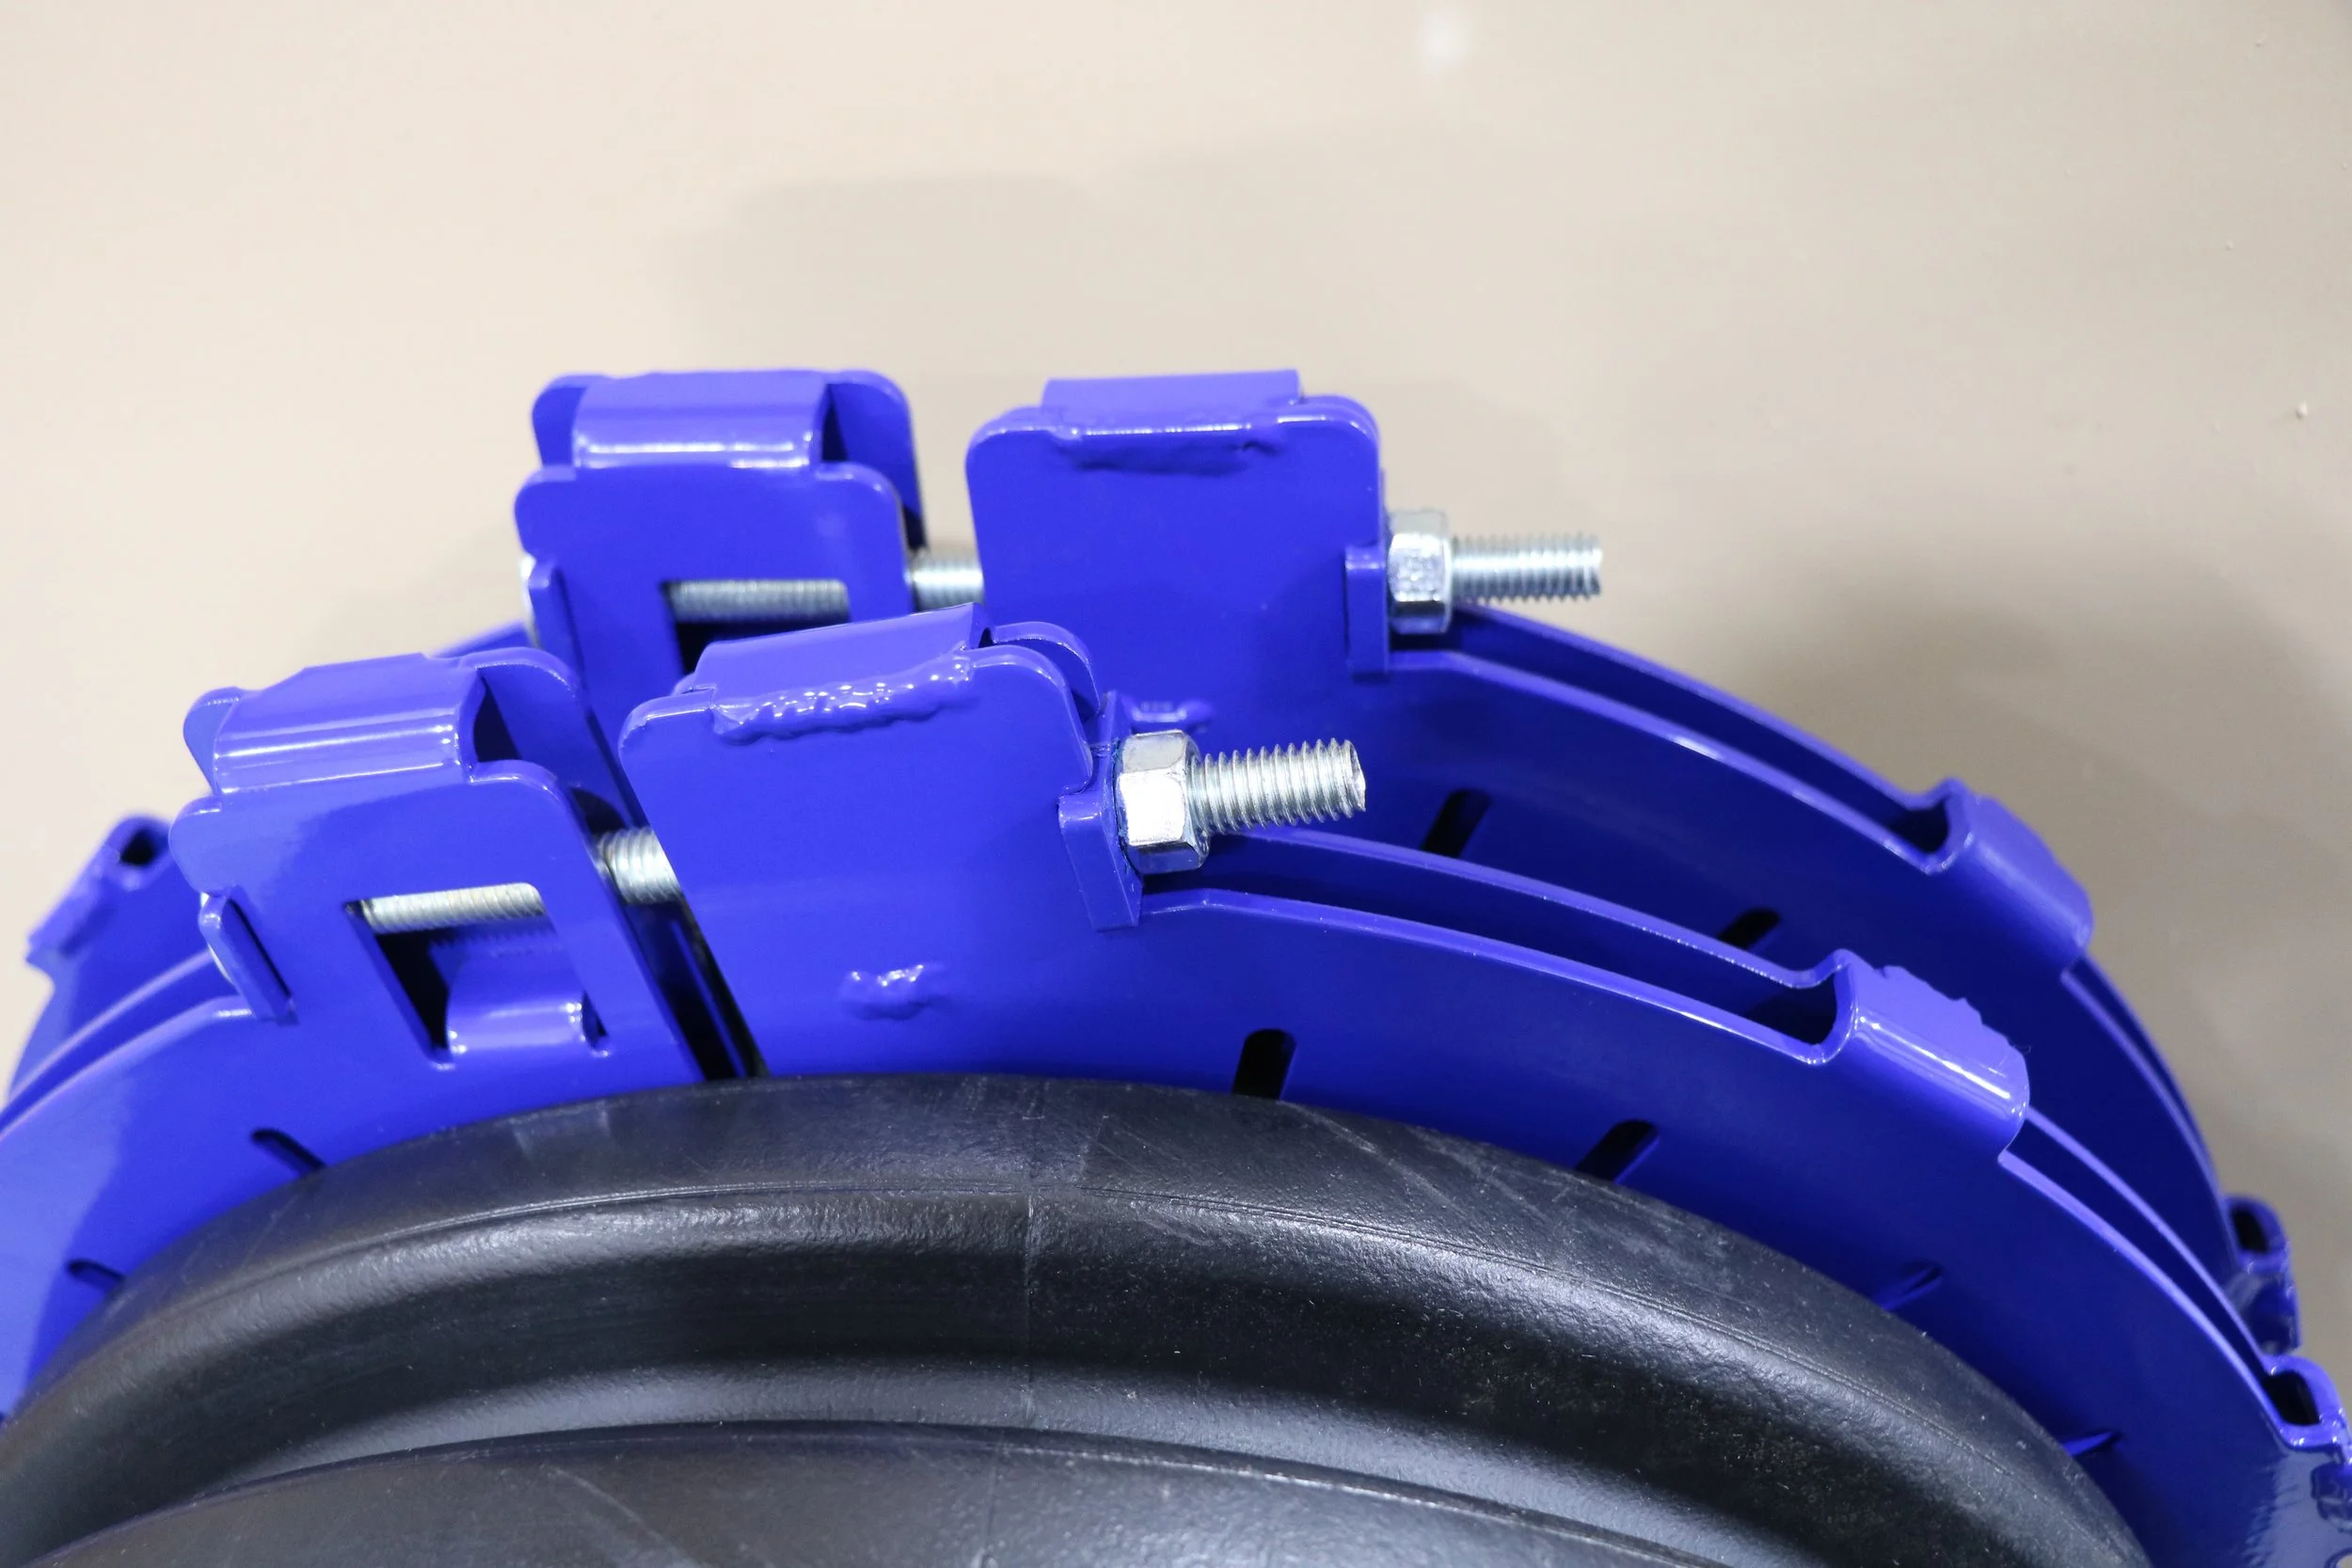
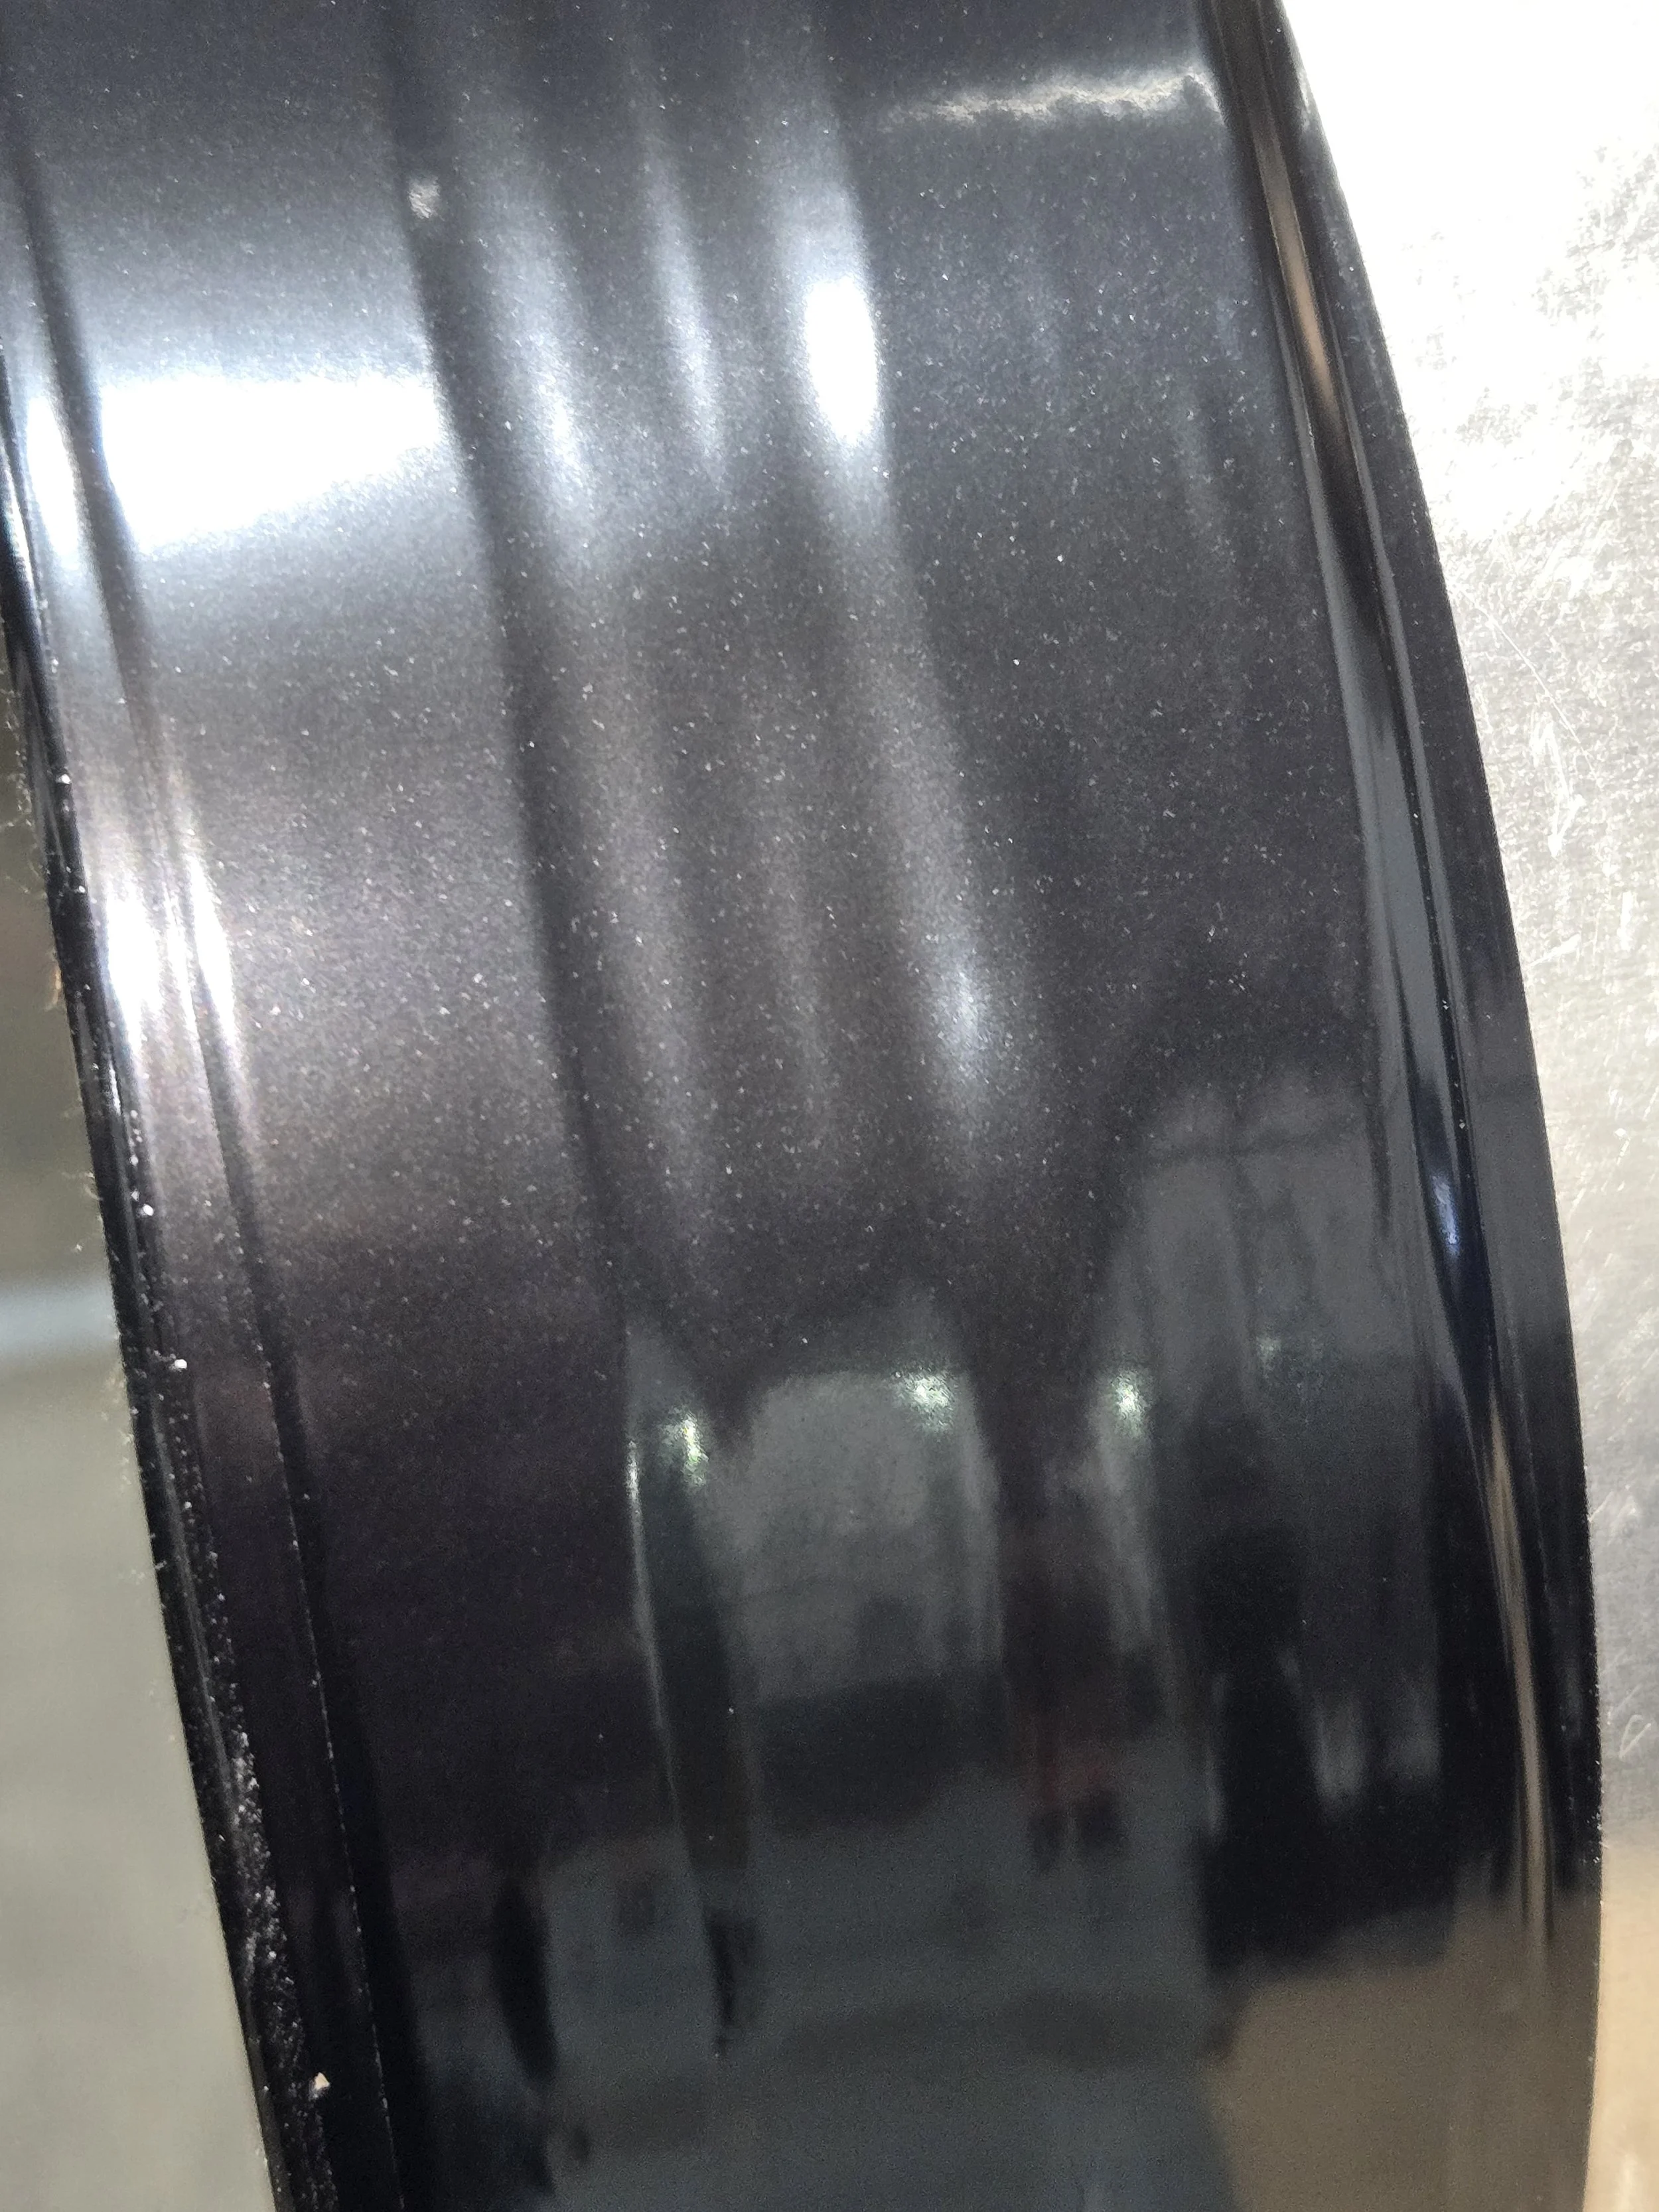
Two compression clamps can be used to improve the seal. Index or stagger the clamps by one-half of the tooth width to provide the most even sealing pressure.
An optional step involves applying an adhesive between the pipe and the inlet nipple.
Few adhesives adhere well to HDPE. We recommend a liberal coating of Dupont (formally Dow) U-418, or U-428 urethane adhesive on the inlet sleeve prior to final installation of the pipe. These single-part adhesives are used to seal automotive glass. They cure into a tough but pliable urethane rubber.
They both come in plain and “HV” versions (“HV” signifies “High Viscosity"). U-428 cures about twice as fast as U-418. For this application, any formulation will produce acceptable results.
The glue does not truly bond to the HDPE pipe but it makes a great form-fitted gasket.
Use caution — These adhesives are tenacious and are hazardous.
They make a mess of everything they inadvertently touch. They do not wash off. Wear disposable gloves and protective clothing. Follow the manufacturer’s instructions and wear the appropriate PPE.
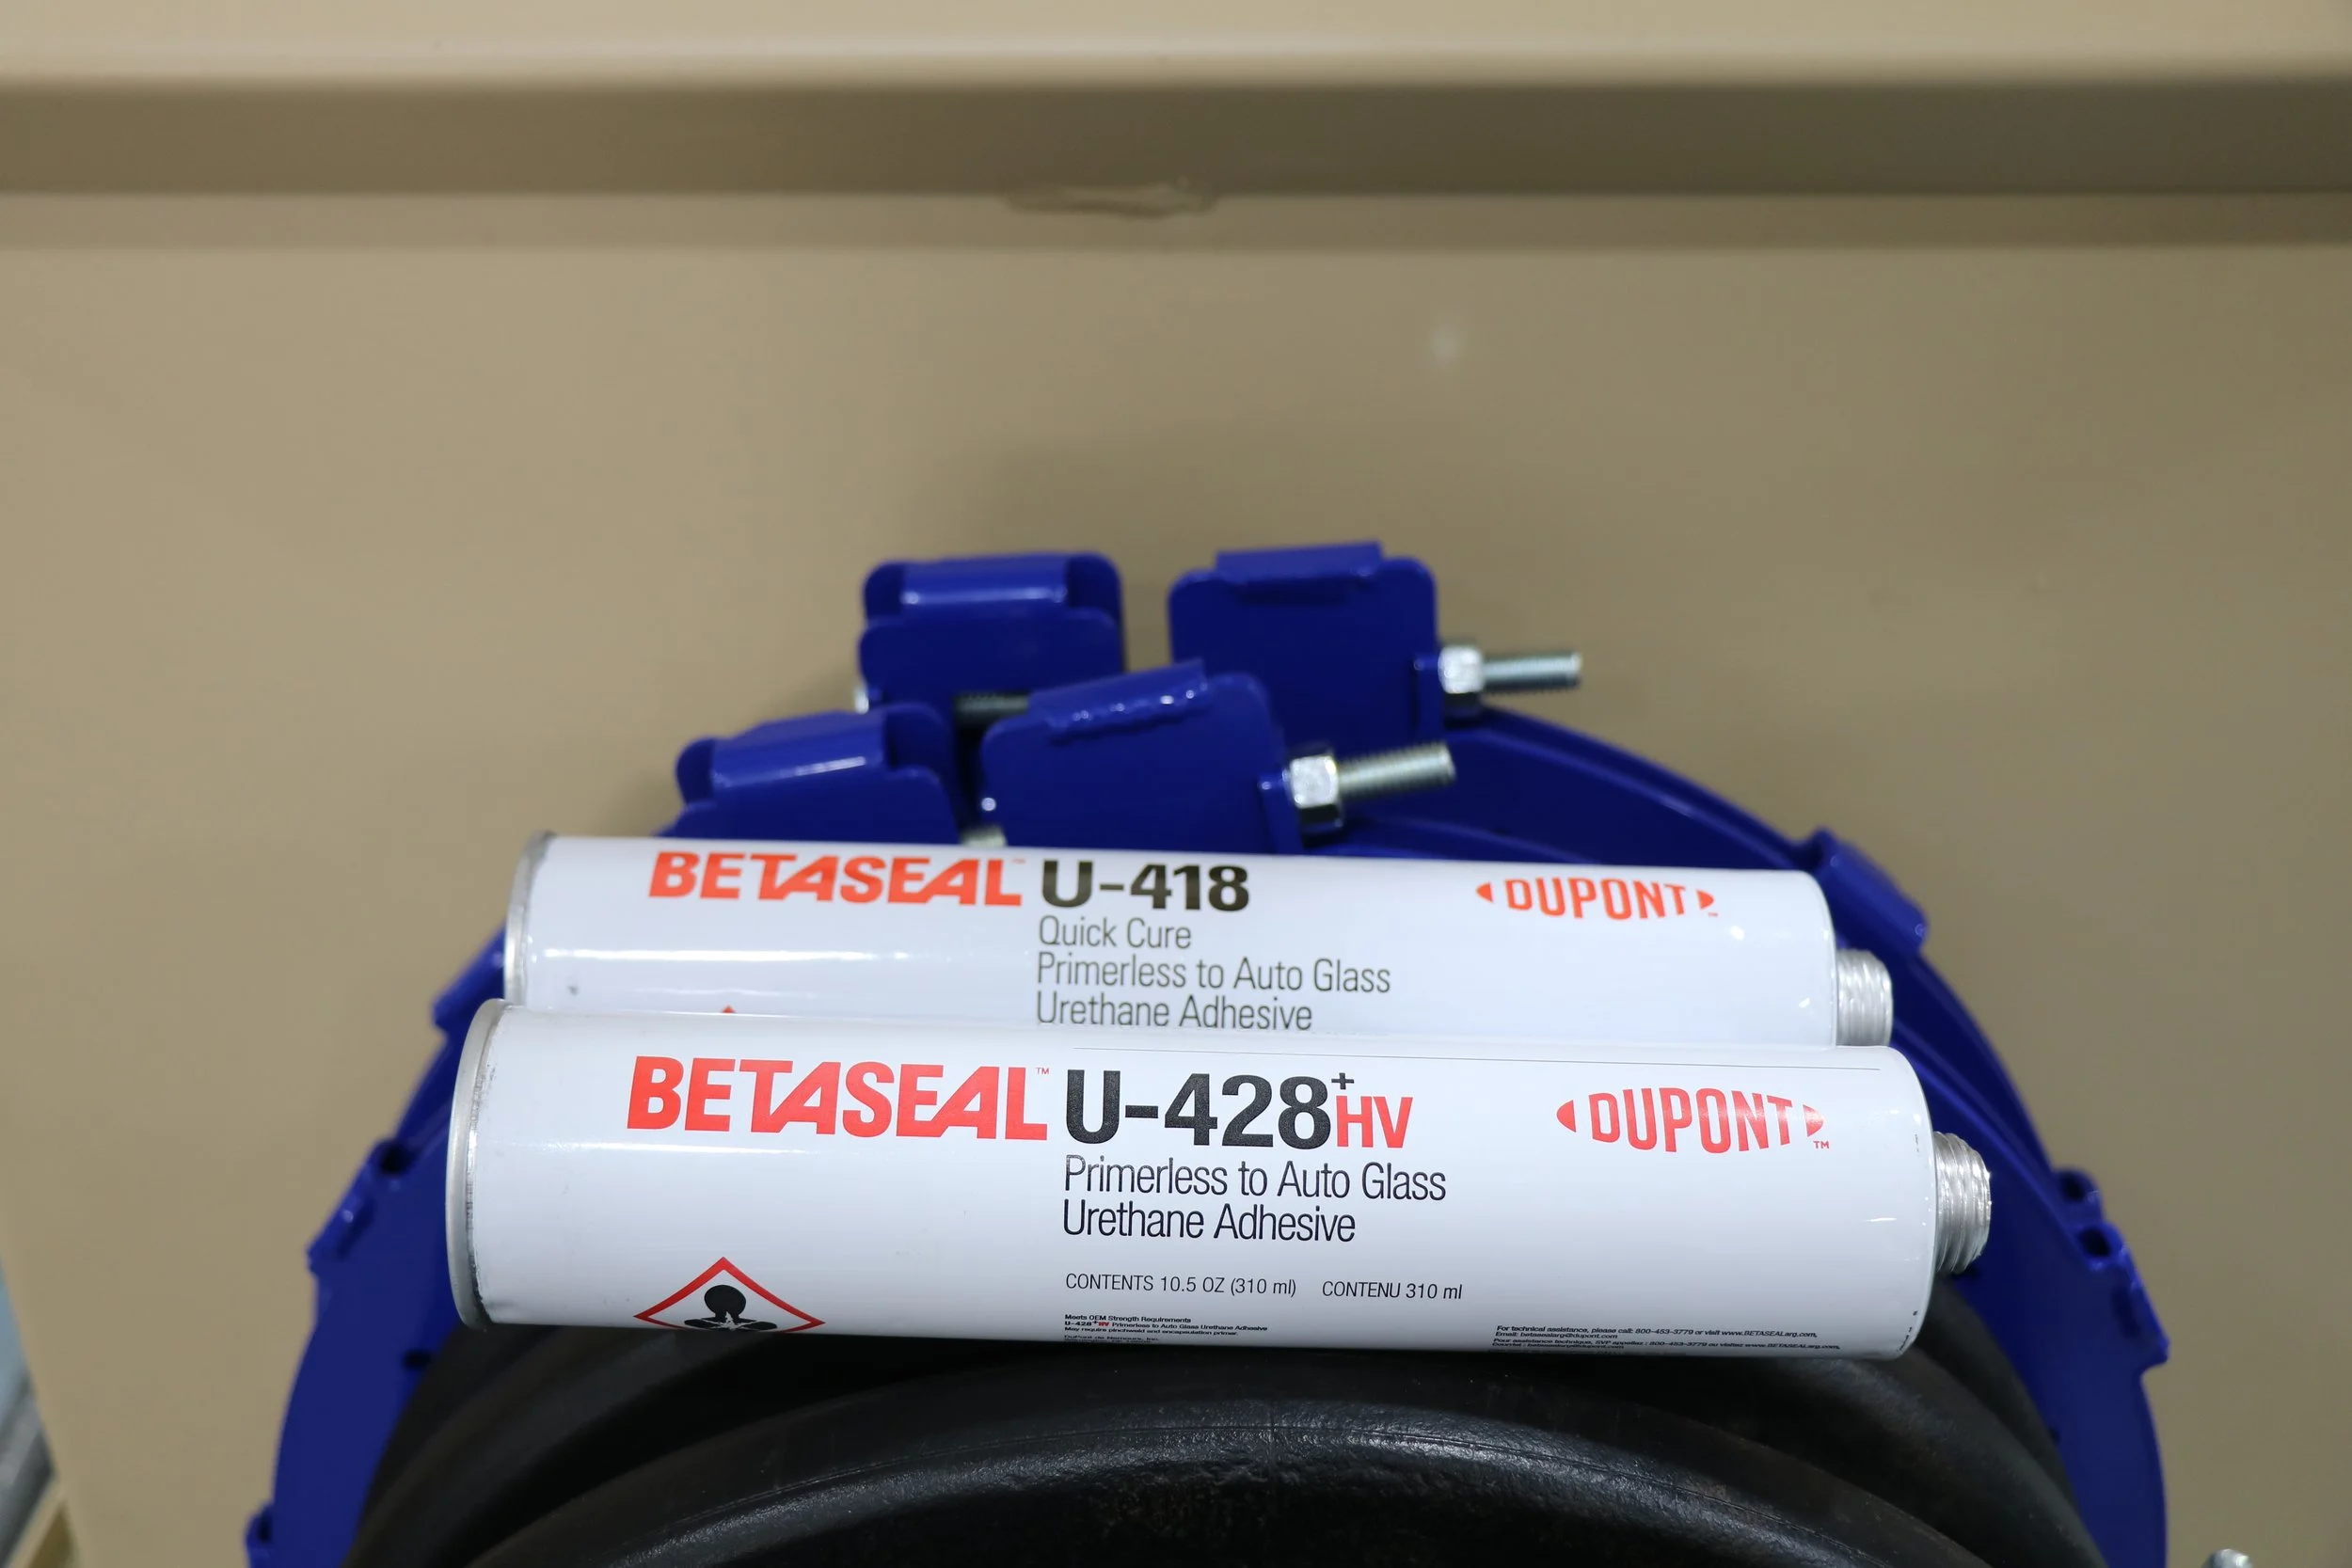
Two compression clamps showing the staggered configuration and examples of the single part urethane adhesive.