

Building and Managing Wetland Ecosystems
Our Experience
There are many good designs and the best depends on your project. Other than sharing our experience, we cannot make more specific recommendations because every job is different.
Safety is always the first concern!
Water Control Choices
Flashboard Riser Structures are the most economical option.
They work well for habitats and shallow ponds with sustained inflows or where the drainage area produces large flows. Flashboard structures are less attractive in deeper ponds because it is not possible to completely backfill to the top of the structure.
Choose Inline Structures for deeper ponds and lakes.
Inline structures are more stable, they are resistant to debris and can be accessed without entering the water.
6-Inch aluminum inline structures are our best-selling product.
They are economical and can move plenty of water for most small habitats. Nothing is indestructible but our 6-inch aluminum structures will take a beating with no damage. We prefer to use 6-inch SDR35 pipe wherever practical.
We prefer plastic pipe because it does not corrode or promote galvanic corrosion of the drain structure.
We have dug out lots of heavy galvanized steel pipe that has been completely eaten away by corrosion.


Access We learned early on to build a nice roadway around our projects for easy access with equipment and recreational activities. Our roadways are made from compacted soil and graded to shed water. We place them immediately adjacent to the water, on top of the pond berm or along the edges to provide access around the entire surface. We mow the roadways to encourage grass growth and minimize rutting and erosion.
Wetland & Waterfowl Habits
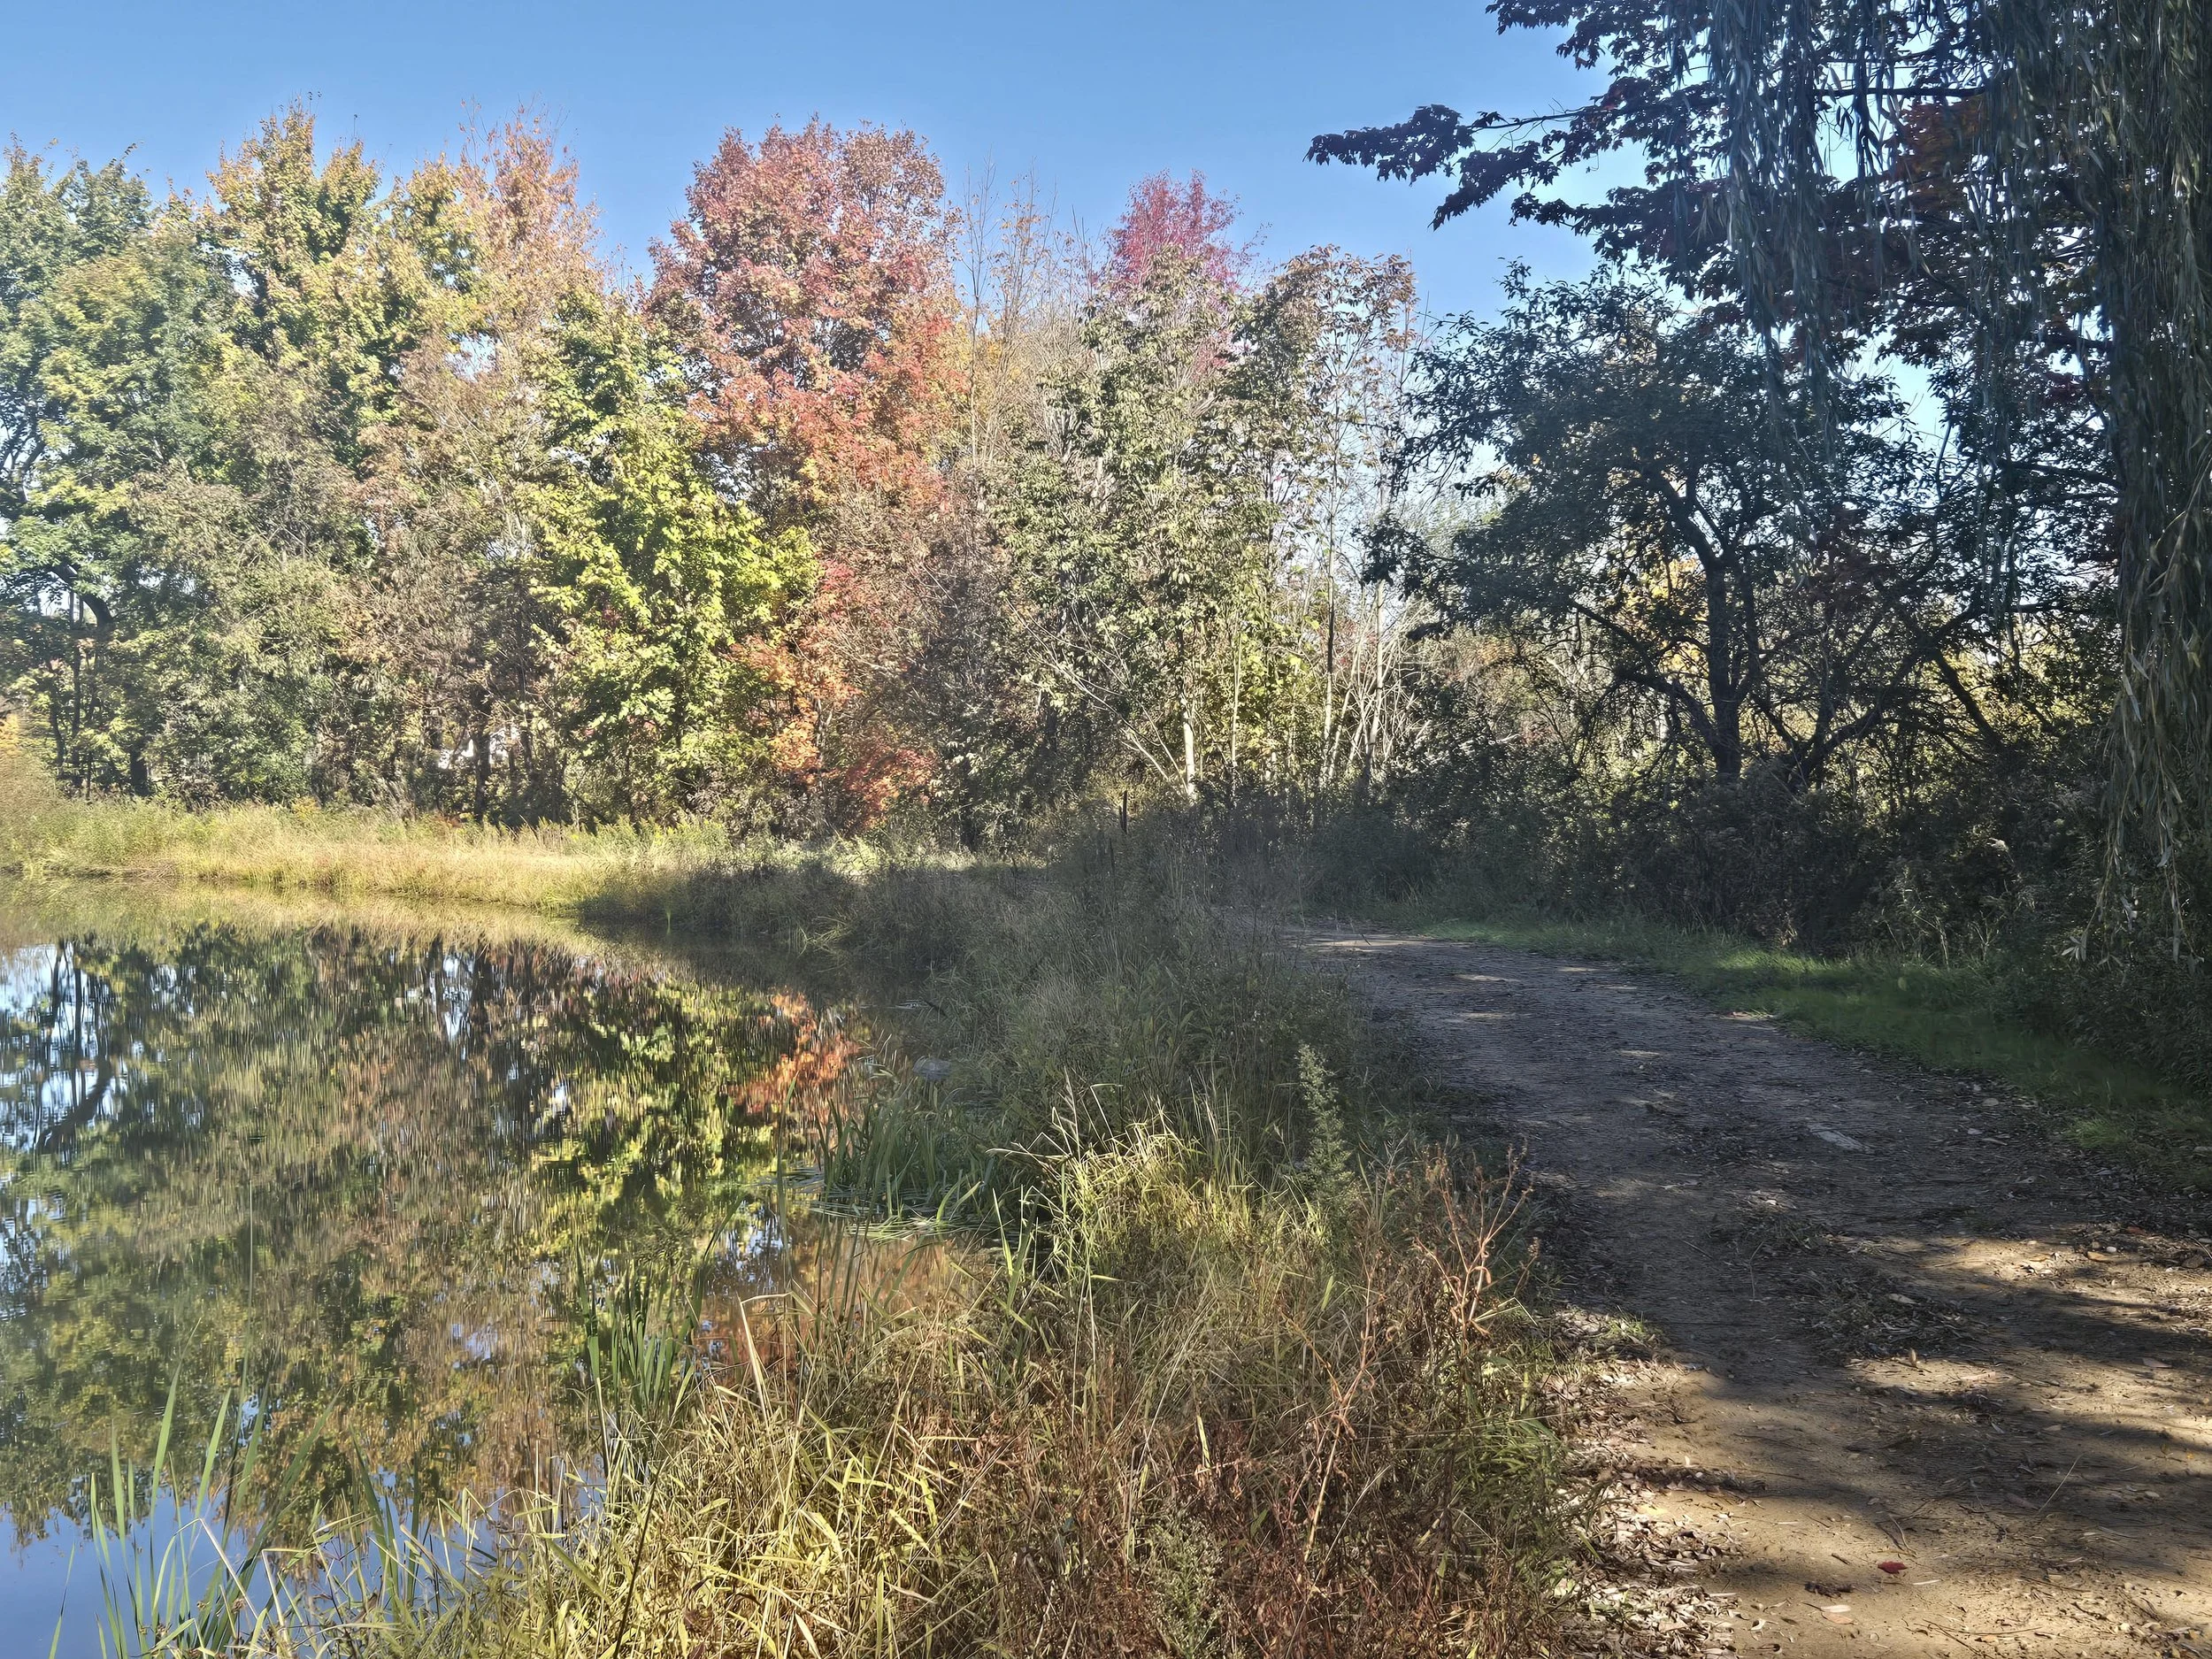
Small wetland habitats with grassy and woodland boundaries attract a wide variety of wildlife. In addition to aquatic life and waterfowl, we have observed many animals.
Habitats are most productive when properly managed to encourage an early succession ecosystem. This basically means an area that has natural grasses that grow in seasonally flooded conditions. These ecosystems produce abundant seeds and support a thriving population of aquatic insects that are the main source of food for waterfowl.
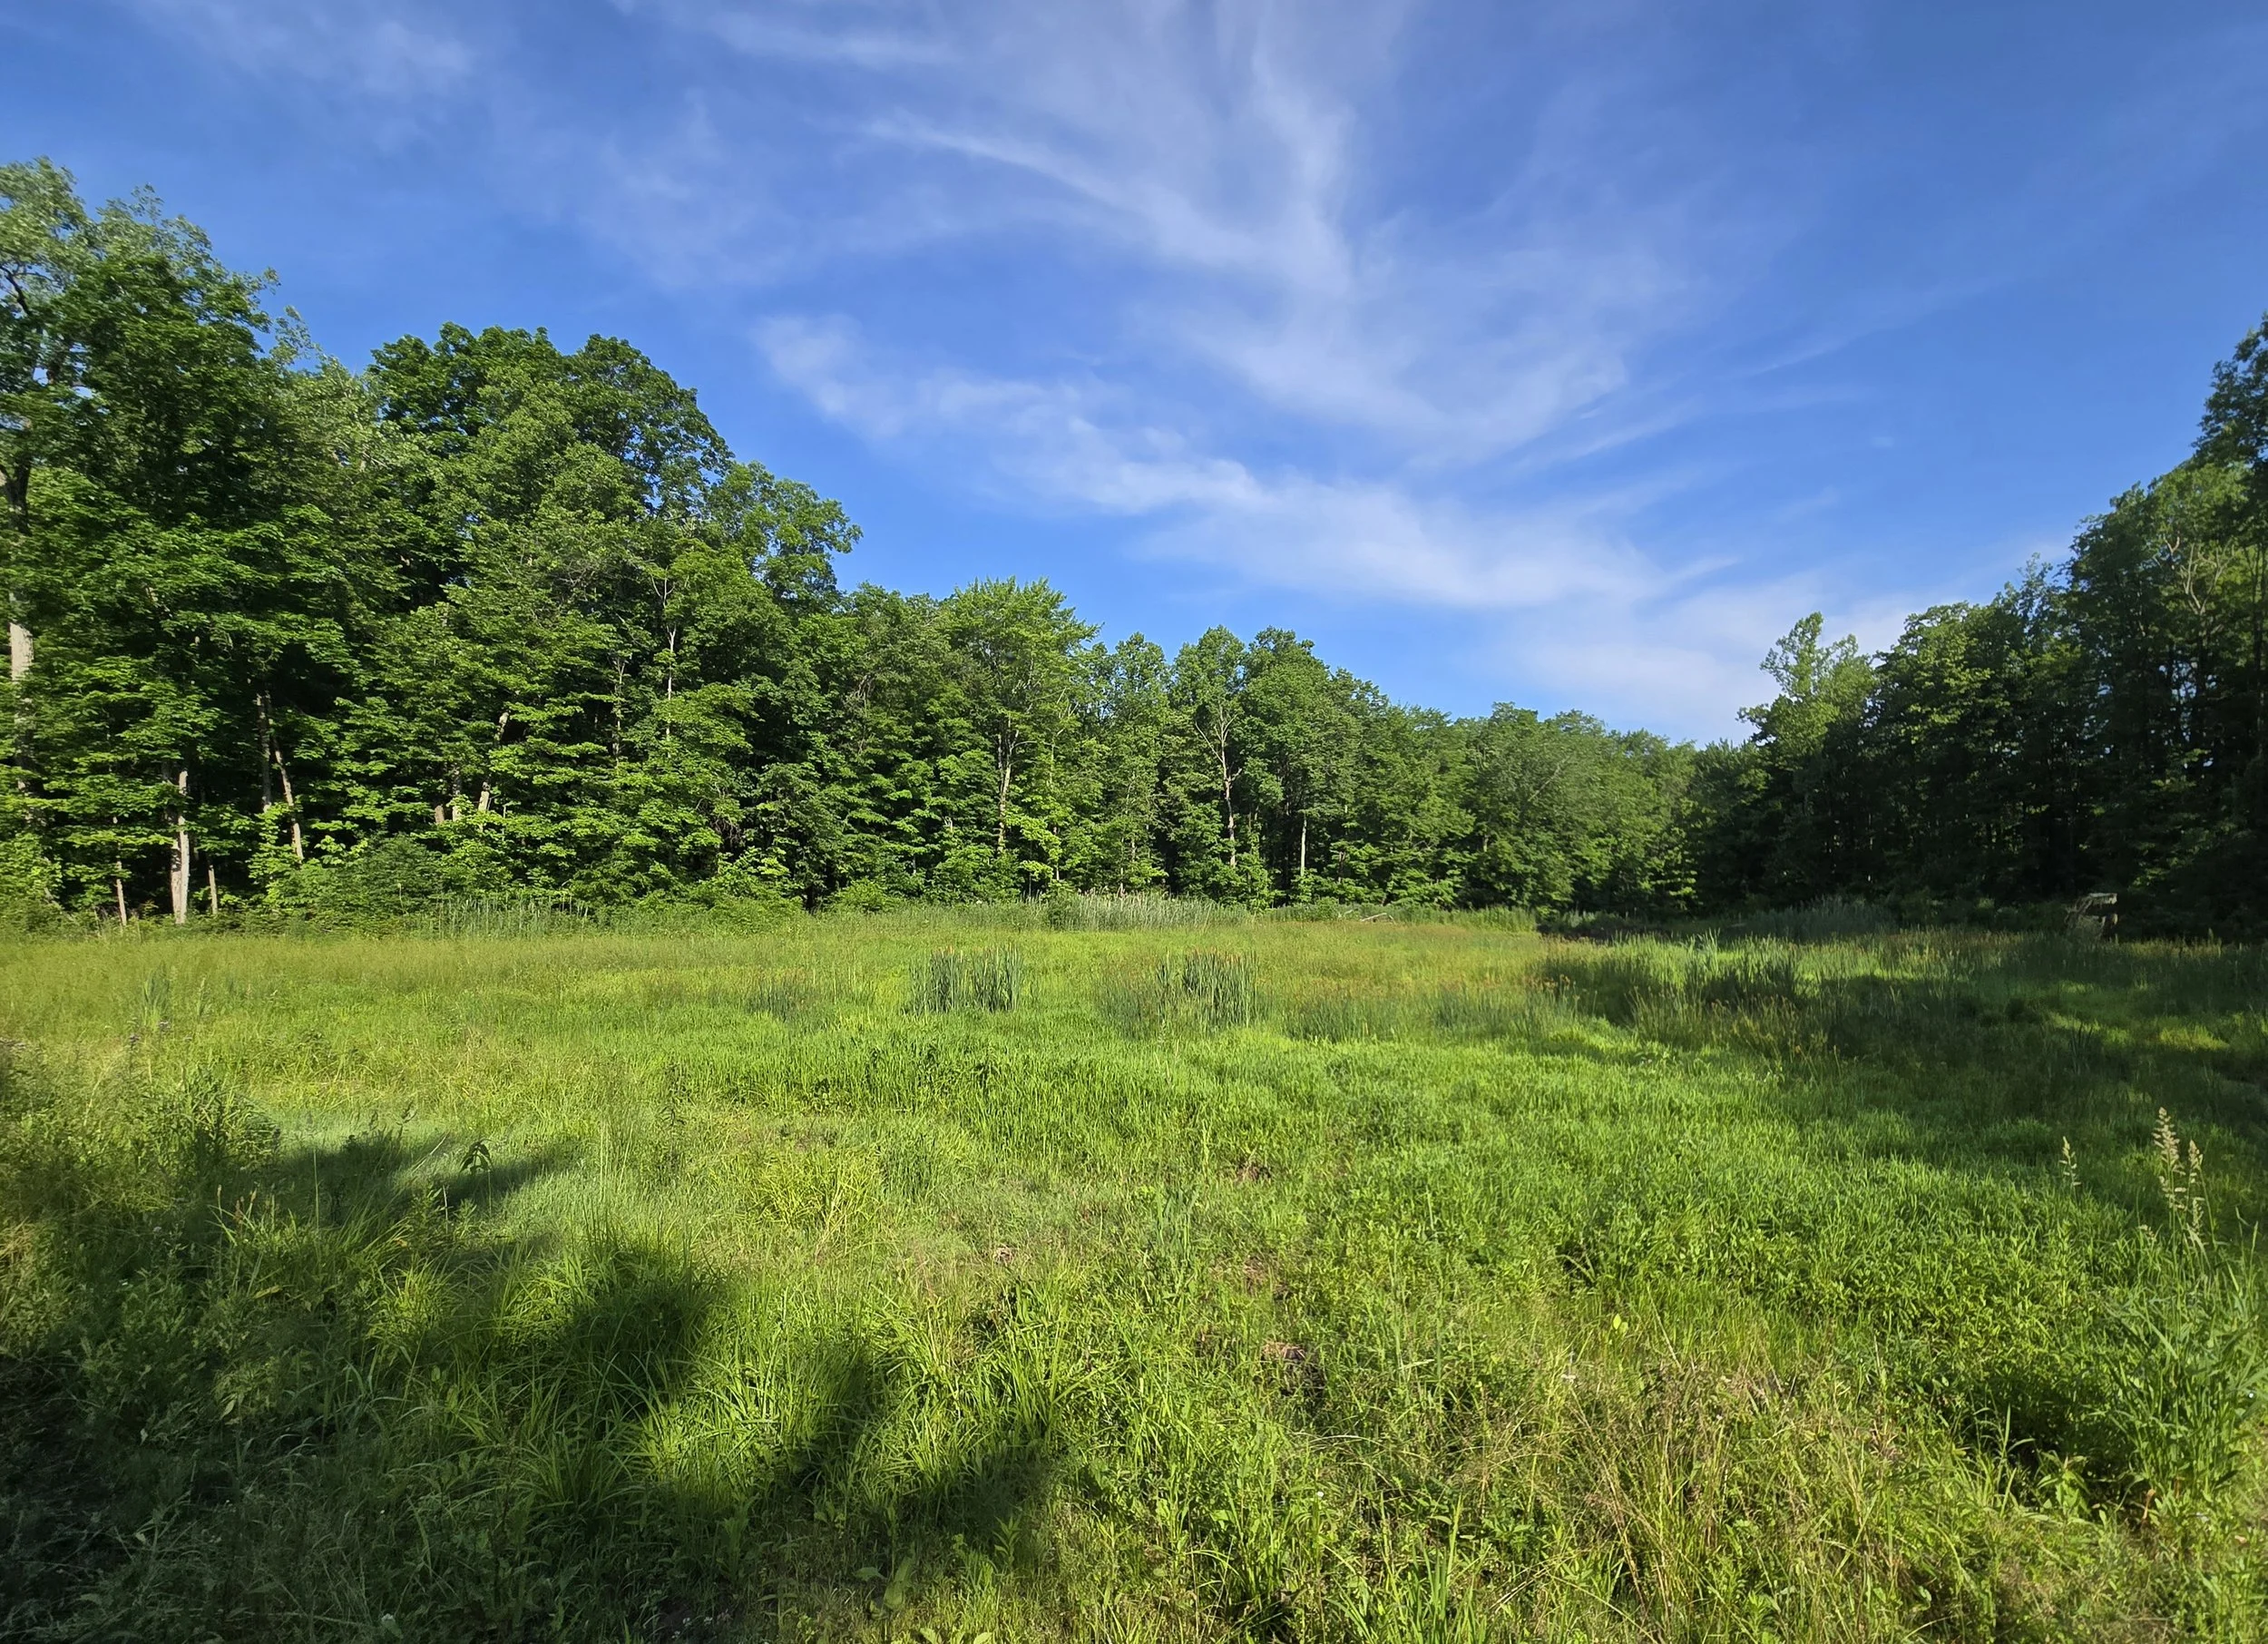
This habitat was flooded through the winter and drained in mid-May. Now in late June, the plants have recovered and are growing rapidly.
The area was barren four years ago when it was planted with Japanese Millet. The millet gave way to natural grasses and sedges.
The area is managed with a 6-inch in-line control box.
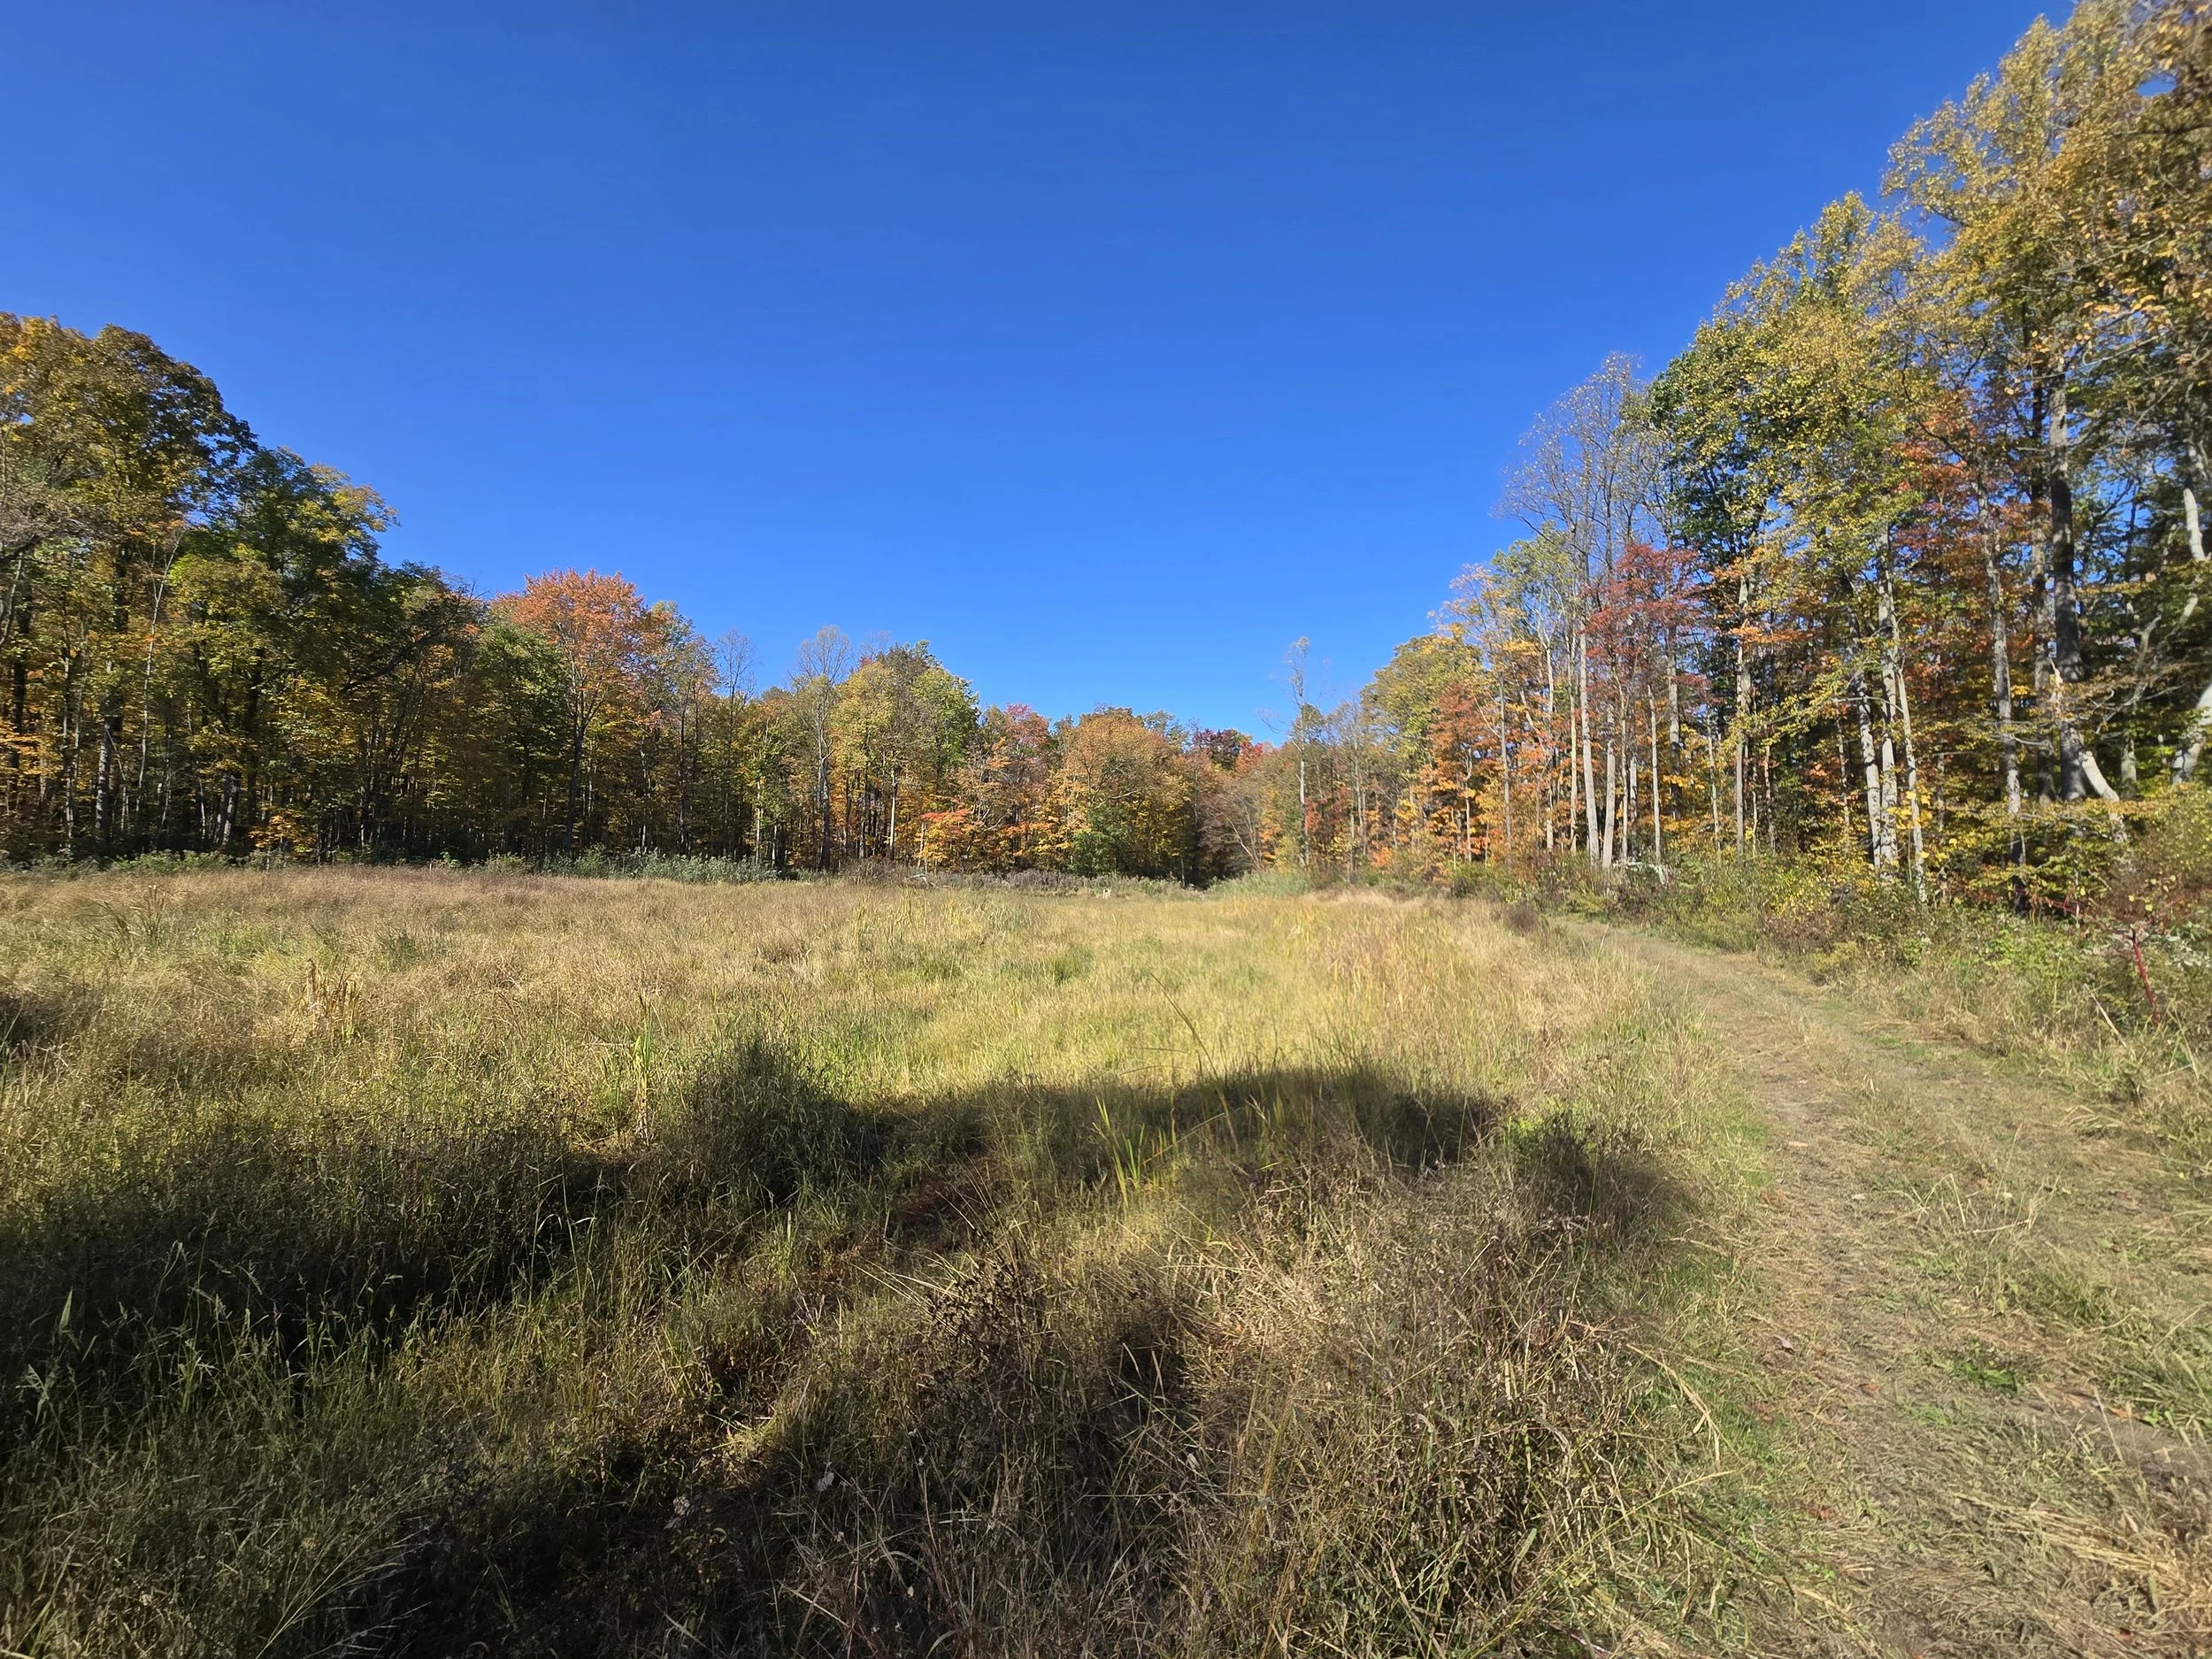
This habitat is twelve years old. Trees and bushes are taking over and it is becoming less productive.
Later in the summer, after the baby geese and deer are grown, the trees will be cut and the area replanted with grasses.
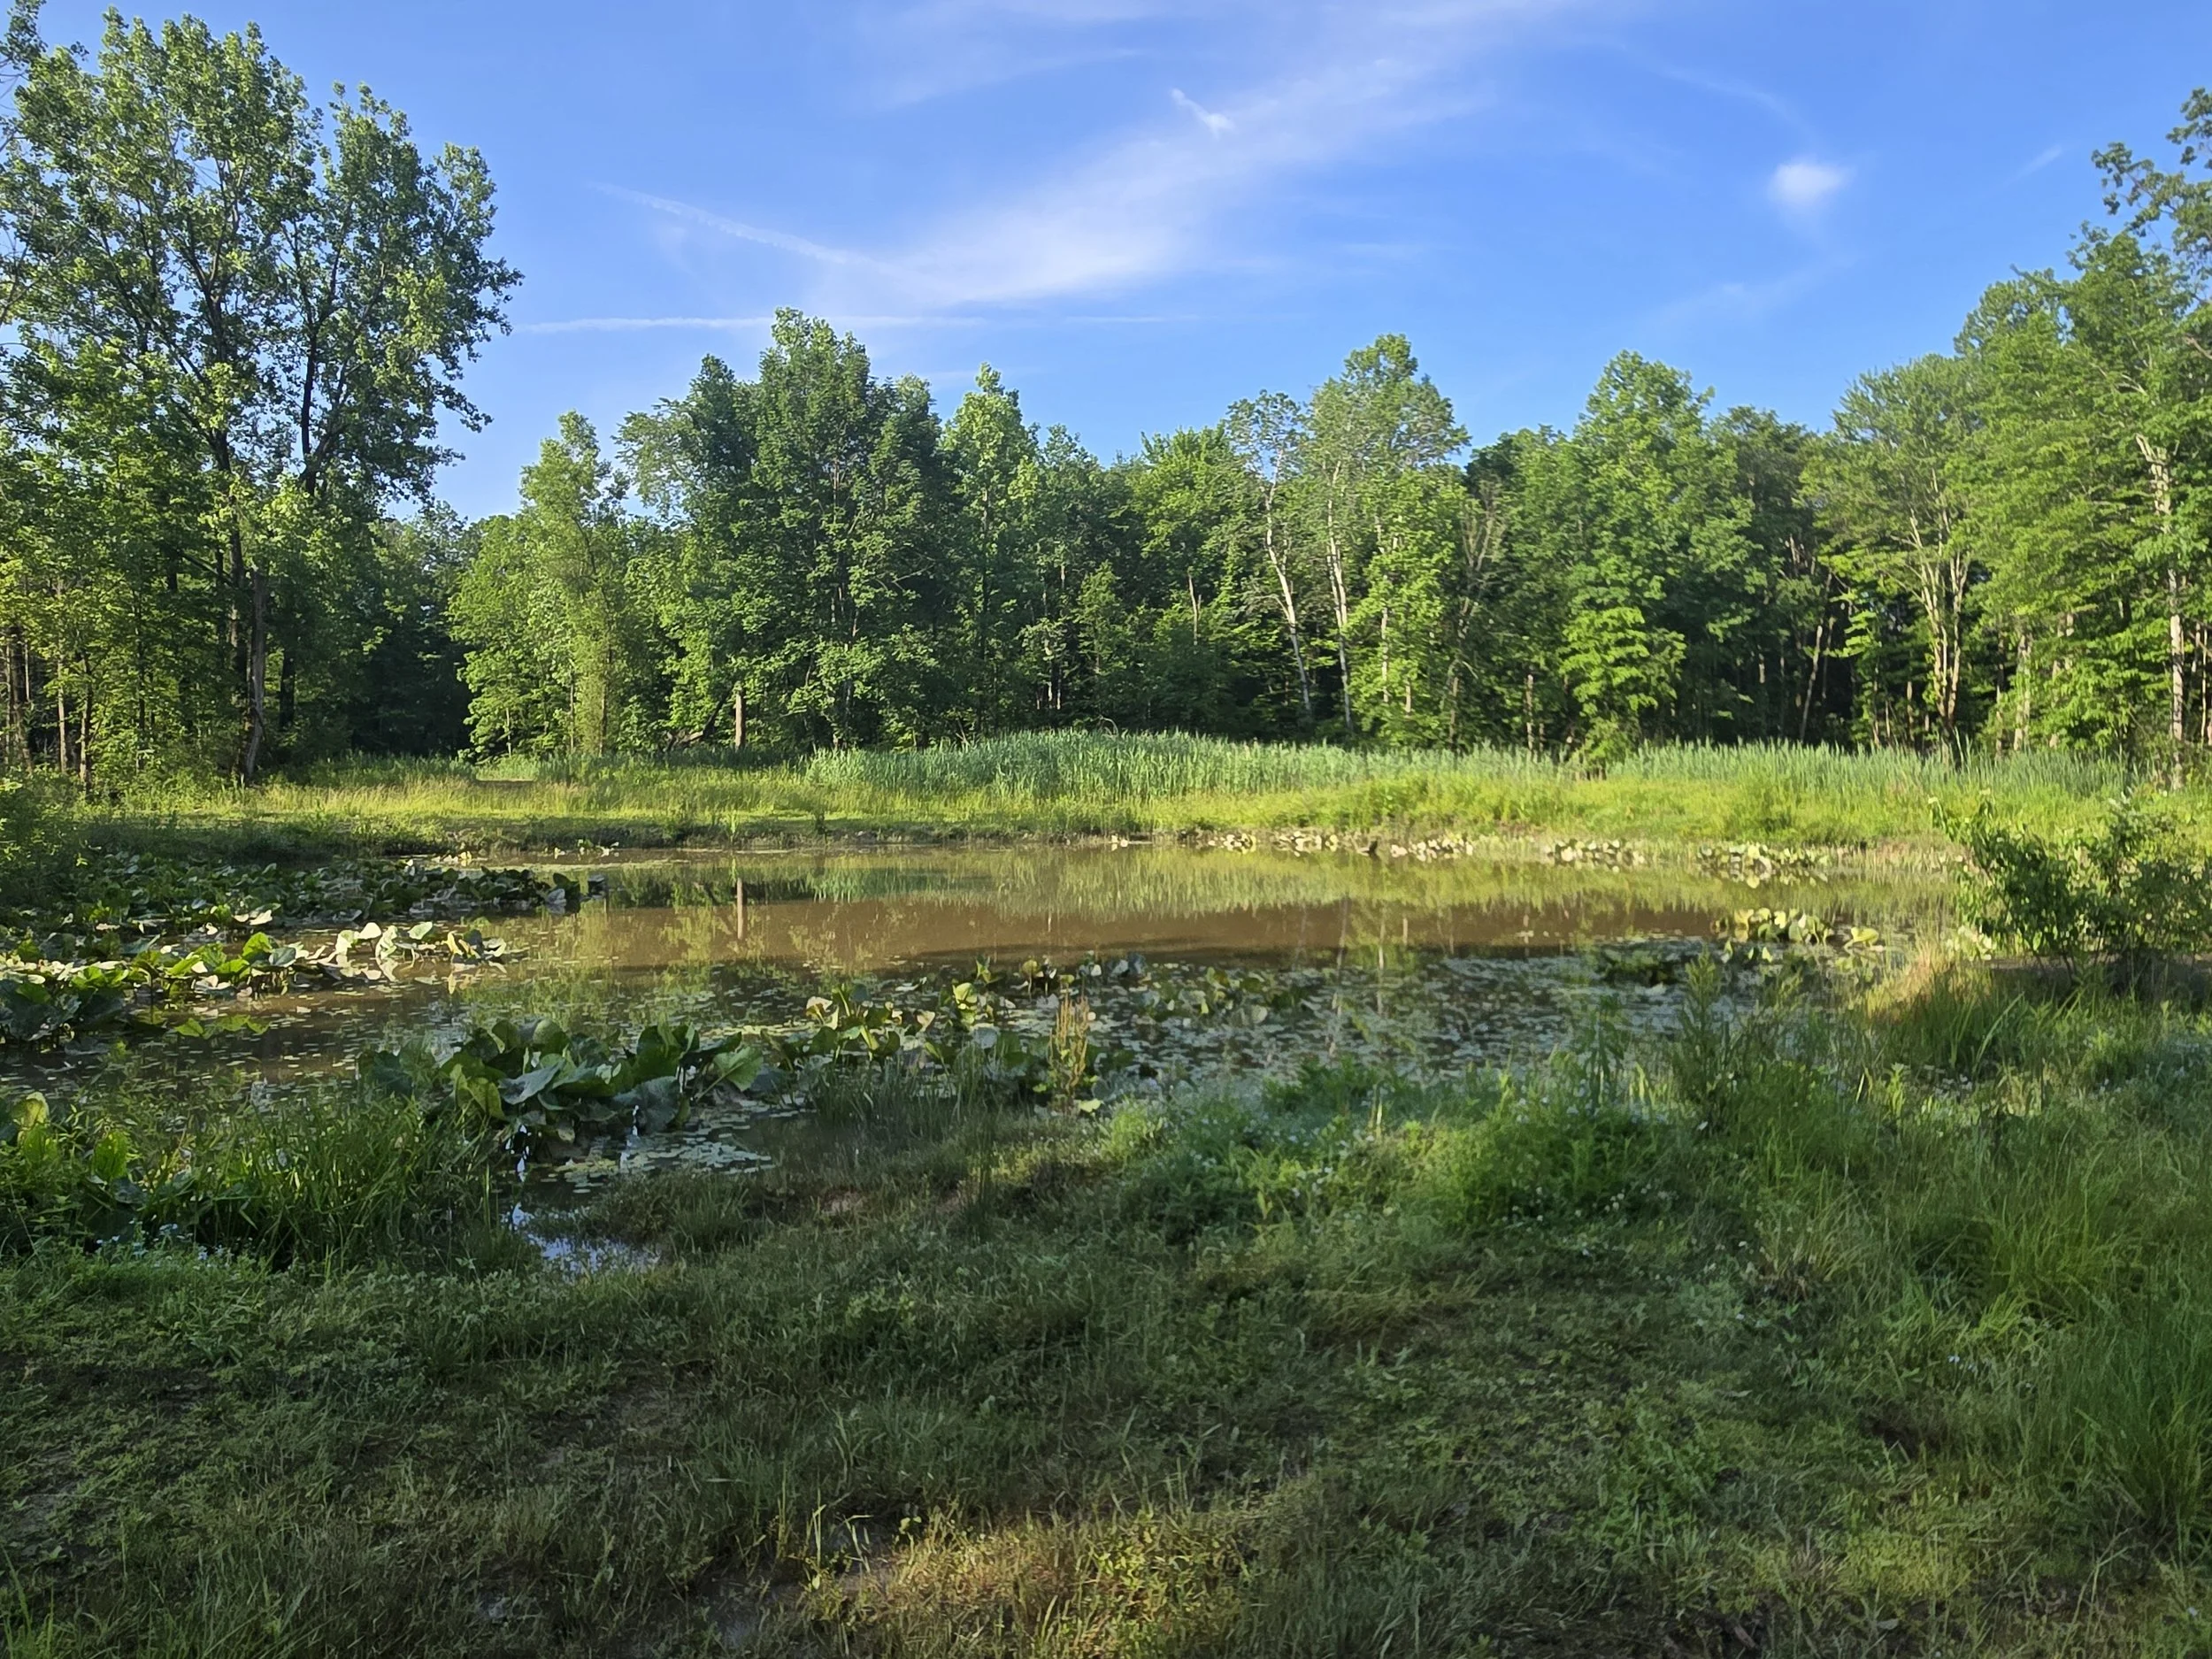
This pond is an example of a pond surrounded by a habitat area. It is managed with a 6-inch in-line control box.
Include a Pond in Your Habitat
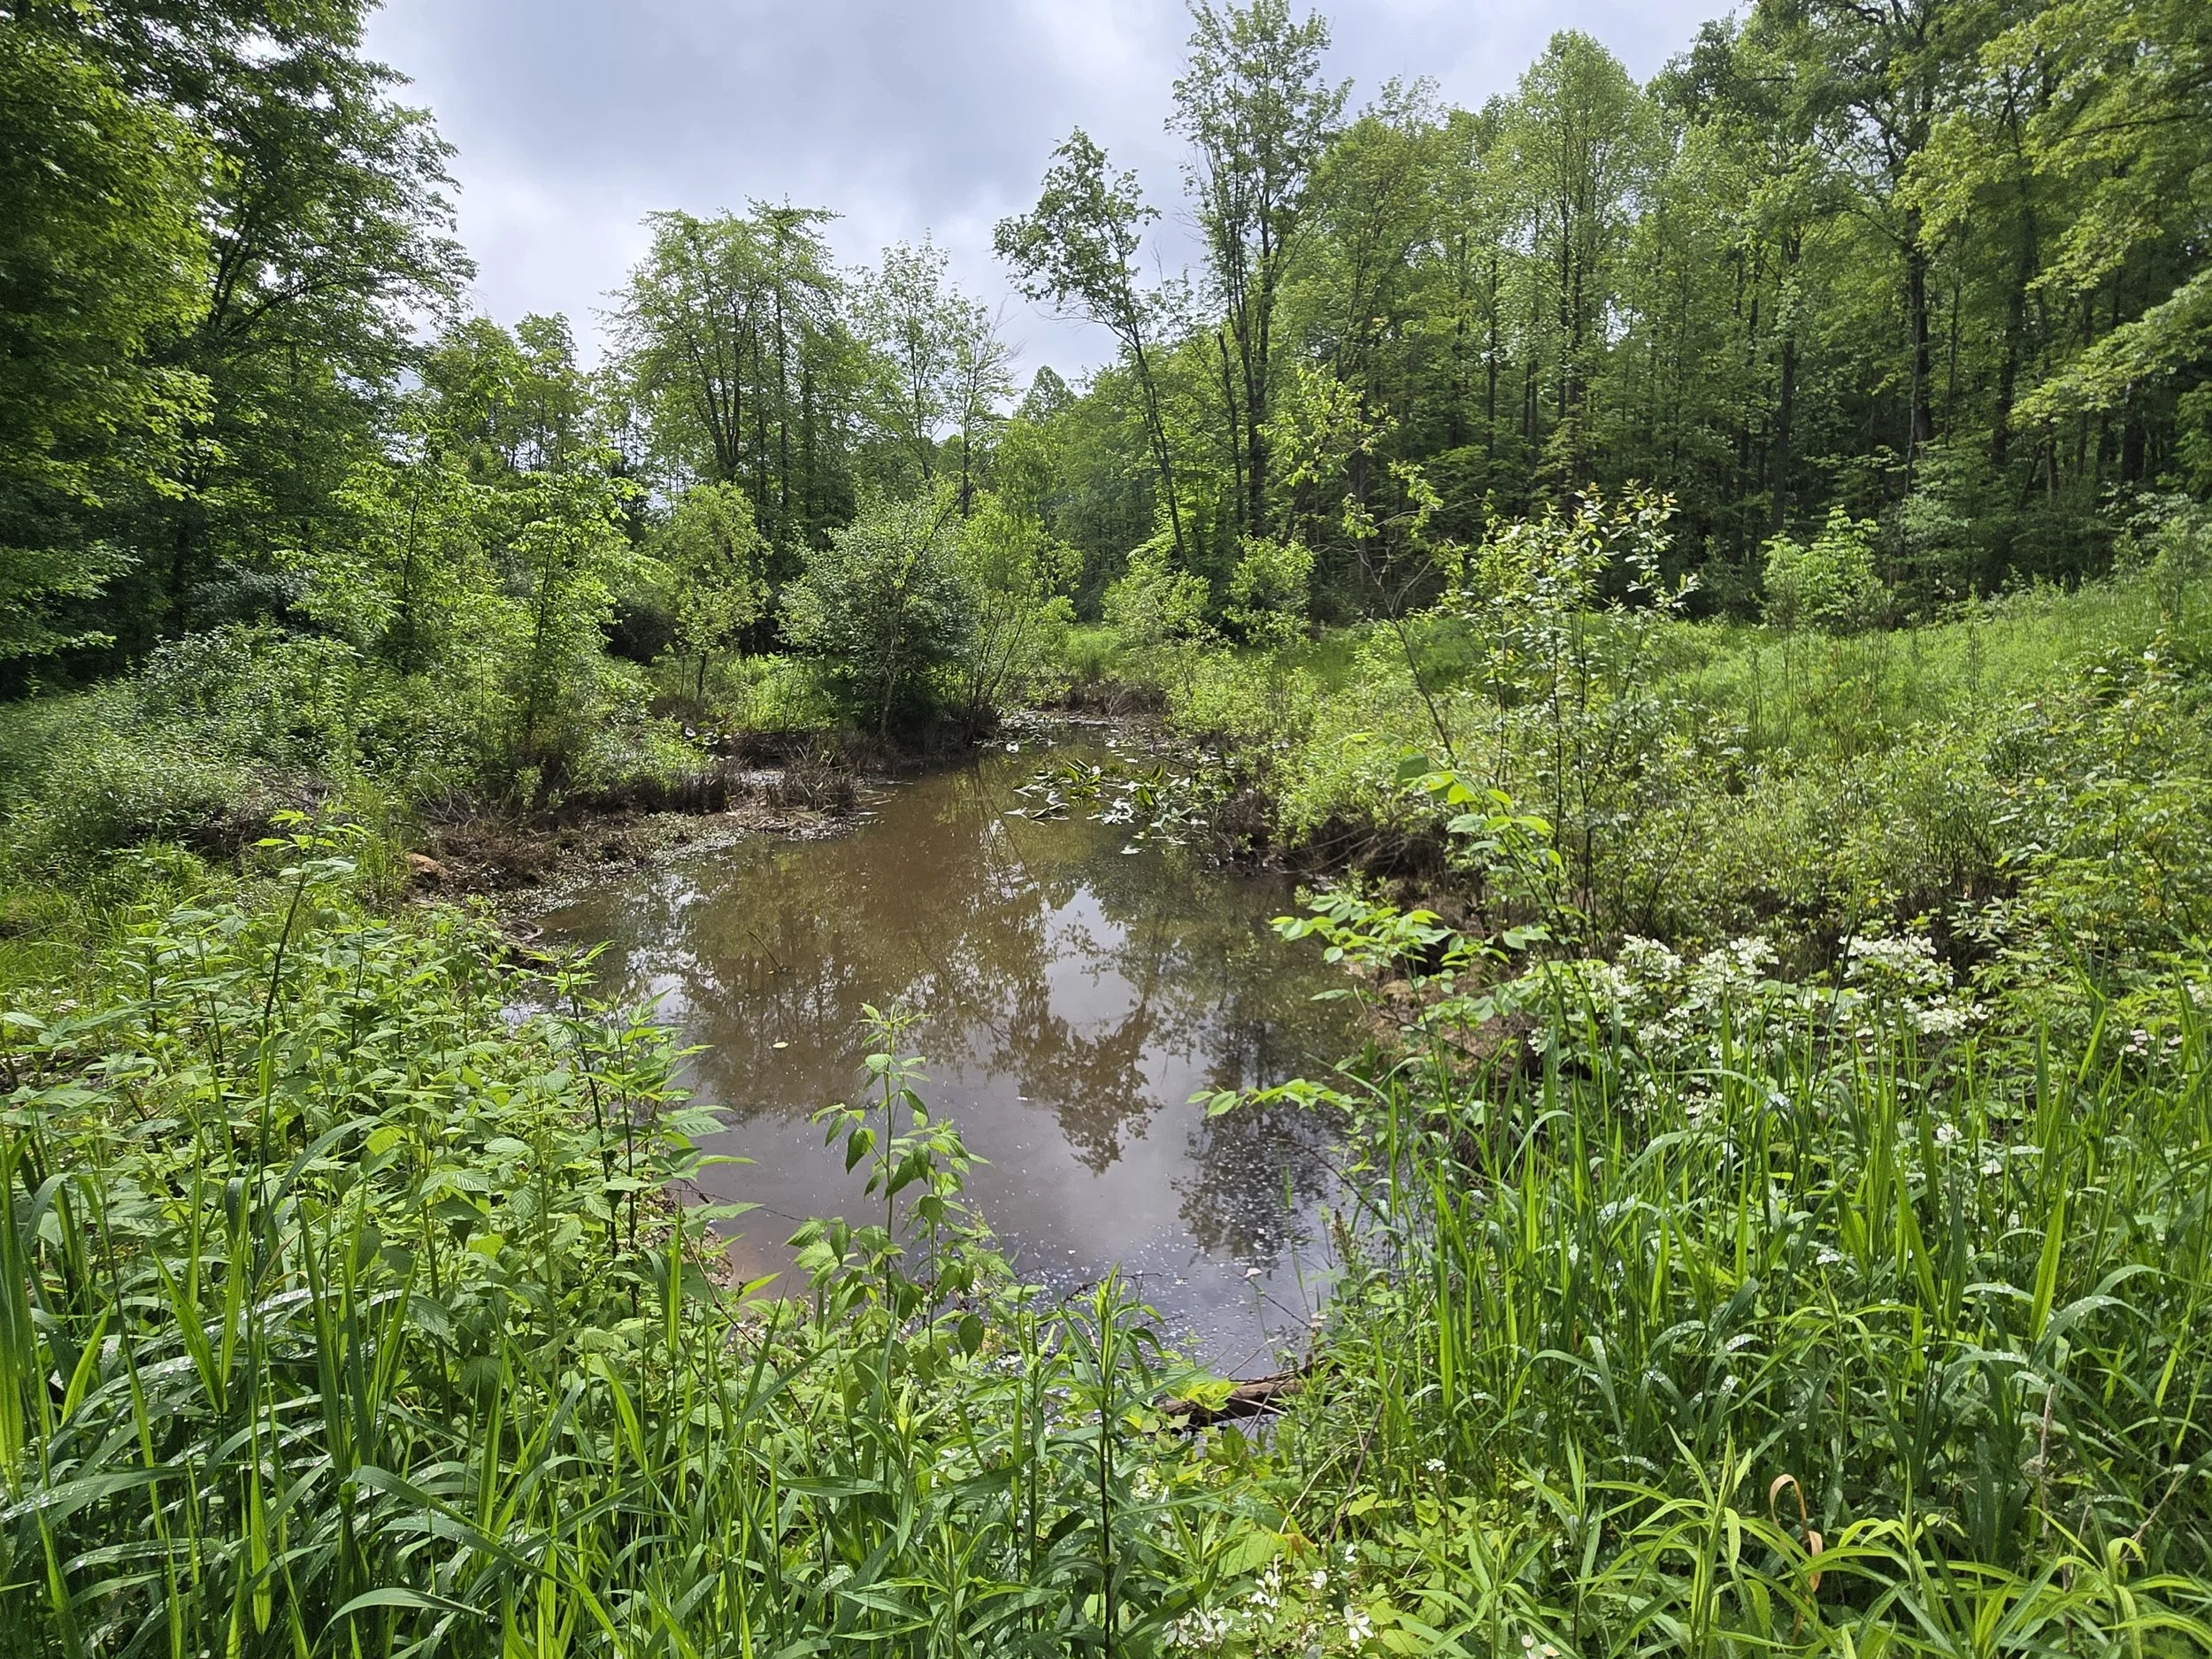
We enjoy fishing and usually include a pond to maintain aquatic life when the water levels are lowered. Sometimes this is just a deep hole near the drain end. Sometimes we create the habitat portion as a wide shallow ledge surrounding a pond in the center. Fish benefit greatly from the shallow habitat areas in the transition months.
Winter Drawdown of lakes and ponds is useful for controlling weeds. The most effective method is to lower the water in late fall until the surface area of the water is reduced by about 50%. Reflood the lake starting in mid-February.
Seasonal Flooding
Successful Management requires that the water levels be drawn down at appropriate times to eliminate standing water while maintaining moist soil conditions then reflooding the areas at the appropriate times to maintain the ecosystem. In practice, we allow our habitats to progress through various stages, allowing some woody vegetation to emerge before we intervene because we found that cover is also an important factor.
Seasonal Drawdown
If the ecosystem is flooded for too long, too deeply, or kept dry for too long, undesirable plants will grow and the ecosystem will be less productive. In the extreme example, it will turn into a swamp which is basically a shallow lake with trees.
Broadcast Japanese Millet in the first two weeks of August for new habitats. Timing is dependent on your latitude and local microclimate. If you plant too early, blackbirds and other songbirds will consume the crop. If you plant too late, the millet will not head in time for the seed to develop before a killing frost. Millet is very forgiving. We use little or no fertilizer because we do not want to feed aquatic weeds in our downstream lakes.
Slowly flood the habitat after the millet sprouts and shoots up a couple inches. It will grow vigorously in standing water as long as half the plant is above the water.
Let the habitats naturalize. Once desirable native plants emerge, we let them propagate. When we start to see undesirable plants, we drain the area, till it and replant millet - the rotation is initially every other year and will stretch out to 4 or more years as the desirable plants are favored.
Tilling and planting. For large habitats, we use a soil conditioner and 3-point broadcast spreader. For small habitats, we use a 3-point tiller and and ATV spreader.
Plant the berms in grass. We use a mix of perennial ryegrass and Dutch white clover. We plant this anytime from early spring to late fall. This prevents erosion and is easy to maintain.
Plant the surrounding areas with food plot mixes. In the last weeks of July up until Labor Day, we plant 75% winter-hardy cereal rye (Secale) and 25% Hairy Vetch. Use a grain drill to bury the seed. Rye is very forgiving but a good root structure is need for cold tolerance. This mix is incredibly productive and will provide amazing ground cover. Deer and geese will be attracted to it.
We broadcast a mixture of clovers and alfalfa over top of the areas planted in cereal rye and vetch and in border areas where there is not suitable access for the grain drill. Mow the rye and vetch in the spring and the clovers and alfalfa will emerge.
We plant some turnips, radish, kale and other cold season plants. These can be planted separately or drilled the rye. Never plant these on the berms because they destroy the compacted soil.
Use 6-inch PVC Pipe Wherever Practical
A six-inch pipe can move plenty of water for most smaller habitats and water level control applications in smaller ponds.
Dugouts, small ponds and habitats that do not have water flowing into them are perfect candidates for a six-inch controller. We initially used large-diameter corrugated drainpipes on all drains. Larger pipe is overkill for habitats under a few acres in size unless there is significant flow coming into the habitat.
There is no need to quickly flood or empty a habitat.
We found it is better to raise and lower water levels slowly. A properly sloped six-inch pipe will move about 11 acre-inches of water in 24 hours. Yes, it will take a few days to drain two feet of water off of a three-acre plot. Yes, large rains will overwhelm the drain and might temporarily flood the area. The slower pace and occasional flooding is beneficial for managed habitats. Temporarily impounding runoff is good for downstream water quality.
We favor SDR 35 (green sewer pipe). It is durable, readily available and affordable enough for long runs like directing water hundreds of feet between habitats.
We have occasionally used solid core Schedule 40. It is tough, versatile and the cost difference is negligible compared to the total project cost for small runs. Schedule 40 is a more durable choice and it will accept a wide selection of standard fittings if other connections are desired. Schedule 40 is more expensive and the couplings and gluing add additional cost and time. Even considering the high price differential, solid core Schedule 40 PVC may be a viable consideration in landscaped environments or in areas with vehicle traffic because the cost difference may be small compared to overall job cost and especially to the time to revisit the job, retrench and repair landscaping to fix a failure.
Avoid foam core DWV (Drain Waste Vent) pipe because it is fragile.
Avoid 4-inch pipe because it clogs too easily.
This pond is drained with a 6” PVC pipe. The mud on the plants demonstrate it was completely flooded from a storm the previous day. The entire area successfully drained overnight.
Larger pipe is obviously needed for ponds that have a regular inflow of water or that catch water from large drainage areas.
Sizing the drain is not an exact science. There are engineering calculators that can help. We cannot offer advice because we cannot understand all of the factors for your project. Our experience has taught us there will always be a bigger storm that will overwhelm the drain. We avoid damming creeks because we learned the hard way how vicious the flows can be in a large thunderstorm, especially during periods when the soil is already saturated.
Include an emergency spillway that can safely handle many times the maximum flow of the drain.
Simply installing a very large drain pipe in an attempt to handle the largest storm flow is a recipe for disaster if the structure will fail if it is breached. It is almost certain to happen at some point. And, large drains are very expensive and more hazardous.
Dealing with Flood Water
There will always be the possibility of storm water over-running the drain.
Or, the drain could plug up even if it is adequately sized. A good design must anticipate and plan for these contingencies.
Use two or three levels of redundancy.
For habitats or small ponds without inflow, our grass-covered roadways easily withstand occasional floodwater overflows.
In areas where overflows can be excessive or frequent, we create separate spillways which are shallow channels across the roadway packed with riprap and topped with 1 ½ gravel and some soil. Grass will grow though this and it becomes very resistant to erosion. These are dry most of the time. Flood water will flow harmlessly across the spillway until the drain can catch up with the flow. Place the spillway to the side of the berm where a wash-out will be naturally limited. Do NOT place the spillway on the berm because it has a much higher probability of washing the entire dam out.
Do not underestimate storm flows!
We have worked on lakes with very large outlet drains that still occasionally over-run the drain structure and overflow into the emergency spillway. We have also worked with tranquil ponds that collect water from large drainages. These ponds normally have no outflow but can become torrential rivers in a storm.
We had an experience in the Sonoran desert where a tiny trickle of water in a wash would occasionally swell into a six-foot-deep, 120-foot-wide raging river during monsoon season. In that case, the wash was draining 25,000 acres of normally bone-dry desert. The back side of our 80-foot-long, 20-foot-wide, 4-foot-thick concrete vehicle crossing was undermined after a particularly bad storm.
Consider What Is Downstream!
Your design must consider the potential consequences of damage to downstream property, structures, roads, etc. should a breach occur.
We once repaired a large lake built many years ago. We opened the drain gate and thought little of it until we realized we had flooded the road a mile downstream. Fortunately it is in a rural setting and there was no damage but we learned a valuable lesson.
We limit our projects to relatively flat ground where the potential from a dam, dike or berm breach is insignificant.
We do not worry about a breach because our downstream areas are grassy meadows, wetland habitats or wooded areas capable of safely receiving the entire contents of the pond if the berm were to breach.

This outlet is just a trickle most of the time! The drainage area is over 1000 acres and thunderstorms bring huge flows.
The point being there will always be a bigger storm -- you will never have a large enough pipe!
Get Professional Engineering Advice For Before Building a Dam
They Can Design a Layered Water Level Control Strategy for Lakes and Large Ponds
Include a spillway to set the maximum level - Make the spillway large and resilient to washing out.
Include a main drain structure for normal level control - Size it to handle expected flows.
Allow just a few feet of adjustment. The water can be lowered to maintain or replace this structure without draining the entire lake. Size this drain to handle all of the water except for exceptional storm flows.
Include a smaller diameter inline drain capable of lowering the water for winter drawdown or maintenance of the main drain structure
This drain can be substantially smaller than the main drain and still be very effective.
Placement of DrainBoxes
We place our water level control boxes beside our roadways for easy access with equipment. We widen the area in the roadway near the outlet to accommodate the water control box where it is out of the traffic path.
Two or More Water Level Control Boxes are useful to split water flow between multiple habitats or seasonally flood habitats from a common ditch or pond. The stop logs can be adjusted to stop flow to the pipes feeding the habitats and divert all flow to the drains when we want to dry the habitats. The stop logs can be readjusted to divert water flow to the habitats and stop the drain when we want to flood the habitats.


Common Search Terms Associated With Our Products:
Water Level Control
Inline Water Level Controller
Inline Water Level Control Structure
Pond Leveler
Water Gate
Pond Drain
Lake Drain
Water Impoundment Drain
Retention Pond Drain
Flashboard Riser
Flashboard Drain
Flashboard Inlet Structure
Drop Board Riser
Drop Board Inlet Structure
Drop Board Pond Drain
Flashboard
Stop Log
Weir
Habitat Water Level Control
Water Level Management
Wildlife Water Management
Monk
Pond Monk
Wetland
Waterfowl Habitat
Duck Hunting Habitat