

Inline Water Level Controllers
Control water levels in ponds, lakes and wildlife habitats
Discover DrainBox Inline Controllers:
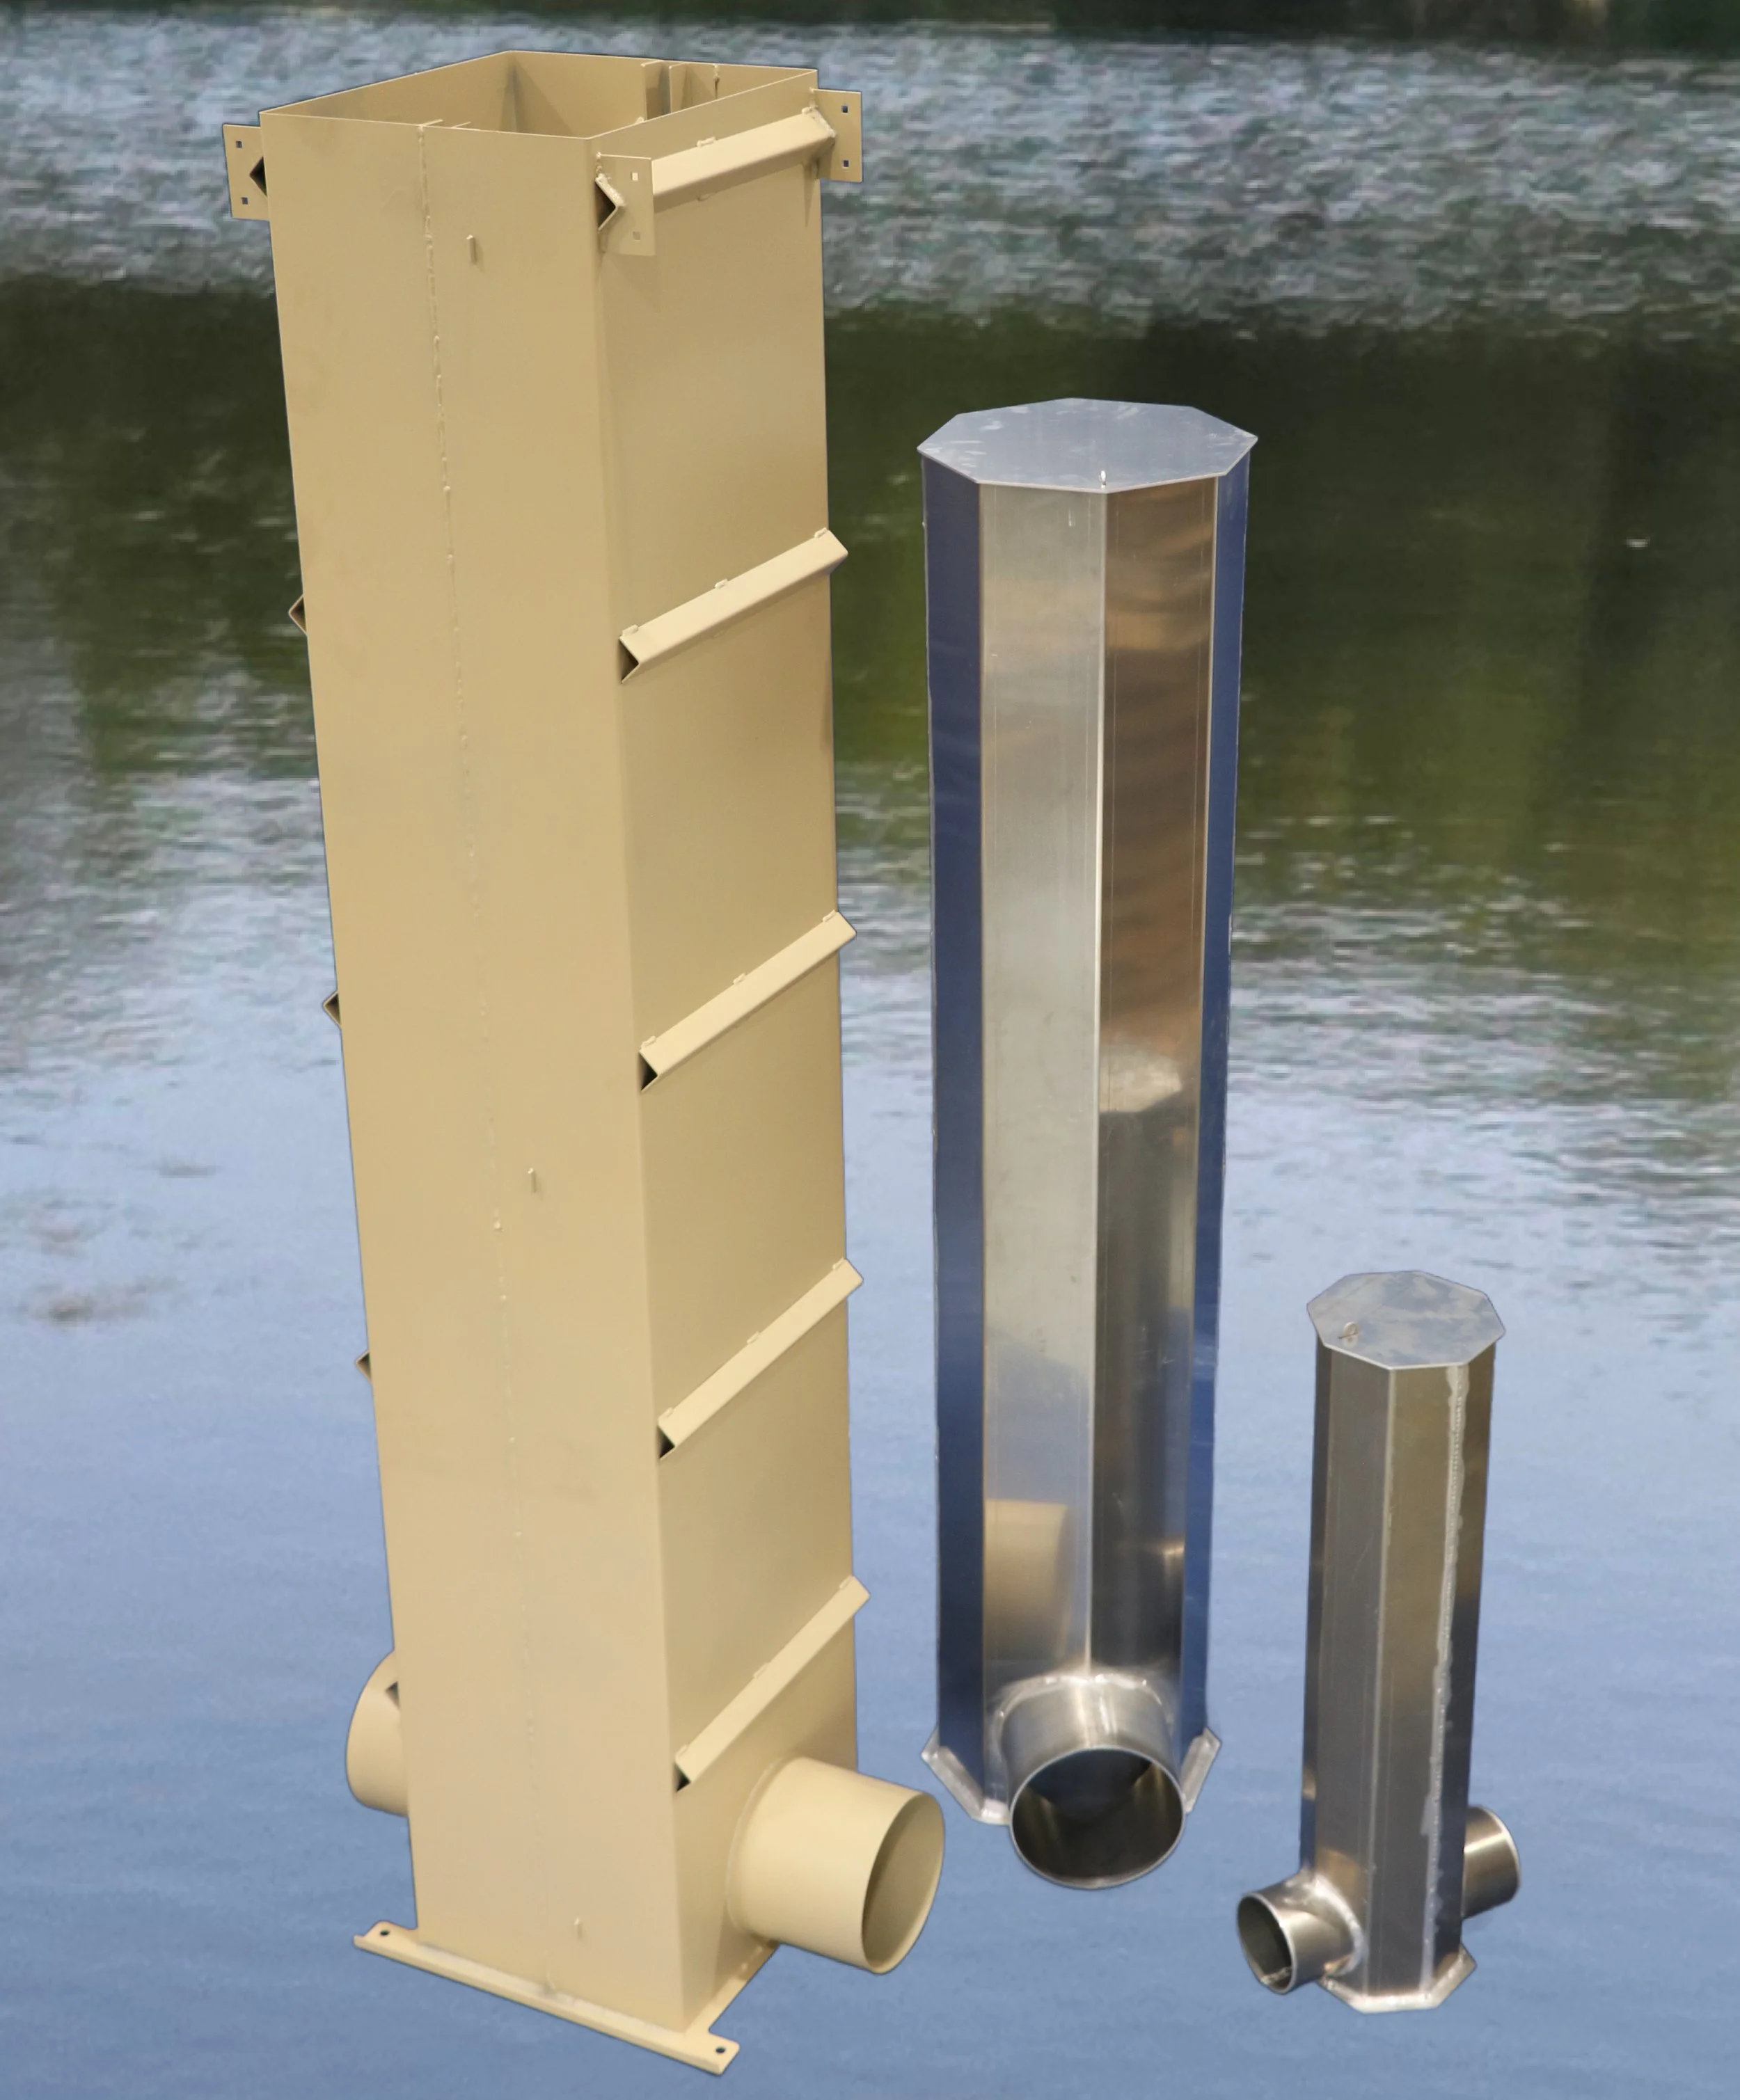
Inline Level Control Structures provide great stability, access and resistance to debris.
Wide Range of Aluminum and Steel boxes for almost any water control need.
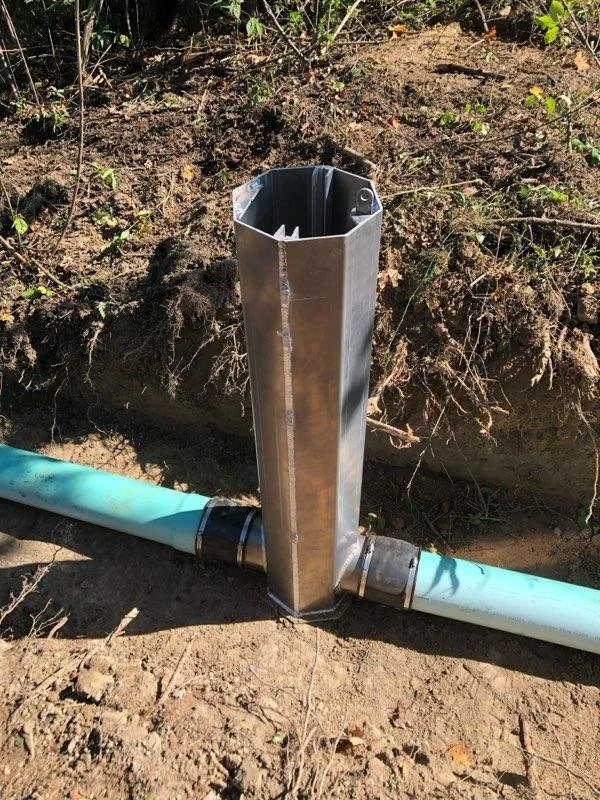
Inline Pond Levelers have both Inlet and Outlet pipe connections.
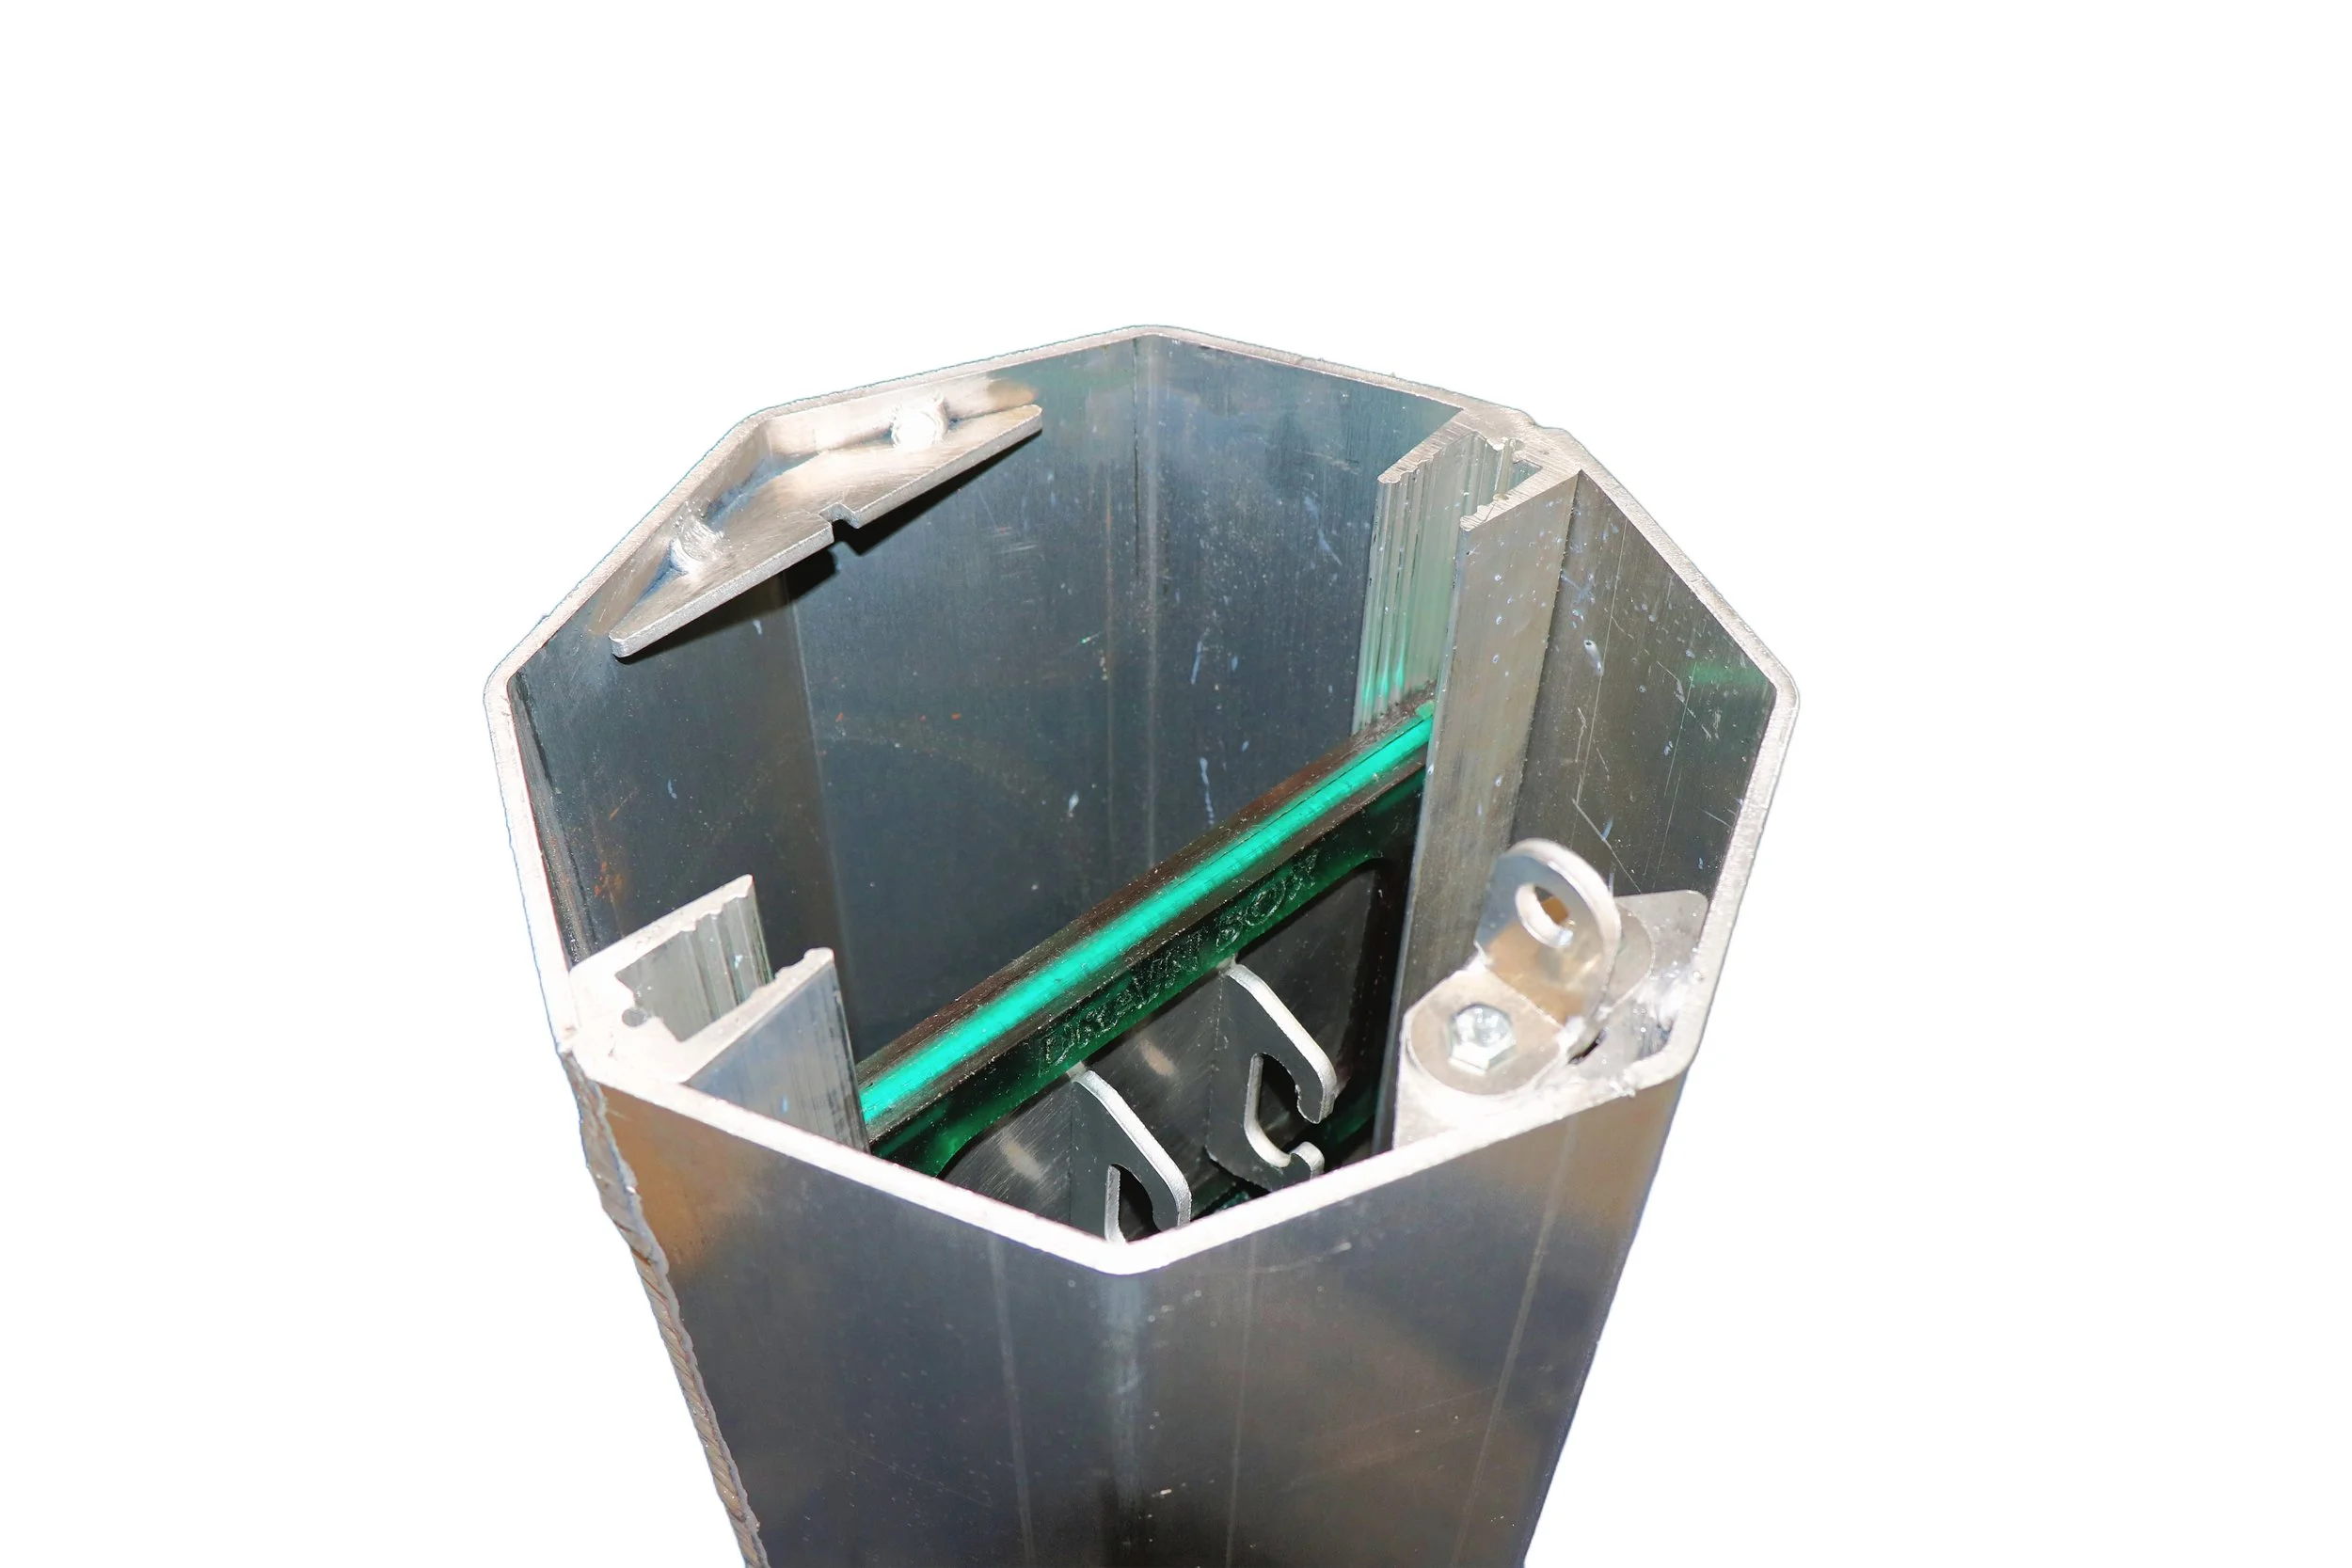
Stoplogs slide in tracks inside the center of the box to regulate the water level.
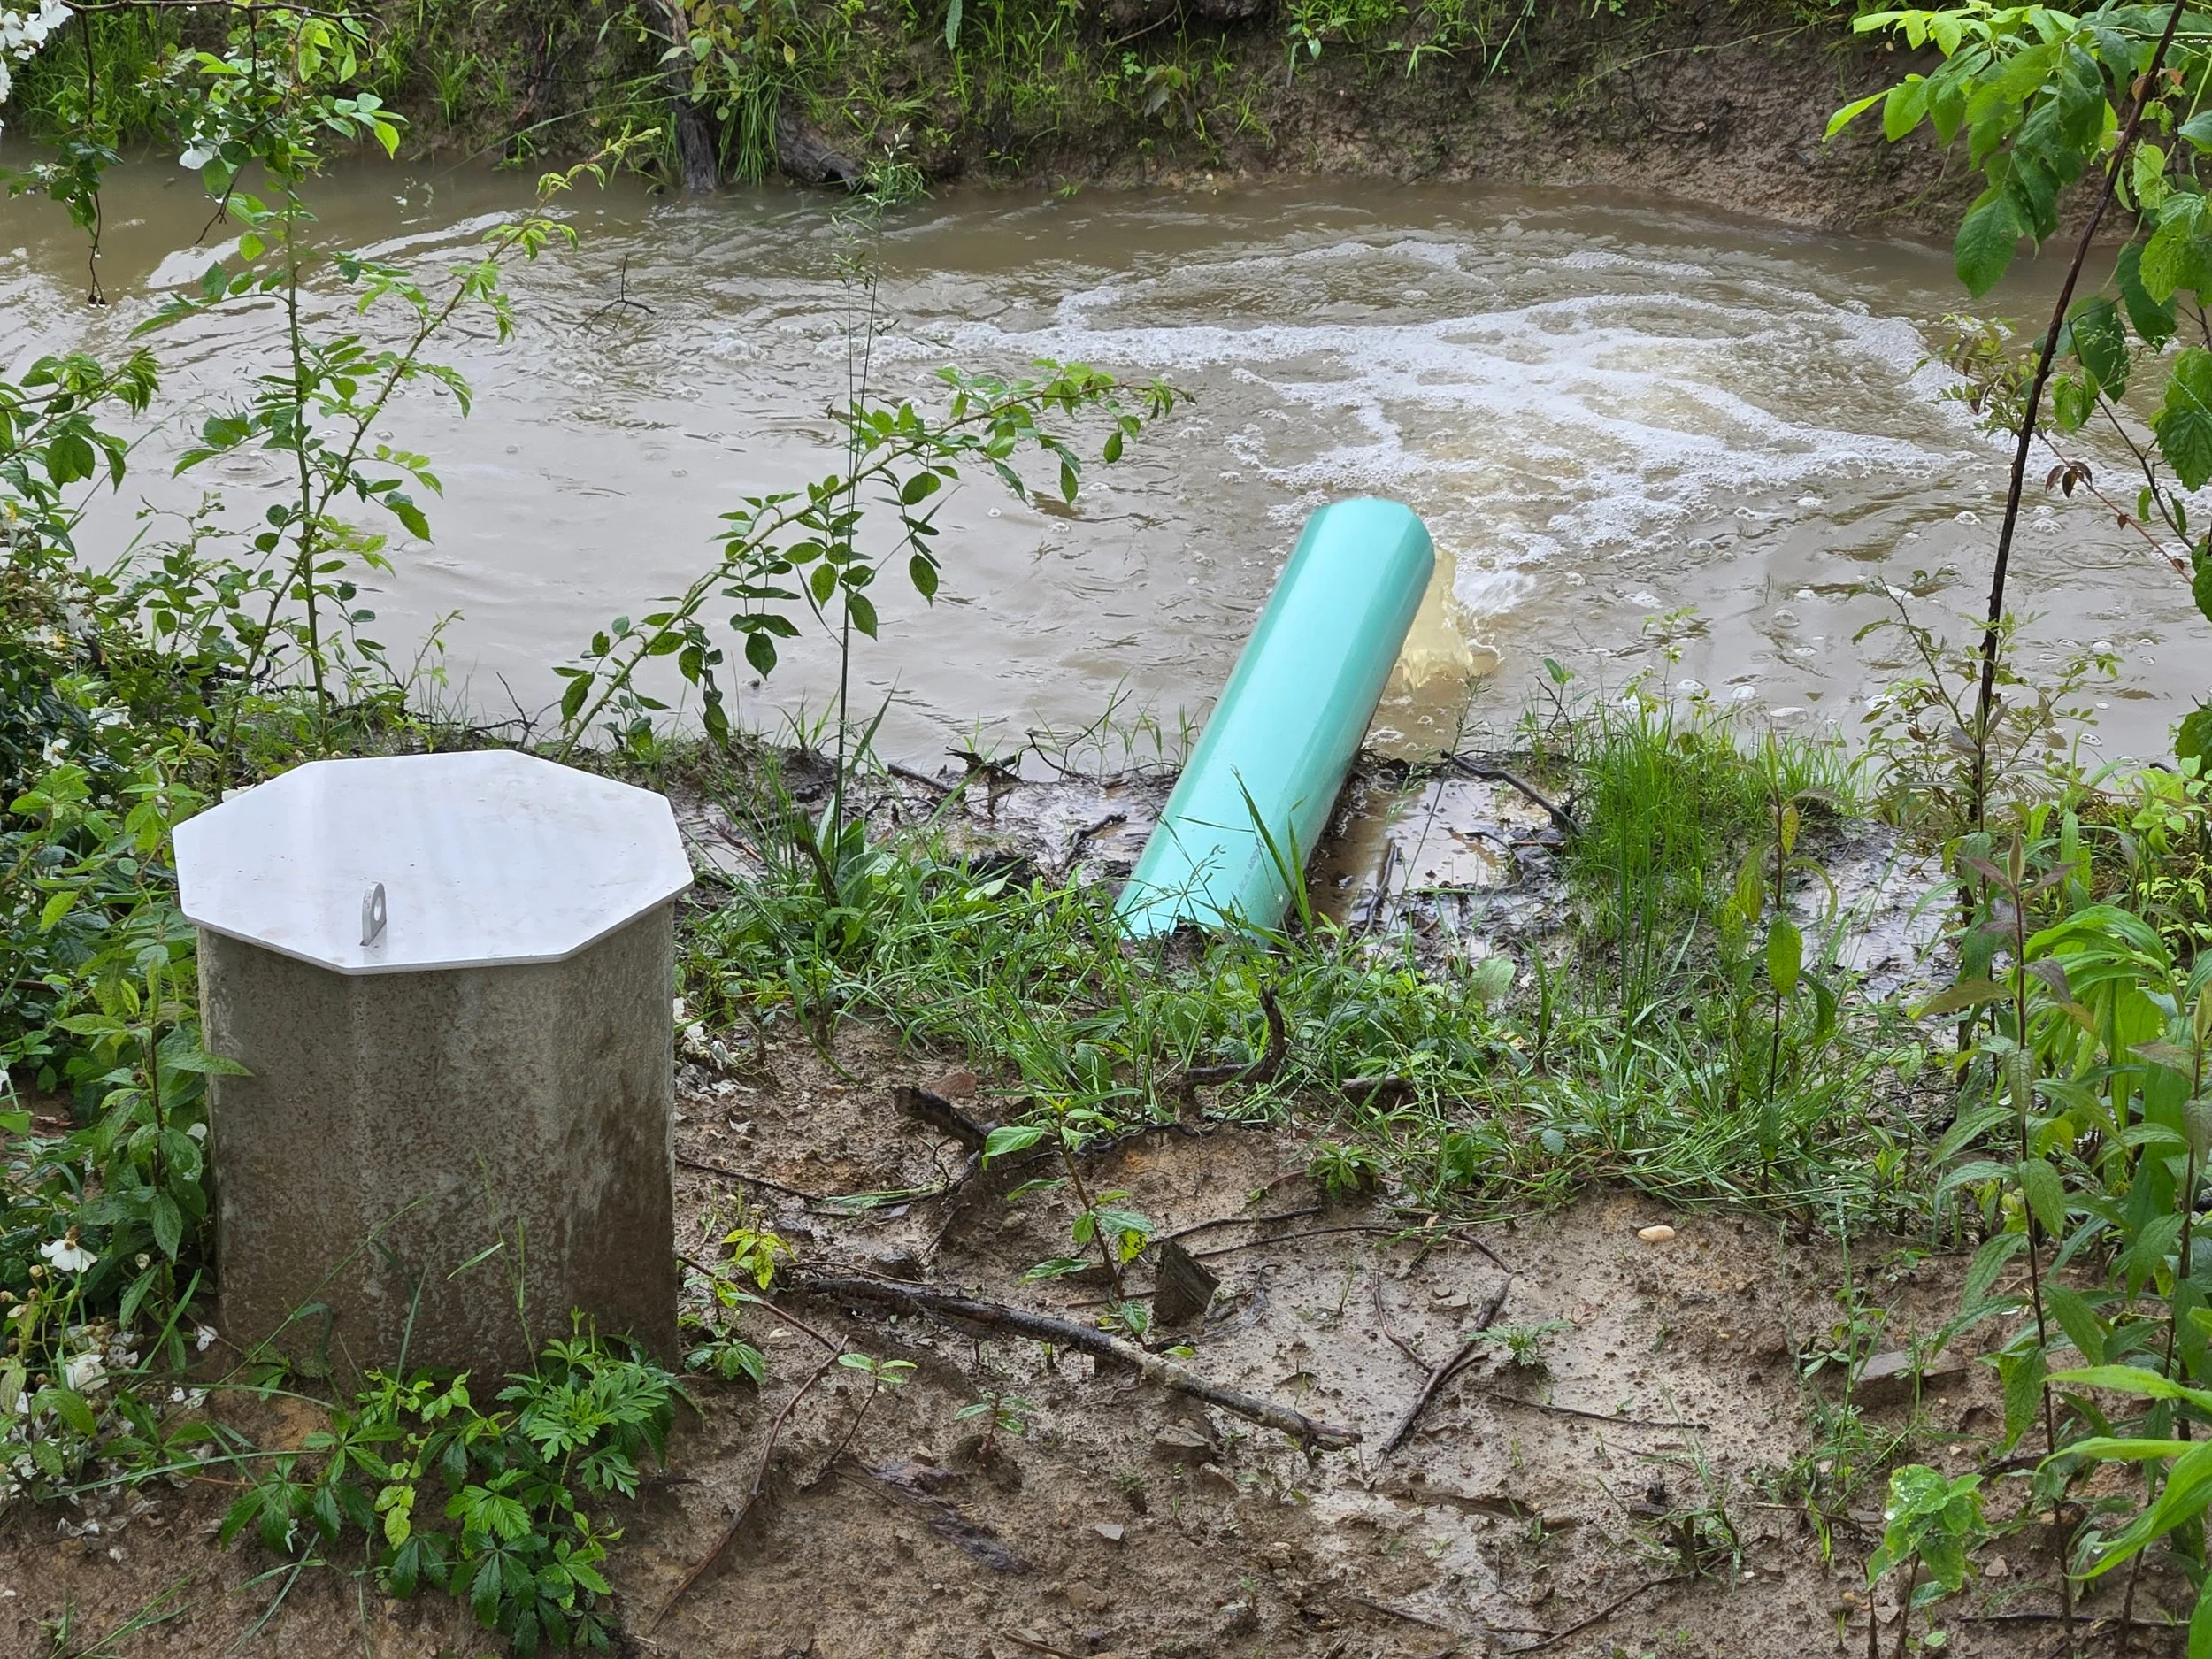
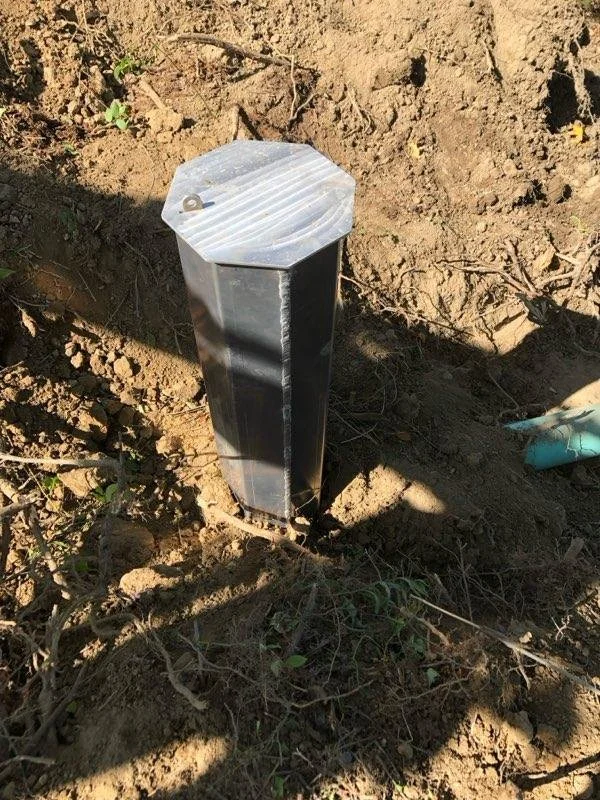
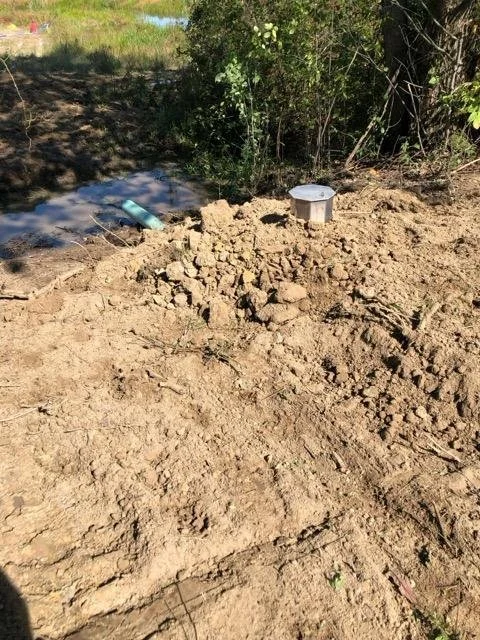
The box is buried with the the top rising slightly above the soil surface for easy access.
Pipe Sizes: 6 to 18 inches
Common Size Pipes: 6 and 12 inches
Box Heights: 4 to 10 feet
Common Heights: 4 and 6 feet
Our DrainBox Aluminum Inline Water Level Control Structures are great for maintaining water levels in smaller habitats and ponds.
Aluminum Inline Features Include:
Durability: Heavy-duty welded aluminum
Rugged and Robust: Easily withstands normal field installation practices.
Easy Installation: Just bury it and forget it. Backfilling with an excavator is acceptable.
User-Friendly Design: Straightforward intuitive operation.
Low Maintenance: Does not require routine attention.
Versatility: Available in a wide range of sizes suitable ponds, hunting habits, agricultural settings, retention impoundments, aquaculture, or industrial processes.
Fabricated in the USA
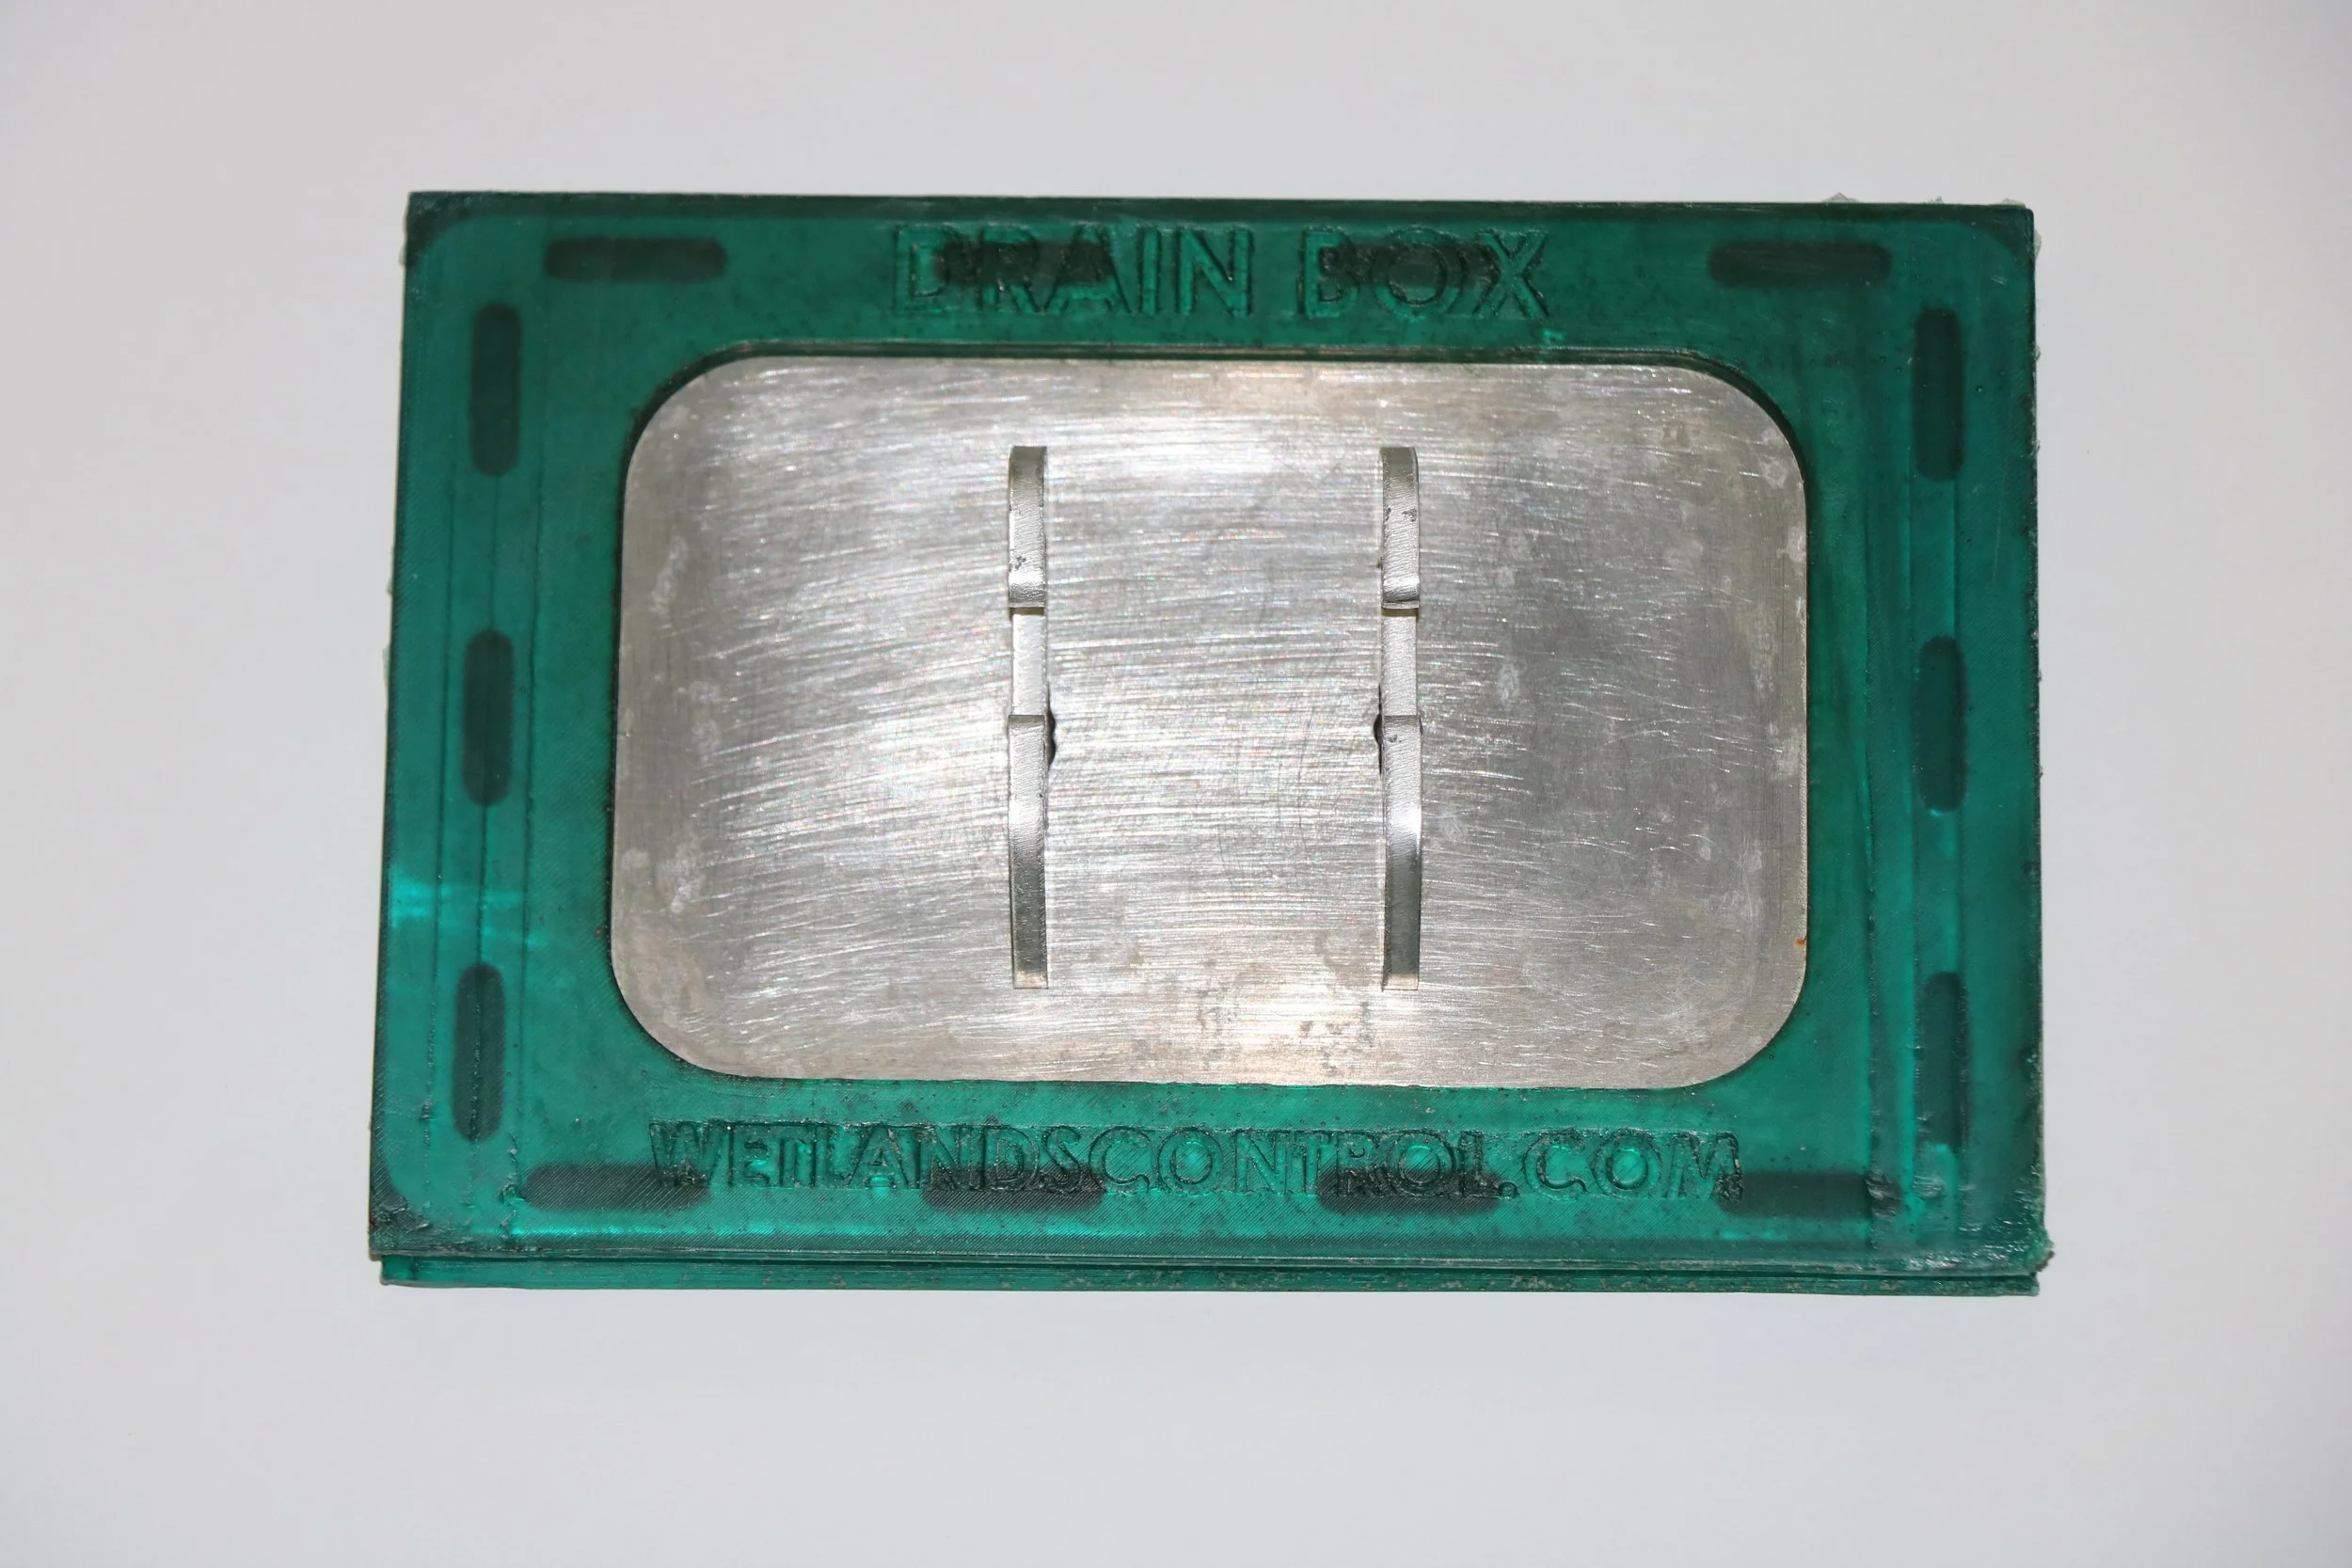
Stop Logs
Push the stop logs into the slots on each side of the water level control box. The rubber seals are designed to fit snuggly in place with just enough clearance to slide easily in the slots. A T-handle tool is provided to push and pull the stop logs within the slots. Place all of the boards into the water level control box then pull up on the board at the desired water level. This will open a gap in the wall of stop logs for the water to flow. The bottom of the box lid indicates how much gap is needed to achieve full flow (this is dependent on the pipe and box diameters).
The heavy-duty metal construction makes the control box resistant to crushing. It is not necessary to install the stop logs in place before the water box is installed.
The rubber seals are good but not perfect. Some slight seepage is normal.

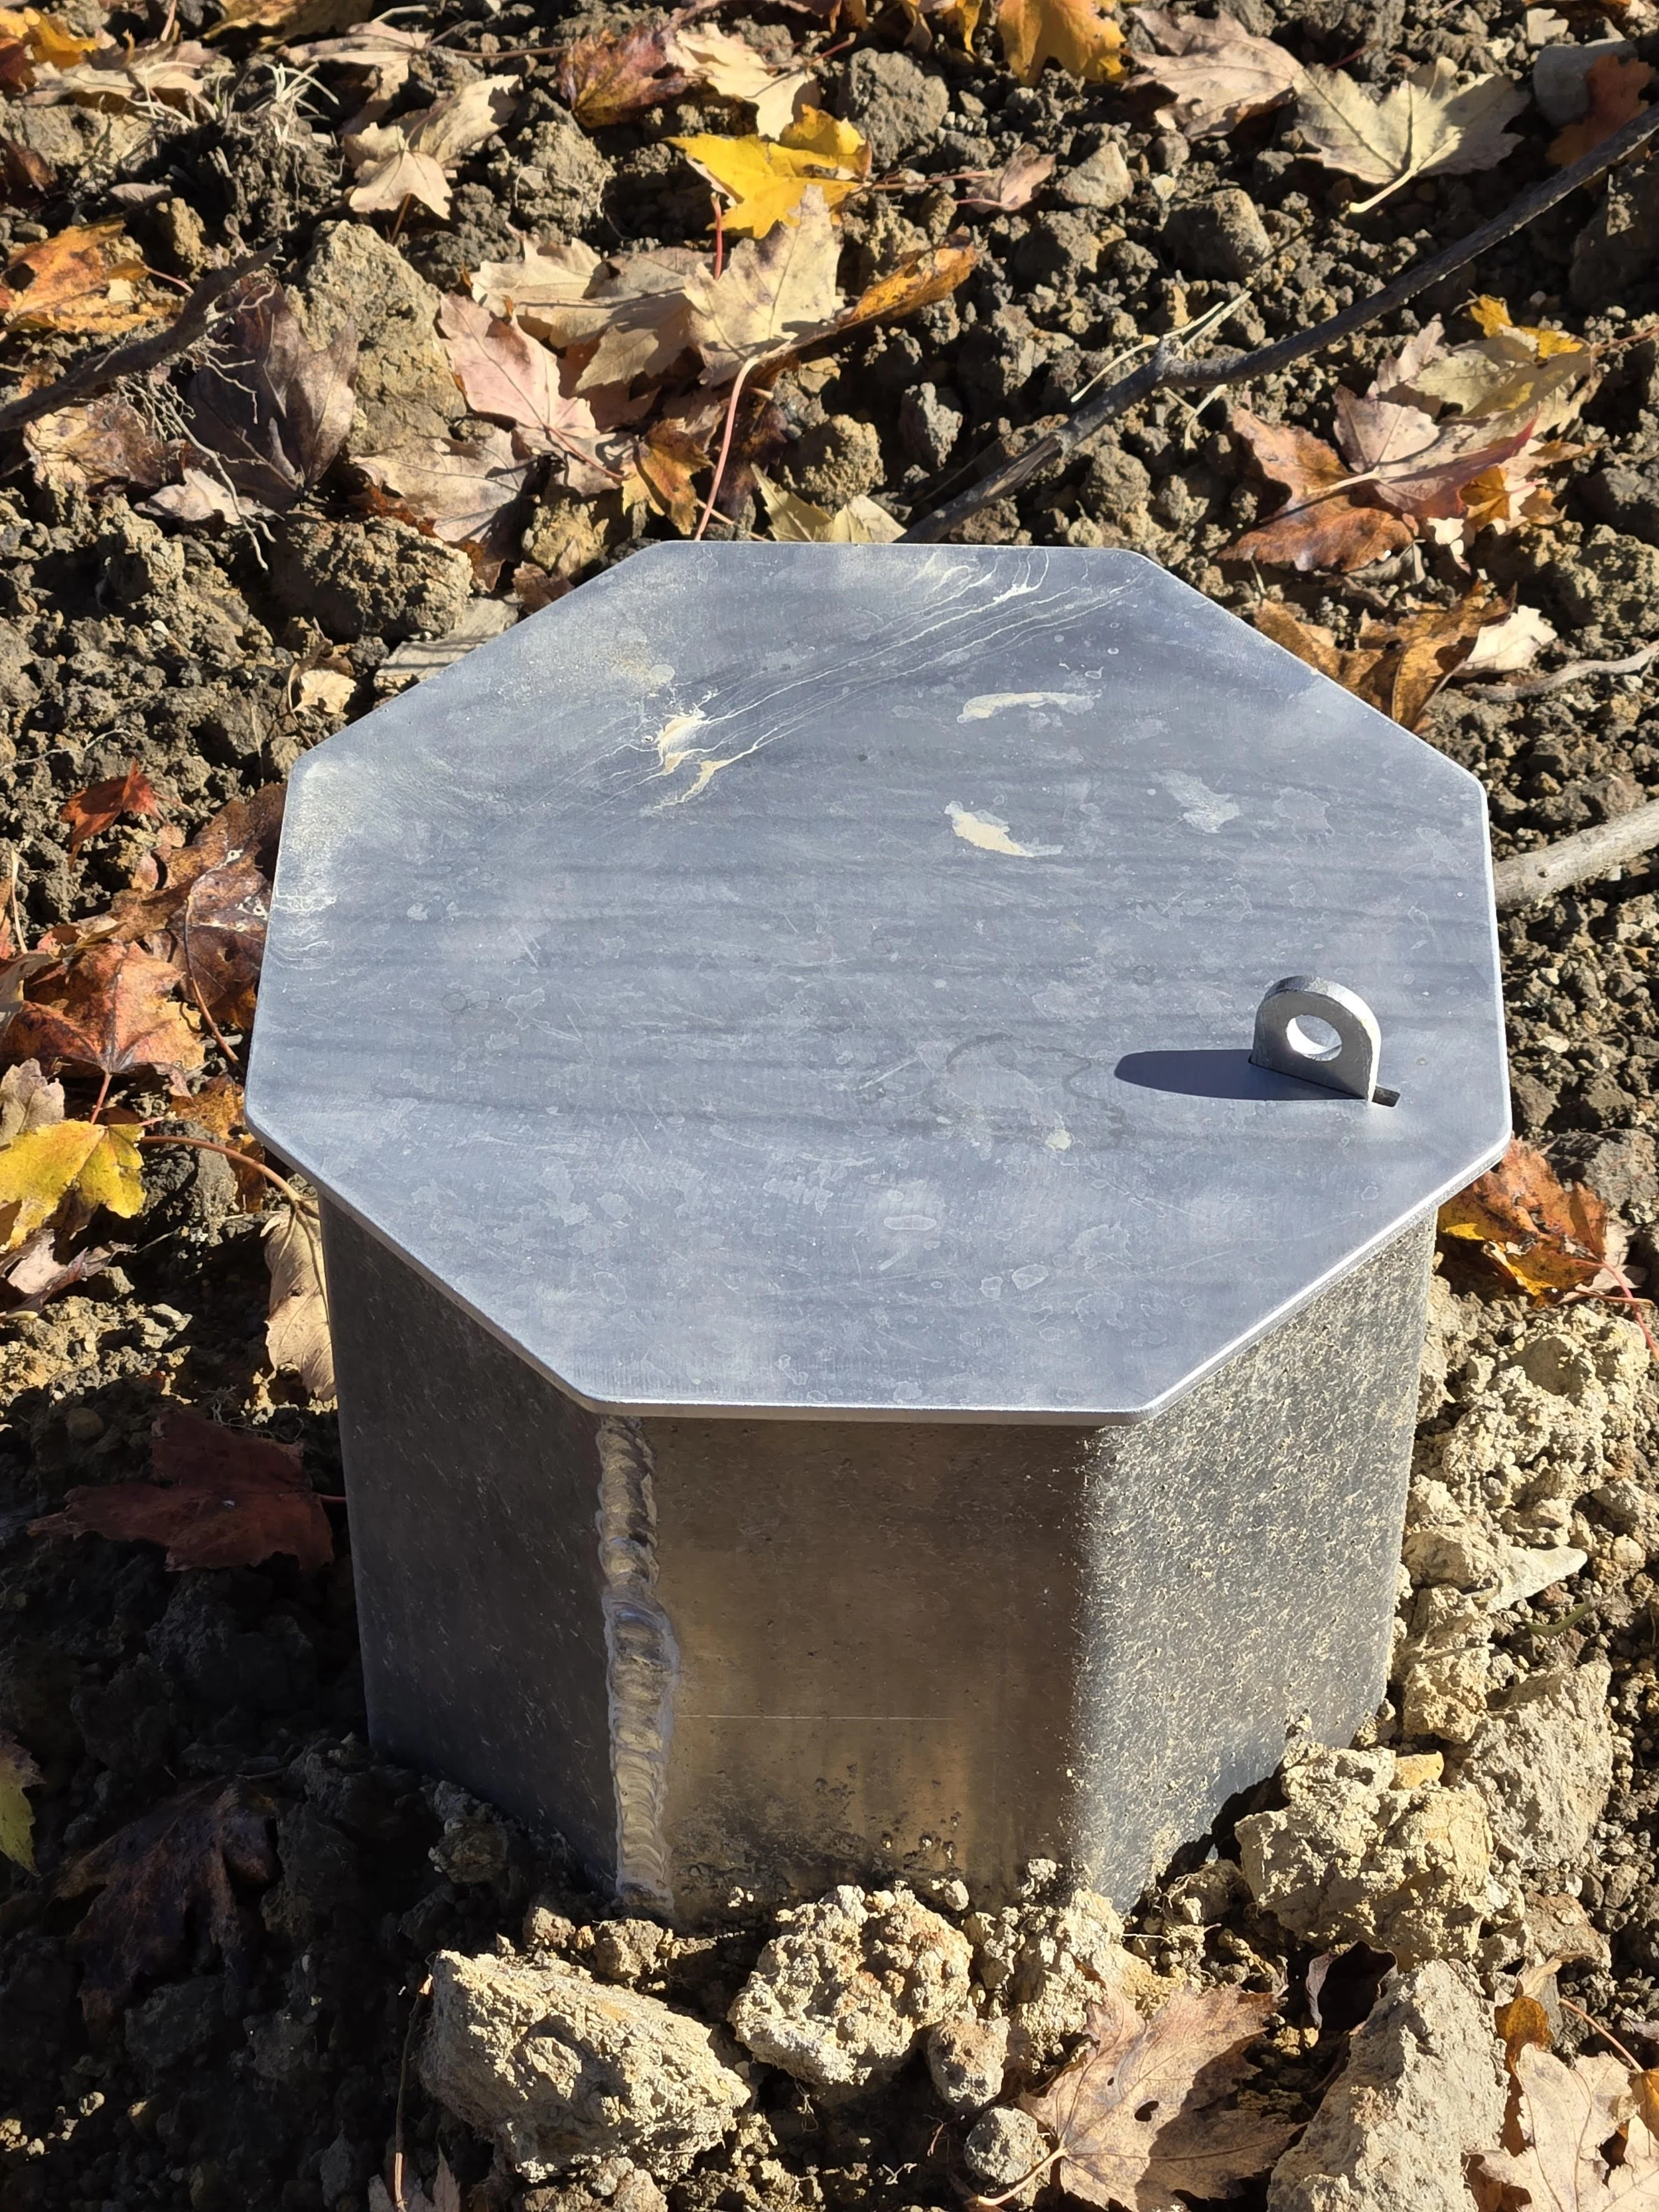
Lockable Lid
A lockable lid is provided. The lid is intended to keep wildlife out, deter tampering and prevent children from dropping debris into the box. The lid also provides a safety measure to keep someone from accidentally stepping into the box or a pet from falling into the box.

Installation of your inline water level controller is simple!

Prepare the Trench
Start by digging a trench from the bottom of the pond or habitat. Ensure it's deep enough to accommodate the pipe and provide a stable path for water flow.
Locate the Control Box Area
Identify the optimal location for the water level control box. Position it where access is convenient for maintenance and monitoring.
Attach the Pipe
Securely attach either Schedule 40 or SDR 35 PVC pipe to the flexible couplings included in your kit. Ensure the connections are tight and leak-free. See directions on this page for PVC connections. Larger units for HDPE pipe include attachment hardware. Follow the directions and these pages for HDPE INLET and OUTLET connections.
Bury the Controller and Pipe
Bury the controller and pipe, avoiding rocks and large clumps of soil that could exert excessive pressure on the system. The aluminum control boxes are very durable. Backfilling with an excavator is acceptable. Stoplogs do not need to be in place during installation.
Follow these steps, and you’ll have your water level control system up and running in no time.
Relocation — These units are tough enough to be relocated if necessary. Carefully dig on each side of the unit to access the pipe connections. Loosen the clamps and pull the unit out of the ground using a strap.

Steel Inline Water Level Control Structures
Inline Steel Controllers are the best choice extra tall and large drains.

10-foot tall steel inline water level control structure for 12-inch HDPE pipe.
Steel Inline Key Features:
Heavy-duty welded steel structures: Resists twisting and bending.
Designed For HDPE Pipe: Designed to work with double-wall corrugated plastic drain tiles from 8” to 24” in diameter.
Standard Lumber Flashboards: Designed to accept standard “2 by” dimensional lumber as flashboards (not supplied).
Corrosion Resistant: Powder coated for long-lasting corrosion resistance.
Precision laser cut and formed parts: Accurate fit up with accessories
Fabricated in the USA
Wooden Stoplogs
Stoplogs for our steel inline drains cut to fit the guide tracks from ordinary lumber. They will leak when first installed but will naturally swell and seal up with mud, algae and debris in a short time. The small amount of residual leakage is not a problem when ample water flow is available. If necessary, an immediate watertight seal can be achieved by using the widest possible lumber and placing sealing material between the stoplogs.
Our flashboard brackets and puller are perfect for wooden stoplogs.
CAUTION - Do NOT place stoplogs into the unit without a bracket or other method for pulling it out. The units are too deep and constrained to reach the bottom!

10-foot tall steel inline pond leveler in the manufacturing shop

Looking down from the top into a steel inline water level control structure. Stop logs are not installed.